
This article is a guide: the content herein is likely to contain subjective opinions. Consider discussing any substantial changes before editing the page.
You can look for more guides on various subjects in this category.
| This article is a stub. You can help Darkest Dungeon Wiki by expanding it. |
If you are unclear on certain words or terminology, please check out the Glossary.
Legend[ | ]
Enemy Types:[ | ]
The most common enemy types specific to that region
Primary Provisions:[ | ]
The most effective supplies for that region, both in battle and for curios
DOT Weakness:[ | ]
There are two DOTs in the game, bleed and blight, and each area enemies are usually resistant to one but weak to the other. For example, the skeletons of The Ruins will not be affected by bleed, but they have virtually no resistance to blight.
Important Curios:[ | ]
Curios found specifically in that region that are very helpful if you use the right cleansing item.
Trap:[ | ]
When a hero activates a trap and doesn't dodge it, they will take DMG, stress and in some regions take an additional effect. This is where those additional effects will be listed.
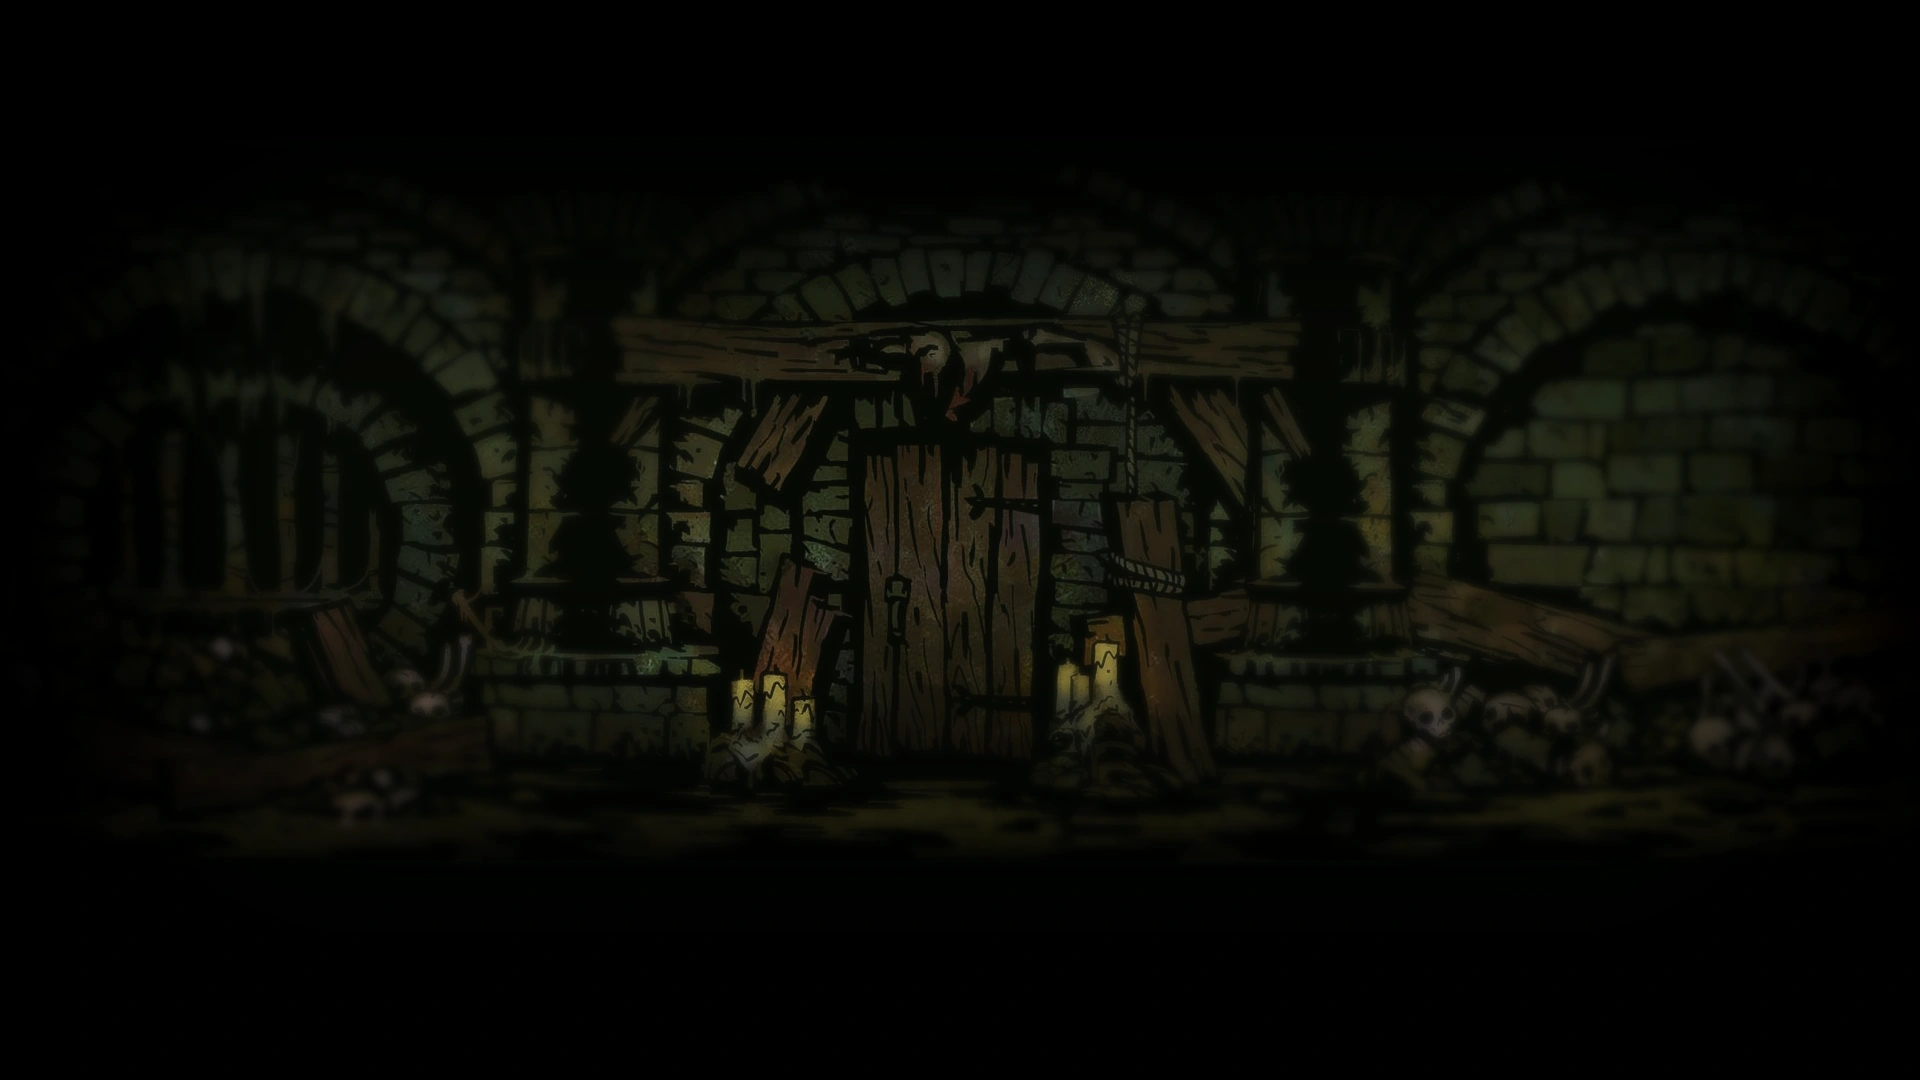
The Ruins[ | ]
| Overview of The Ruins | |||||
|---|---|---|---|---|---|
| |||||
| Enemy Types | Unholy, Human | ||||
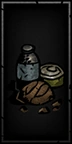
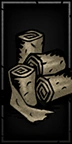
| Primary Provisions | Holy Water, Skeleton Key, Medicinal Herbs | ||||
| DOT Weakness | |||||
| Important Curios | Decorative Urn, Holy Fountain | ||||
| Trap Effect | None | ||||
| Recommended | |||||
|---|---|---|---|---|---|
 |
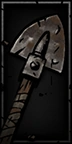
The Crusader |  |
Bonuses Vs Unholy |  |
Pure Damage |
| The Ruins are crawling with Unholy foes, and the Crusader's blade is honed to eradicate the vile creatures. The Crusader's main skill Smite deals bonus DMG against unholy, and so does the Crusader's Holy Lance that strikes down the back ranks. | All the enemies specific to the Ruins are Unholy, so any bonuses you can get against them, such as Unholy Hater or Unholy Slayer's Ring, will be of great value. Be wary, however, of heroes who fear the undead. | While other areas of the game have enemies with high DODGE or PROT, the enemies in the ruins only have moderate levels of each. This makes the Ruins a place where you don't have to worry as much about strategy and can instead focus on brute force. Simple, but effective. | |||
| Dangers | |||||
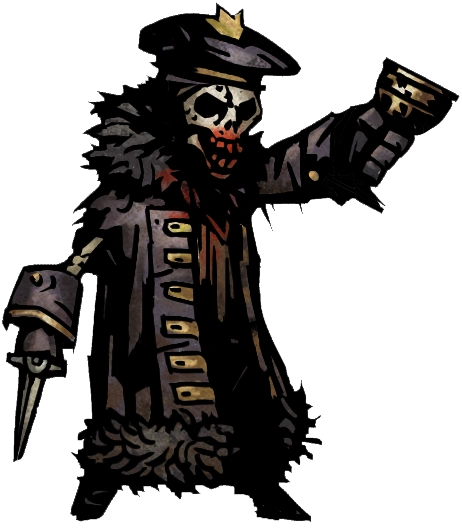 |
Bone Courtier | 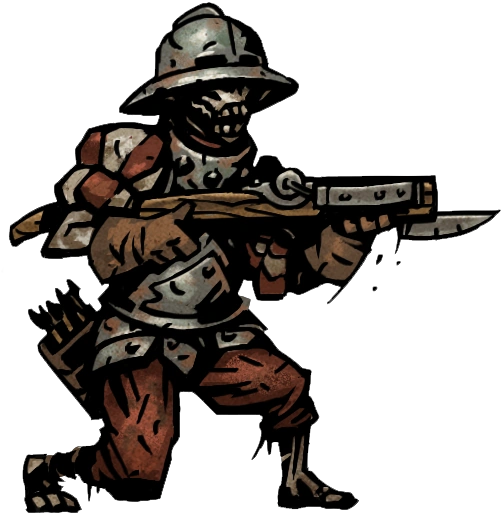
|
Bone Arbalist | 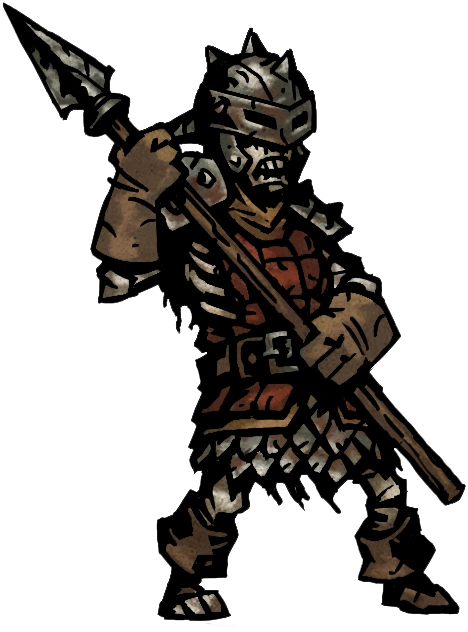 |
Bone Spearman |
| Even in death these noblemen cling to intoxication to escape their own wretched and woeful reality. The acrid liquids within their goblet will quickly cause stress levels to rise if left unmitigated. Vanquish these fiends first. | These accursed archers shoot down your heroes from afar. And their high CRIT and extra DMG to marked targets make them particularly dangerous. If you can pull them to the front they will be unable to target your backline. Finish them off before they can retreat from your blades. | A skeletal soldier that only appears in veteran and champion levels of The Ruins. It can ram heroes with its spear knocking them backwards, but are more dangerous in the front ranks where it can skewer all heroes at once. You'll want to return these bones to the grave quickly. | |||
| Recommended Provisions | |||||||||
|---|---|---|---|---|---|---|---|---|---|
 |
 |
 |
 |
 |
 |
 |
 |
||
| Provision name: | Food | Shovel | Antivenom | Bandage | Medicinal Herbs |
Skeleton Key |
Holy Water | Torch | Total Cost: |
| Short Run: | 8-12 | 2 | 0-1 | 0-1 | 1-2 | 2-3 | 2-3 | 8 | 2,400-3,550 |
| Medium Run: | 16-20 | 3 | 0-2 | 0-2 | 2-3 | 2-4 | 3-4 | 10-13 | 3,350-5,625 |
| Long Run: | 24-28 | 3-4 | 0-3 | 0-3 | 3-4 | 3-5 | 3-5 | 14-16 | 5,125-7,250 |
| Notes: | You can get gold, gems and heirlooms from curios using Medicinal Herbs, Skeleton Keys and Shovels. Additionally, some curios, when interacted with Holy Water, grant buffs and stress heals. On the other hand, there are no curios in The Ruins that can be cleansed with Bandages or Antivenom, and there are no enemies specific to The Ruins that inflict blight or bleed; so you may not want to bring them here. However, you can still run into some enemies that can inflict bleed and blight. | ||||||||
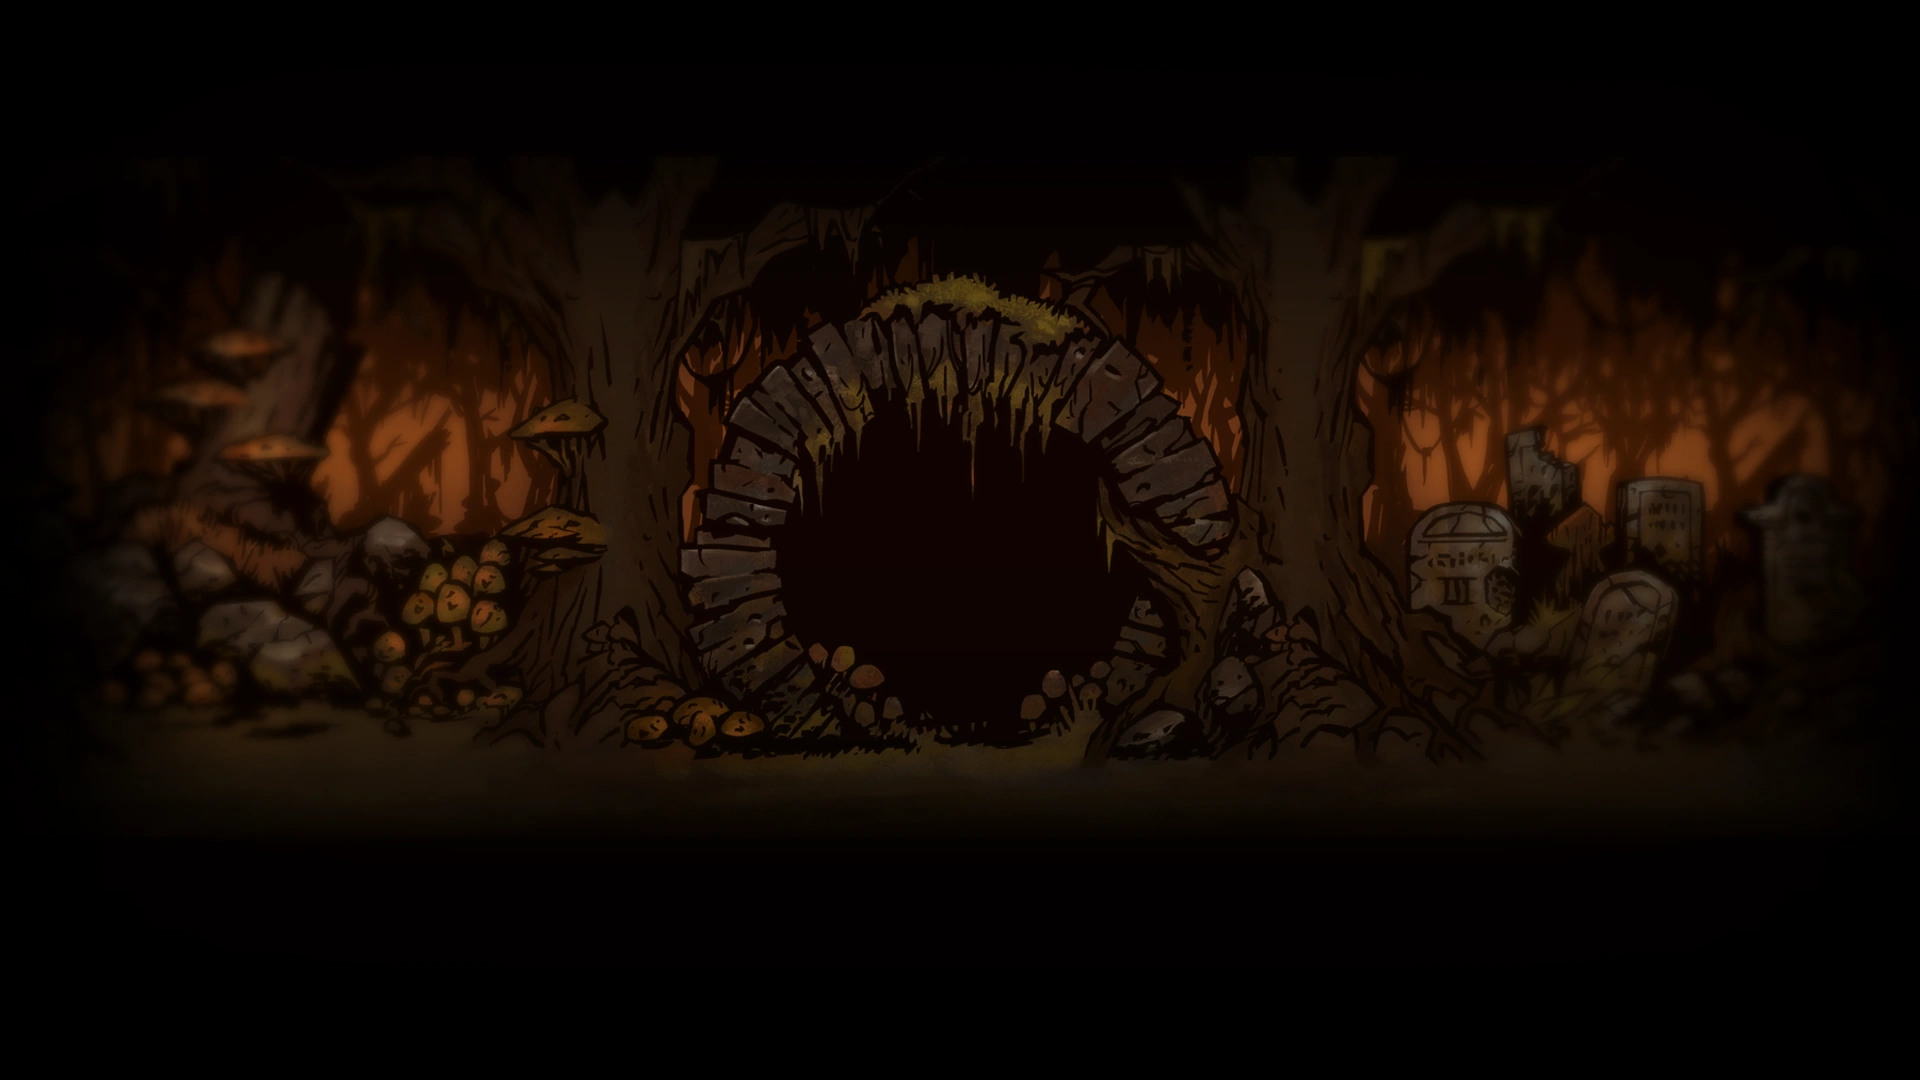
The Warrens[ | ]
| Overview of The Warrens | |||||
|---|---|---|---|---|---|
| |||||
| Enemy Types | Beast, Human | ||||
| Primary Provisions | Bandages, Medicinal Herbs, Torches | ||||
| DOT Weakness | |||||
| Important Curios | Pile of Scrolls, Dinner Table | ||||
| Trap Effect | |||||
| Recommended | |||||
|---|---|---|---|---|---|
  |
The Bounty Hunter and Houndmaster |  |
Bleed |  |
Scouting |
| While these heroes have different roles in battle, they hold similar strengths that are very useful in the Warrens; they get bonus DMG to Humans and Beasts respectively, they can inflict bleed, and both of their marking skill debuffs enemy PROT which the deadlier enemies in the Warrens have plenty of. | DOTs are helpful in any area of the game, with bleed being especially useful here. Only having to hit an enemy once and letting bleed do the rest make taking out weak, yet highly evasive enemies less frustrating. And stacking multiple bleeds makes taking down heavily armored foes much easier. | While scouting is useful in all areas, it is particularly effective in The Warrens because of the unique layouts that tend to conform to a grid-like formation with very few dead ends. This means alternate routes are viable most of the time, making it very simple to figure out where you need to go while avoiding fights and not wasting shovels. | |||
| Dangers | |||||
 |
Disease | 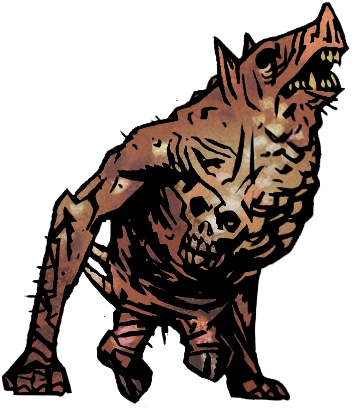 |
Swine Wretch | 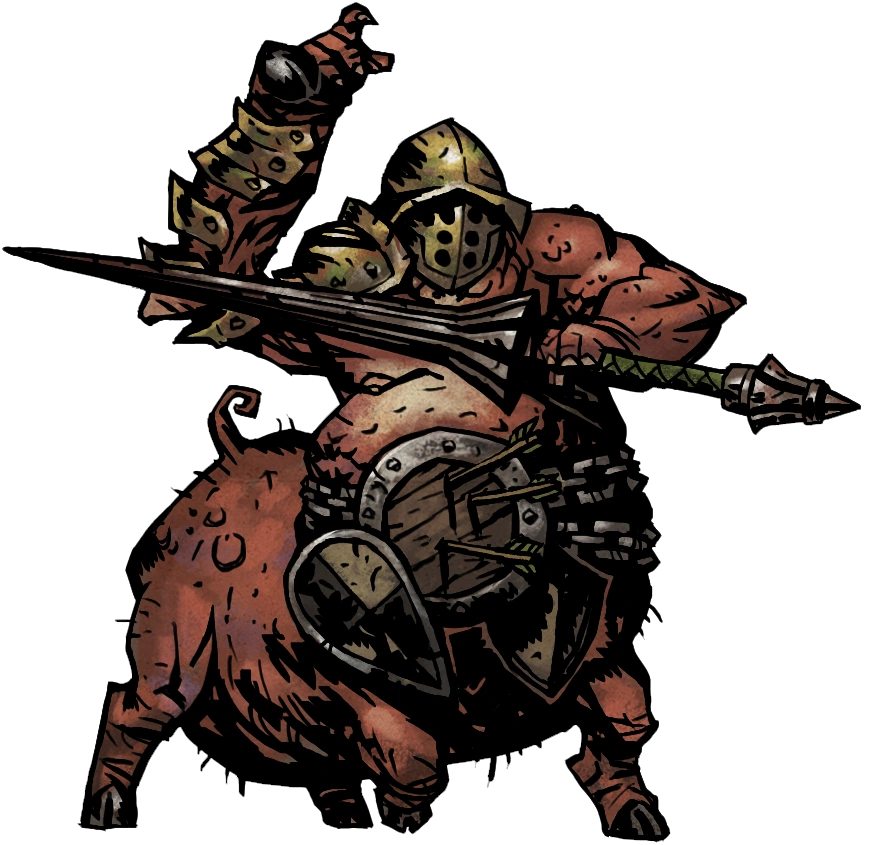 |
Swinetaur |
| Every place in these cursed lands has sickness and maladies that your heroes can acquire, but The Warrens are particularly rife with them. Monsters can infect with their attacks and a mere touch on the wrong object without the right precautions can bring illness upon any unwitting hero just as swiftly. | This vermin is among the most wretched creatures in the game. It only has one attack, and that is to vomit on any one hero. As you might imagine, this causes a great deal of stress to the unfortunate hero and has a chance of spreading disease. Make sure to bring ranged attackers to protect both the physical and mental health of your heroes. | A fearsome foe who deals heavy damage to a single hero or to several at once. If that weren't enough, it's heavily armored and can inflict stuns and knockback. However in order to unleash its most devastating attacks, it needs to be in the back ranks. If you can kill all of its allies, it will make the battle against it easier. | |||
| Recommended Provisions | |||||||||
|---|---|---|---|---|---|---|---|---|---|
|
|
|
|
|
|
|
|
||
| Provision name: | Food | Shovel | Antivenom | Bandage | Medicinal Herbs |
Skeleton Key |
Holy Water | Torch | Total Cost: |
| Short Run: | 8-12 | 1-2 | 0-1 | 1-3 | 2-3 | 1-2 | 2-3 | 8-10 | 2,600-4,150 |
| Medium Run: | 12-18 | 2-3 | 0-2 | 2-3 | 3-4 | 2-3 | 3 | 10-16 | 4,050-6,100 |
| Long Run: | 16-20 | 2-4 | 0-3 | 3-4 | 3-5 | 2-4 | 3-4 | 16-20 | 4,950-7,700 |
| Notes: | If you bring Medicinal Herbs the Warrens become the easiest place to find food in the whole game. While you shouldn't rely solely on finding curios that give food, you shouldn't have to bring as much here.
Additionally, Torches and Holy Water are each useful for a curio activation, and Shovels aren't as necessary as detailed for the same reason Scouting is so helpful in The Warrens. | ||||||||
The Weald[ | ]
| Overview of The Weald | |||||
|---|---|---|---|---|---|
| |||||
| Enemy Types | Human, Eldritch, Beast, Unholy | ||||
| Primary Provisions | Shovels, Antivenom, Bandages | ||||
| DOT Weakness | |||||
| Important Curios | Troubling Effigy, Traveler's Tent | ||||
| Trap Effect | |||||
| Recommended | |||||
|---|---|---|---|---|---|
 |
The Hellion |  |
Marks | |
Extra Supplies |
| While good for any area, this wild child is at home in the Weald. A frontline fighter that can attack any member of the enemy party is valuable enough, but adding her skills that stun both front-line foes, bleed her foes and remove her own bleed and blight while increasing her strength further make her an excellent choice for these wretched woodlands. | Beyond the obvious extra damage marked targets take, all heroes with marking skills can debuff defensive stats. The foes in the Weald are particularly agile and able to easily dodge attacks. Additionally front-line fighters boast high PROT, keeping them safe from your blades as they rend your heroes. Knowing how your enemy defends itself and how to effectively cripple its shields is vital to your survival. | Make no mistake; the Weald is one of the most difficult areas to navigate. It's sprawling paths and passages lead to many dead ends, with traversal impeded by the particularly vicious monsters and overgrown vegetation. It would be wise to take extra provisions, such as antivenoms, bandages and food, to ensure a safe travel through this malicious mire. | |||
| Dangers | |||||
|
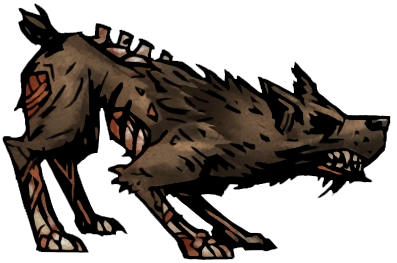
Rabid Gnasher | 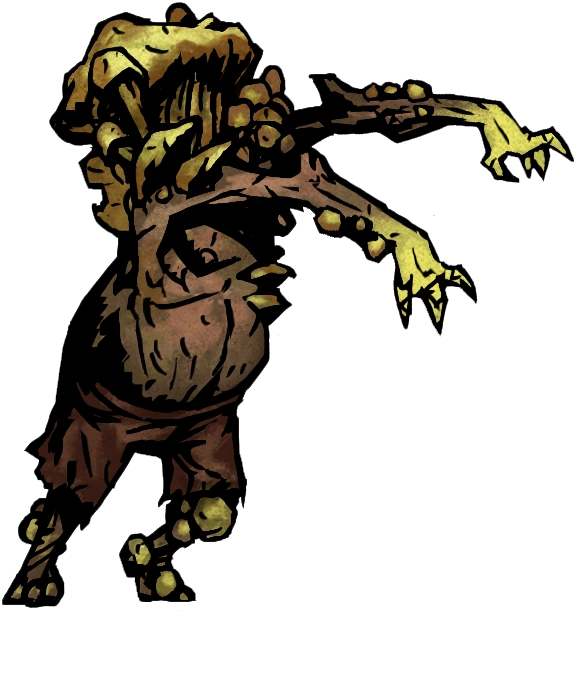 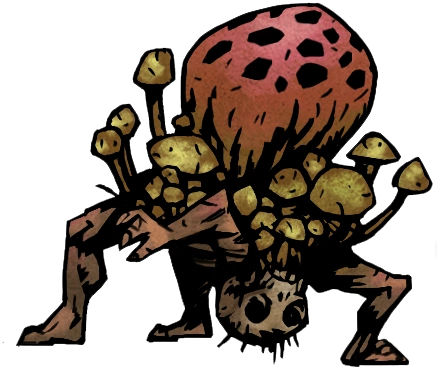
|
Fungal Scratcher and Fungal Artillery | 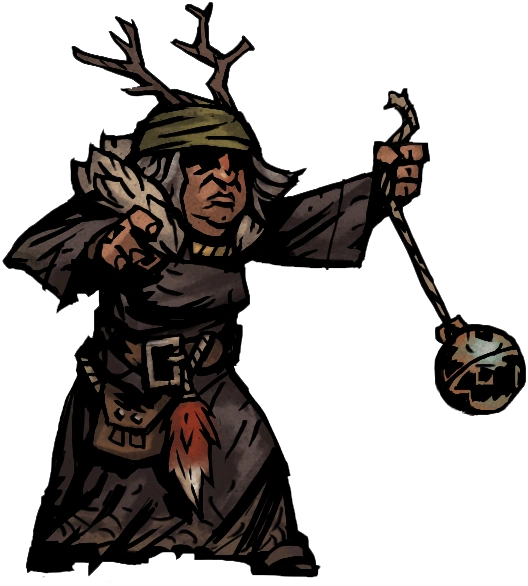 |
Crone |
| Crazed and relentless, these quick and lethal beasts lunge at heroes to overwhelm and tear them apart. It has a high CRIT chance, cause bleed and might transfer its disease onto your party. And with its high DODGE it won't be easy to put down. | The true danger of the Weald isn't any single enemy, but that so many enemies work so well in tandem. These zombified creatures are a testament to this. The Fungal Scratcher is a slow monster with powerful, but inaccurate strikes. However, the Artillery can mark prey for it, giving the Scratcher a susceptible target. | In the deepest recesses of the Weald hide these pernicious harpies. They wield foul curses that lower heroes' accuracy and dodge, mark heroes for easy kills, inflict mass stress and can even infect heroes with her fetid censer. If she is accompanied by her slave do not be intimidated by its size—kill the master first. | |||
| Recommended Provisions | |||||||||
|---|---|---|---|---|---|---|---|---|---|
|
|
|
|
|
|
|
|
||
| Provision name: | Food | Shovel | Antivenom | Bandage | Medicinal Herbs |
Skeleton Key |
Holy Water | Torch | Total Cost: |
| Short Run: | 8-12 | 3-4 | 2-3 | 2 | 1 | 1-2 | 1 | 8 | 3,100-4,000 |
| Medium Run: | 16-20 | 4-5 | 3-4 | 3 | 2 | 2-3 | 1-2 | 12 | 4,950-6,000 |
| Long Run: | 20-24 | 4-6 | 4-5 | 4 | 2 | 2-4 | 2 | 16 | 5,300-6,850 |
| Notes: | The Weald has more dead-ends and backtracking than any other area, so make sure you bring Shovels to remove roadblocks, Medicinal Herbs to get extra food, and Bandages for gold/gems.
Also, the Troubling Effigy is a rare curio, but if you have Holy Water it can give one of your heroes a random positive quirk. | ||||||||
The Cove[ | ]
| Overview of The Cove | |||||
|---|---|---|---|---|---|
| |||||
| Enemy Types | Eldritch, Unholy | ||||
| Primary Provisions | Shovels, Medicinal Herbs, Bandages | ||||
| DOT Weakness | |||||
| Important Curios | Eerie Coral, Giant Oyster | ||||
| Trap Effect | |||||
| Recommended | |||||
|---|---|---|---|---|---|
  |
The Occultist and Plague Doctor |
 |
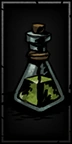
Blight | |
Treatment for Bleed |
| The Cove is full of the fiendish fishfolk, who are all of the Eldritch type enemy and many of whom have high PROT values. Because of this the Occultist's bonus damage against Eldritch can make him an effective damage dealer here, and the Plague Doctor's blight can extinguish foes quickly when used properly. Both heroes have access to stun, which can be used to disrupt the Pelagic Guardian's protection ability. | While the fishfolk's scales make them resilient against bleeding, they have no such defense mechanism to poison. Blight is highly recommend in the Cove since many of the enemies here have unusually high PROT, making it very difficult to chop away at their health with standard attacks. | Many enemies in the Cove inflict bleed with their attacks, and for the most part are on par with enemies of other areas. However, in Veteran and Champion missions, this becomes a necessity to bring as the Uca Crusher can inflict high damage bleeds that can quickly cost your heroes their life. | |||
| Dangers | |||||
|
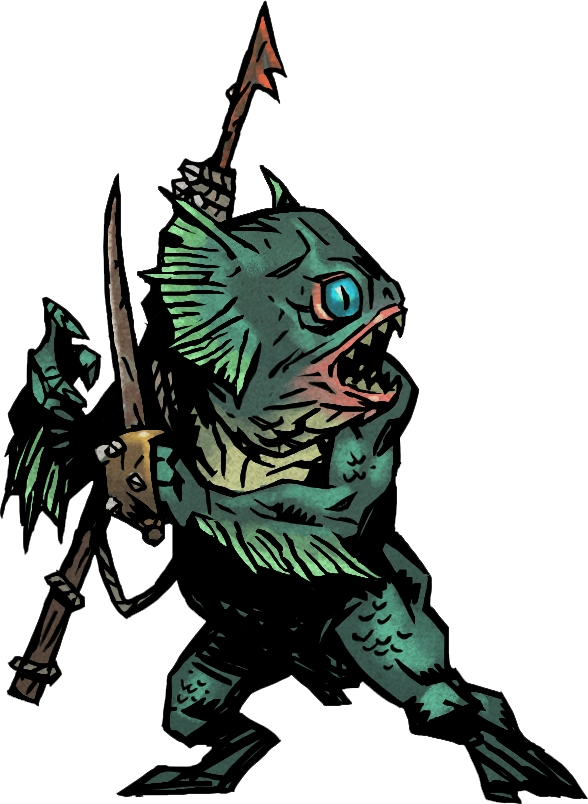
Pelagic Grouper | 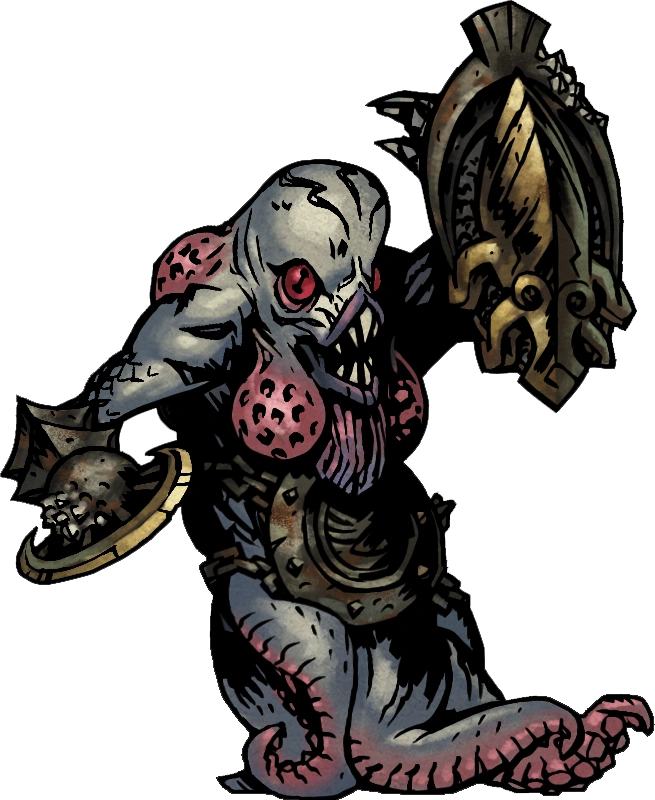
|
Pelagic Guardian | 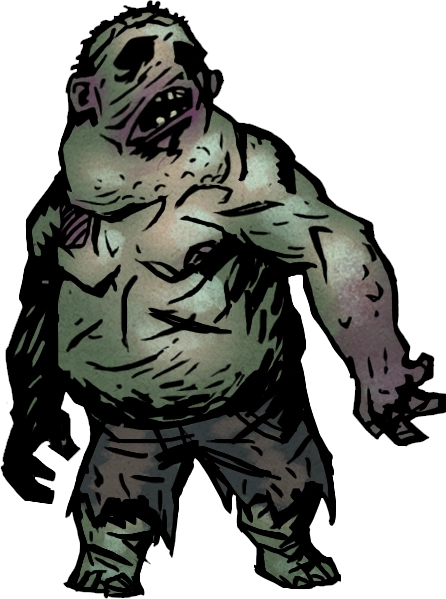
|
Drowned Thrall |
| As most of the Cove's inhabitants focus on whittling down intruders with maladies and lacerations, Pelagic Groupers make up the bulk of the physical damage you will receive. They hit much harder than their counterparts in other regions, especially at higher levels. And if they're in the back ranks they will attack your rearguard and force them to the front. Kill them first, and the damage your party will receive from the Cove will be greatly diminished. | A champion among the fishfolk, this contemptible cephalopod will protect its allies from harm, preventing you from killing a Cultist about to send a hero over the edge or a thrall about to explode. Worse, when it's guarding an ally its already impressive defenses are strengthened even further making it nearly impervious. You are not likely to kill this enemy first. Keep it out of the way with stuns while you finish off the other enemies, then kill it when its alone. | Victims of the Fishfolk, drowned and reanimated to serve their twisted ends. They only attack twice in battle: first they grasp at a hero causing high damage and stress, and on their next turn they explode dealing every hero massive damage and stress. These putrid corpses should be taken out first and quickly before the Guardians can protect them. | |||
| Recommended Provisions | |||||||||
|---|---|---|---|---|---|---|---|---|---|
|
|
|
|
|
|
|
|
||
| Provision name: | Food | Shovel | Antivenom | Bandage | Medicinal Herbs |
Skeleton Key |
Holy Water | Torch | Total Cost: |
| Short Run: | 8-12 | 3-4 | 0-1 | 2 | 2 | 1-2 | 0-1 | 8 | 2,850-3,900 |
| Medium Run: | 16-20 | 4-5 | 0-2 | 3-4 | 3-4 | 2-3 | 0-2 | 12 | 4,550-6,250 |
| Long Run: | 20-24 | 4-6 | 0-3 | 4-6 | 3-5 | 2-4 | 0-2 | 16 | 5,100-7,750 |
| Notes: | Shovels are very useful in the Cove because many curios require the use of a shovel to get positive effects. Remember to pack enough Shovels to get treasure and through obstacles.
Medicinal Herbs are not only useful for harvesting food from Fish Carcasses, but also erase negative quirks when used on Coral. Additionally Antivenom and Holy Water are each useful for a curio activation to get some healing and buffs. | ||||||||
The Courtyard[ | ]
The Courtyard requires you bring a little bit of everything, one stack of Torches should suffice for a typical venture here. Shovels are important for obstacles but they are also the only method of obtaining Firewood in the Courtyard.
Note that using Skeleton Keys on chests will replace the trinkets contained with random loot, so it is not advisable to take any.
The Farmstead[ | ]
There is no need to bring Torches or Shovels here. Food is not available for the Apprentice/Veteran missions, it will be useful for the Miller's Hearth curio when camping.
The Farmstead works in waves of endless enemies, bring any Bandages, Antivenom, Medicinal Herbs, Holy Water or Laudanum you think you will need. Take at least one Skeleton Key with you.
It's important to have well-chosen camping skills, you will not need scouting or ambush prevention skills, you cannot be ambushed on Farmstead quests.
The Endless Harvest is a matter of endurance, maintaining your party's overall health (particularly stress) will be paramount for a long run.
The Darkest Dungeon[ | ]
For information on The Darkest Dungeon, please refer to its own page.