Heroes, or Adventurers, are characters used by the player when assembling parties and expeditions to explore dungeons. They are divided into several classes, specializations that define their appearance and abilities. Each character has different skills and can fill different roles in combat. Each hero also has unique barks as a reaction to many situations.
Characters are available to be recruited free of charge through the Stage Coach, after being assigned a random name, a set of quirks and a class. Pre-made Heroes are also availible.
Stats
Each character has six different stats, normally determined by their class and their equipment. Stats improve when the hero's Resolve level increases, but can also be augmented through the use of trinkets. Stats are also influenced by quirks, either positively or negatively, and it is possible to acquire temporary effects influencing a hero's stats as a side effect of several Hamlet activities. Stats are also used by monsters, but only defensive ones - dodge, protection and speed, are made known to the player.
Accuracy
Abbreviated as ACC, accuracy the overall chance of landing abilities. The final chance of hitting an enemy is given by the base accuracy of the character, given by character class and weapon tier, modified by any quirk, trinket, buff, debuff and ability modifier, minus the target's dodge: the resulting value is a percentile number that cannot, in any case, exceed 90%.
The accuracy of all enemies improves while at low light levels.
Critical Chance
Abbreviated as CRIT, critical chance determines the chance of an attack or heal scoring a critical hit. A critical hit will cause the attack to inflict double damage, also prolonging the duration of any blight or bleed inflicted to five rounds instead of three. Critical hits inflicted by enemies will also cause stress damage to the victim and have a chance to also cause other party members to suffer some of it. When a hero strikes a critical hit, the hero and occasionally the other members of the party will instead receive stress heal; if a heal crits, the hero being healed will receive a stress heal in addition to a doubled amount of health points recovered. If an enemy is killed with a critical strike, the stress heal from both events is added up, and the enemy will leave no corpse.
In addition to using trinkets and abilities to improve hero CRIT, all heroes will also gain a bonus in critical chance when fighting at low light levels, as a reward for a more risky approach.
Damage
Damage, or DMG, determines the amount of hit points removed by the victim's health when successfully landing an attack. The damage of any attack is calculated on the base damage of the character, which is a gauge between minimum and maximum damage. These values are determined by hero class and the tier of the weapons currently possessed. When landing an ability, a value between the minimum and maximum damage is determined randomly and then modified by any quirk, trinket, buff, debuff and ability modifier. Before lowering the victim's health points, damage is filtered by the victim's protection.
When fighting at low light levels, the enemies will gain additional damage on their abilities.
Dodge
Dodge indicates the chances of avoiding an attack directed at the unit; it is directly subtracted from an attack's Accuracy, the result being the chance of the attack landing successfully; as a result, each dodge point effectively grants 1% chance to evade attacks. In any case, even when a unit's dodge is zero, any attack cannot have more than 90% chance to hit. The dodge of a hero is determined primarily by his class and the tier of his armor, plus any buff, debuff or trinket, in addition to rare quirks granting a bonus to dodge.
Protection
Protection, or PROT, is a percentile value that reduces any direct damage suffered by the character, after its initial damage has been calculated. Protection does not influence damage caused by blight or bleed, and can be reduced by means of some abilities, often those inflicting marks. Many enemies make use of protection, and heroes can gain protection values as well by equipping certain trinkets or utilising certain abilities. The Hard Skinned quirk also provides a base protection value to a hero.
Speed
Speed, or SPD, determines the priority the hero has over other characters and enemies during battle. During each turn, each unit is assigned a random number ranging from 1 to 8, to which its SPD value is added; the order that the participants to the battle will follow to take their actions will be determined by these values, with the highest acting first. For heroes, speed is determined by a base value depending on class and armor, modified by any trinket, buff, debuff and quirk. Taking an action before another unit may grant a chance to disrupt that unit's turn by stunning it or eliminating it before it can act.
Persistent elements
Quirks
Each character is created with a set of random quirks, either positive or negative, influencing their effectiveness in various situations inside and outside expeditions. Quirks can be treated in the Hamlet by using the Sanitarium, to make positive quirks permanent or remove negative quirks.
Diseases
In addition to quirks, heroes may contract diseases during their adventures, giving them various penalties, with some diseases being more vicious than others. Diseases will not expire on their own and will have to be cured either by using the Sanitarium or through particular camping skills available to some classes, particularly the Plague Doctor. Diseases can be acquired as a result of being hit by certain monster attacks or assigned randomly at the end of an expedition. Along with stress, diseases are the main source of constant expenses for the Hamlet's funds.
Stress
As a result of roaming dark dungeons, heroes will gradually accumulate stress. If a hero is too stressed, he will develop an affliction, causing him to acquire heavy penalties, disobey orders and inflict stress damage on his companions. Extreme amounts of stress may also cause a heart attack, possibly killing the hero on the spot.
Stress can also be inflicted by some monster attacks and by any suffered critical strike, plus a variety of other events and situations. Stress will not deplete when concluding a quest and will only be healed by using certain hero abilities or, by paying a fee in gold, by placing the hero in a stress relief facility such as the Abbey or Tavern.
Death
The death of a hero in Darkest Dungeon is permanent. A dead hero will not return from an expedition, causing all his abilities and upgrades to be lost. When a hero dies, any equipped trinket will be dropped and able to be picked up by surviving heroes.
Death will most likely occur during combat as a result of excessive damage taken, but it is also possible to die as a result of excessive stress or by influence of damage over time such as bleeding and blight, which persist through battles. Death can be avoided by healing the hero when he is on Death's Door (by using an ability, or by using food when not in combat) and by preventing him from reaching 200 stress.
Abilities
To each hero is assigned a class, which determines the hero's abilities and looks. Every class has a set of seven combat abilities and seven camping skills, of which a maximum of four can be active at a time.
Combat skills
At the time of their recruitment at the Stage Coach a hero will have four of his seven combat abilities unlocked, and three out of seven camping skills. Each hero must have exactly four combat abilities active, but, provided they have been learned through the Guild, it is possible to change the active ones at will while out of combat.
Combat skills can be levelled up by using the Guild building in the Hamlet, improving various aspects of them at a cost. This also makes the value of each improved hero higher, discouraging the player to take too many risks while using him, for fear of losing all the resources spent to enhance him.
Camping skills
Camping skills must be learned through the Survivalist, with a maximum of four active at a time, though only three of them will be learned at the start; differently to combat skills, they cannot be changed once inside an expedition.
Camping skills cannot be levelled up, but learning them is more costly than combat abilities. Of the seven camping skills of any class, three will always be the same for every class, and one of these will always be already available at the recruitment of a hero.
Classes
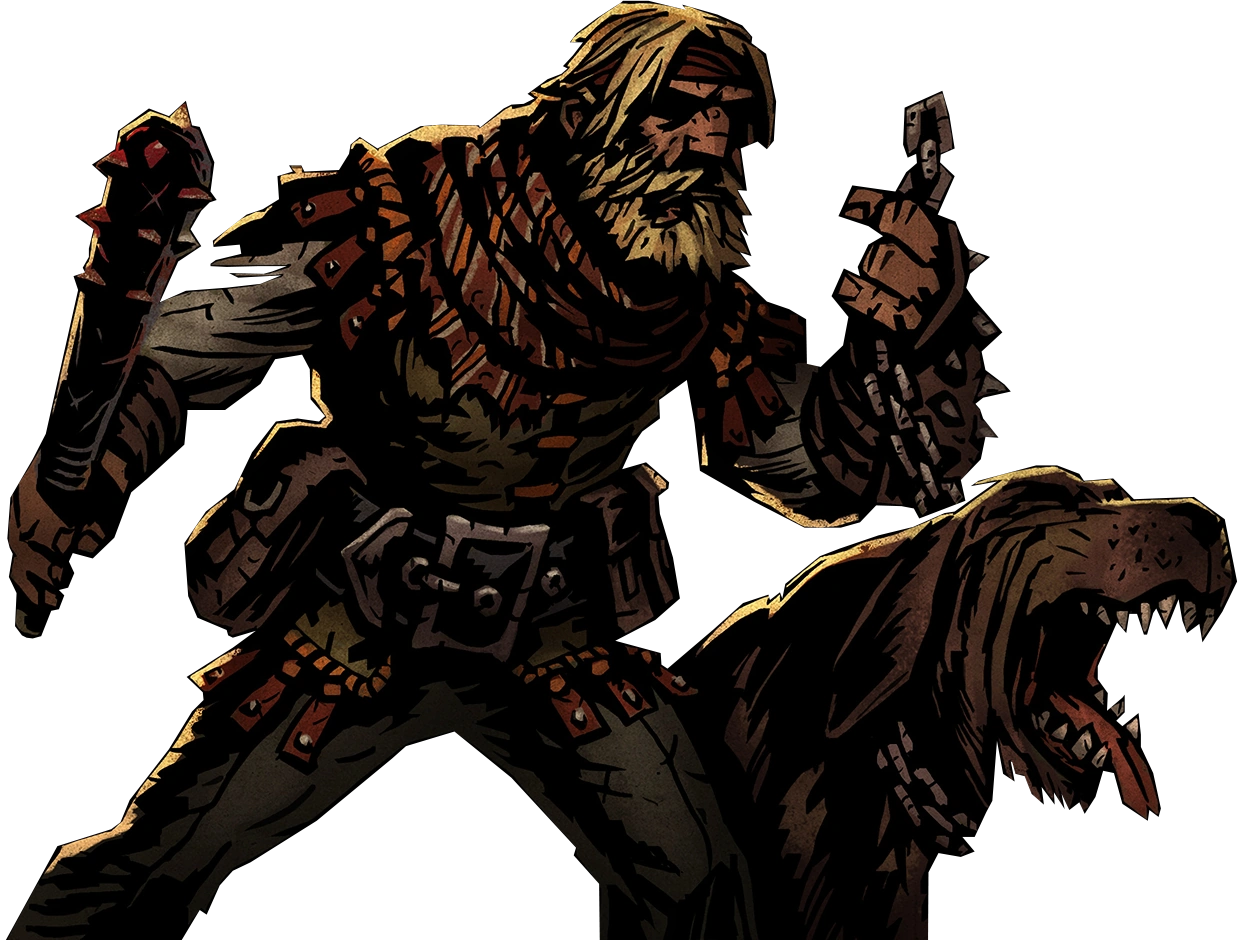
Abomination
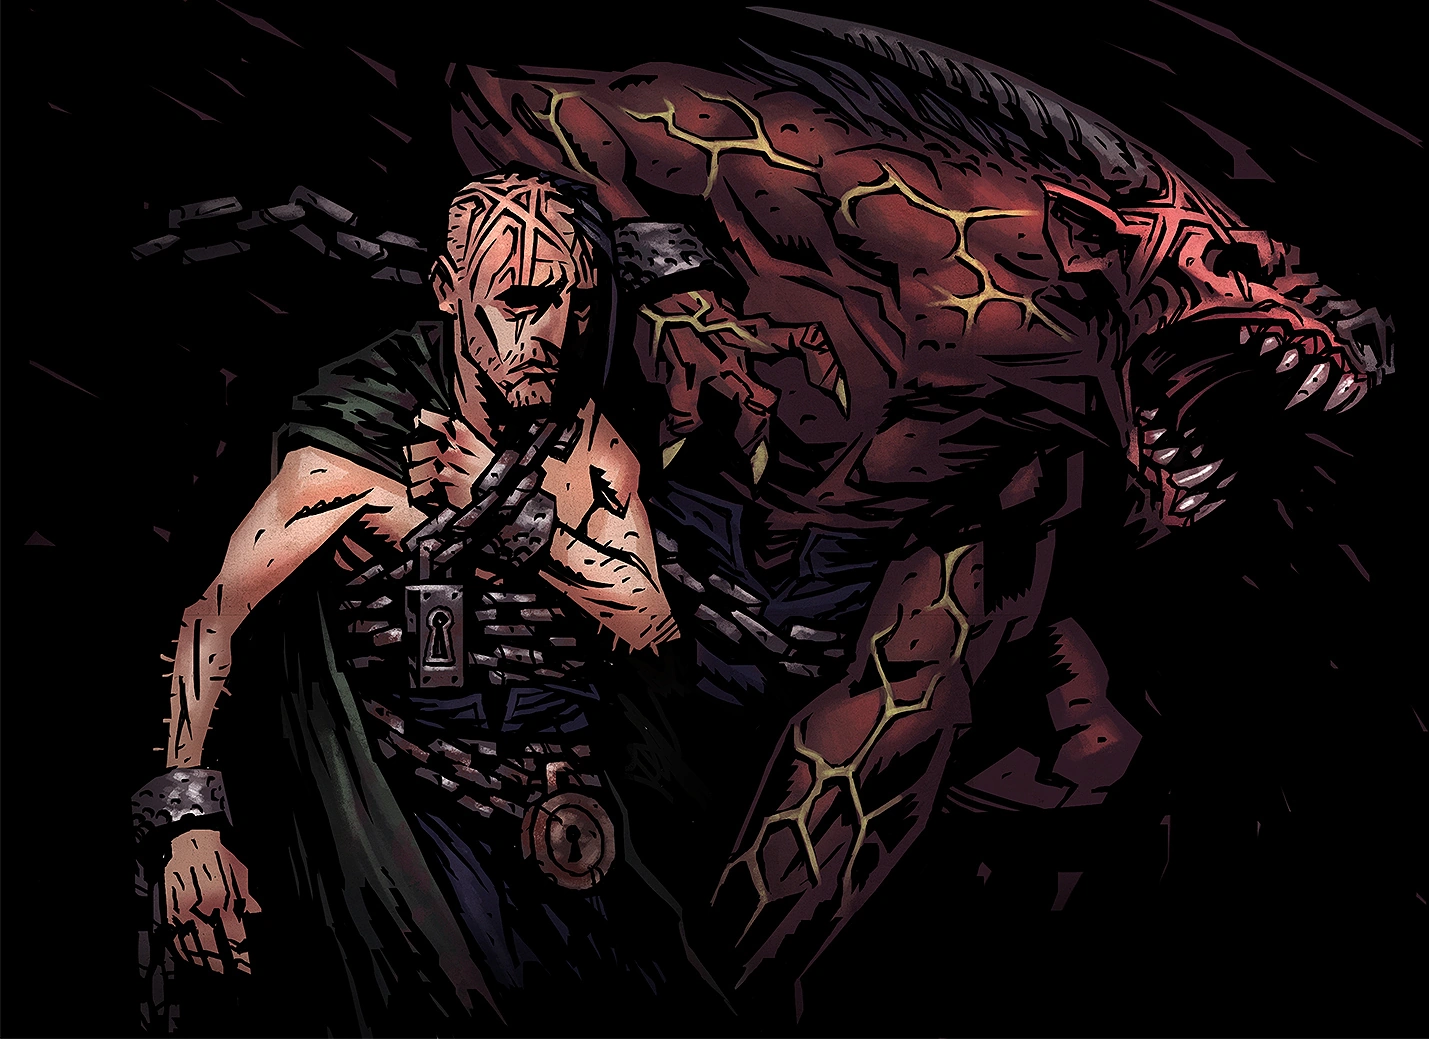
The Abomination shifts himself into a scary and monstrous beast knocking down every enemy on his road and increasing his own mates' stress

| “ | Tortured and reclusive... this man is more dangerous than he seems... | „ |
| ~ The Narrator on recruiting the Abomination |
Introduced in the Inhuman Bondage update, the Abomination is a powerful and versatile shapeshifting fighter. He can deal a fairly good amount of damage in beast form from the front ranks, as well as stun enemies (while also dealing decent damage). He can also cause blight from the second or third ranks in human form. He is capable of controlling his own health and stress, which makes this hero class very special.
What makes this class truly unique, is the fact that all his abilities are available from his base level, meaning you don't need to pay for them in the Guild.
On the dark side, an Abomination does not fit in parties with religious classes (like Vestal, Crusader or Leper) which leaves him with only two choices -- rely on self-healing or team with an Occultist. Also, using transformation into beast form inflicts a respectable amount of stress on all the party members, which is not compensated for by the stress heal when transforming back into human form.
Arbalest
The Arbalest wields a fearsome crossbow into battle.

| “ | Shoot, bandage and pillage: the dancing steps of war. | „ |
| ~ The Narrator on recruiting the Arbalest |
One of the two new Hero Classes introduced in the Fiends & Frenzy patch, the Arbalest carries a heavy crossbow with which she is able to snipe high priority targets from afar. As a downside, she is only fully effective from the 3rd and 4th ranks.
Like the Bounty Hunter, she can Mark a target with Sniper's Mark, which boosts the damage on Sniper Shot when used on a Marked enemy. Since the Arbalest doesn't need to be the one who marked the target to deal extra damage, she works very well with the Bounty Hunter, the Occultist, and the Hound Master.
The Arbalest has multiple utility skills that can be used in an advantageous situation, such as her heal, Battlefield Bandage, which also increases the potency of other healing effects on the target. Because of this she works especially well with other healing classes like the Vestal. A major ability in her arsenal is Blindfire, which can be used from any position and increases her speed temporarily - however, you cannot choose which enemy you will shoot. Her Bola and Suppressing Fire area-of-effect abilities are also invaluable, wreaking havoc on entire enemy parties.
The Arbalest is the most effective hero for dealing high damage from the back ranks. She can also be an effective support addition to many team compositions.
Bounty Hunter
The Bounty Hunter is equipped with an axe and a variety of tools to hunt down his foes.

| “ | The thrill of the hunt... The promise of payment... | „ |
| ~ The Narrator on recruiting the Bounty Hunter |
The Bounty Hunter can be your crowd control guy or damage dealer. His job is to wreak havoc on your enemies' formation and is able to deal a good amount of single-target damage under proper conditions. He is a great support character who can serve on all fronts, due to the versatility of his skills that he can use no matter where he is placed in the party formation. As he wears only light armor, he isn't a class meant for tanking. He also lacks any area-of-effect skills, which is unusual for high-damage classes - be careful not to waste his damage!
For the most effective use of this class, team them up with heavy hitters or people who can stun/mark targets like them. The power that is given to his damage when marked/stun targets get hit with Collect Bounty or Finish Him makes it a breeze to kill targets. Crusaders, Lepers, and Hellions can get their blades into the back row troops he reels in with his grappling hook. Meanwhile Plague Doctors, Grave Robbers and Occultists can stun and target enemies to maximize his damage potential and push/disorient pesky melee troopers away from the front to capitalize on frail ranged units in the back-line.
Crusader
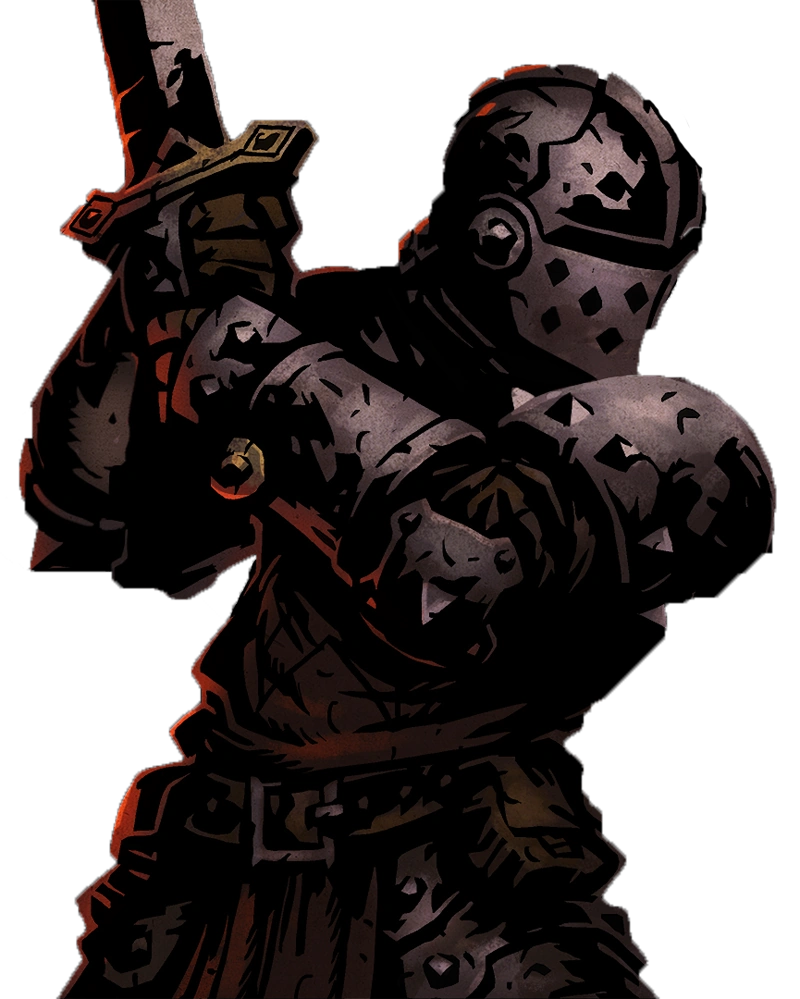
The Crusader is a heavily armoured warrior of faith, as pious as he is dangerous.

| “ | A mighty sword-hand anchored by a holy purpose. A zealous warrior. | „ |
| ~ The Narrator on recruiting the Crusader |
One of the first characters you get in-game, the crusader is one of the game's tank classes. Designed for the basic task of both taking hits and dealing high damage to the enemy. He is a front line combatant with minor support skills that can come in handy, but not be relied on. He is a character that should always be found either in the first or second row. He is best supported with healer types like Vestals or Occultists and those who can provide much valued range attacks to deal with those he cannot reach, such as Grave Robbers or Highwaymen.
The Crusader has a distinct edge against undead enemies thanks to his Smite skill, having at the minimum a 15%+ damage against them (which can later be upgraded to a max of 40%+ damage), making him a good choice for going into the Ruins. The Crusader also possesses some crowd control, with Stunning Blow to deal a reliable stun and Zealous Accusation to damage the front row enemies. Should the Crusader be pushed back, he can use Holy Lance to move him back to the front, which has an added effect of being able to hit the back row enemies. Meanwhile, his Bulwark of Faith will ensure that most enemy damage thrown his way does barely a scratch on him.
At Camp Sites, the Crusader has access to multiple anti-stress skills. He can reduce his party's stress and heal them with a Zealous Speech or Zealous Vigil to reduce one party member's stress, especially if they're diseased, while sharpening its accuracy. He can also prepare his party for a stressful battle with Unshakable Leader and Stand Tall.
A fantastic unit in the game for dueling it out with the worst and keeping those who would die safe. While he may lack range, he more than makes up for it with his sturdiness, utility, and accurate, strong strikes.
At the beginning of the game, you start with a Crusader named Reynauld. Note that he has the pesky Kleptomaniac quirk - removing this should be a priority as soon as the sanitarium is unlocked.
Grave Robber
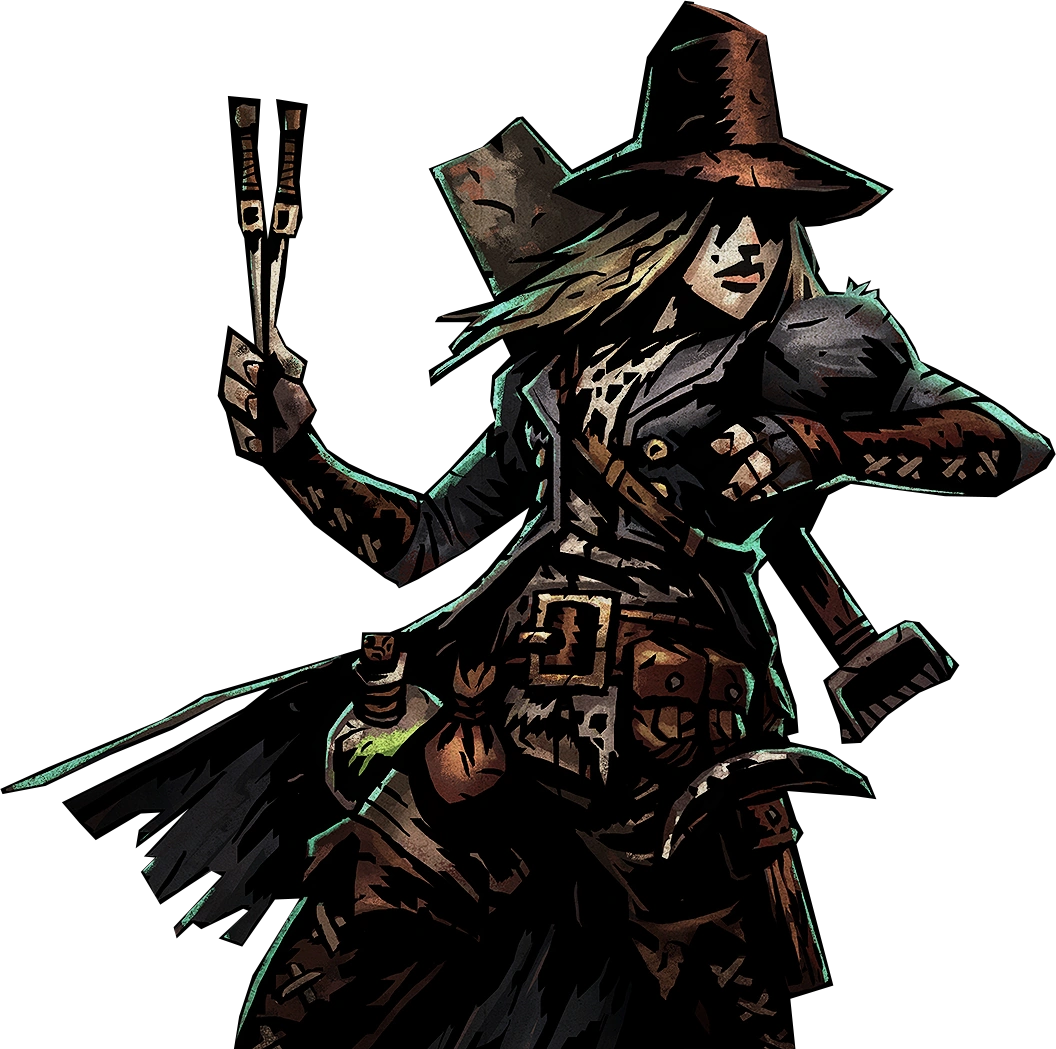
The Grave Robber has numerous throwing daggers and other tricks at her disposal to face any sort of monster.

| “ | To those with the keen eye, gold gleams like a dagger's point. | „ |
| ~ The Narrator on recruiting the Grave Robber |
The Grave Robber has an odd niche in the available class roster due to her versatility. Her mix of melee and range skills enable her to be a part of any line-up, and ensure that she has at least one available skill no matter where she is placed position-wise. While she doesn't deal as much damage as the Highwayman who has a similar role to her, she makes up for it by being independent with access to a variety of self-buffs and high precision strikes. She can toss daggers and poison darts into the back-line, increasing her accuracy to ensure successive hits to evasive enemies. She can indirectly correct party formations with her "Lunge" and "Shadow Fade", all while contributing to the party's survival with a high critical strike and increasing her own ability to avoid damage with a Dodge buff. If you simply need direct damage to do the job, a "Pick To the Face" can be just what you need to pick off that Cultist Acolyte. She also has the highest trap disarm chance of any hero. To be as nimble as she needs to be, she only wears light armor which makes her a high roller on dodge chance to evade hits that would easily bring her to Death's Door.
To use her to the best of her abilities, she prefers a party line-up whose roles aren't as solidified in one position in the formation. Crusaders and Lepers are classes you'd want to avoid if you would want to use her positioning abilities to your advantage. If used in the back, she can simply toss daggers and poison darts to be a sniper towards the back-lines, and attack weakened melee units with a "Pick To The Face". The poison darts are particularly notable - the ability is one of the very few hero abilities that inflicts blight. These are ideal against high PROT bleed-resistant enemies found in the Ruins and the Cove.
If used in the front, a combination of "Lunge" and "Shadow Fade" makes her nigh untouchable with a continuous stream of dodge buffs and high critical strikes. A simple but effective synergy is to pair her up with a Highwayman in the front lines, and use "Point-Blank Shot" to bring her to the front, and then have the Grave Robber "Shadow Fade" to the back so that "Point-Blank Shot" may be used again. The high damage output paired with the utility of a dodge buff and a stun indirectly help the two stay alive in heated moments with high damage-melee units.
Overall, the Grave Robber is an incredibly versatile class. Many ability combinations are effective, so feel free to experiment!
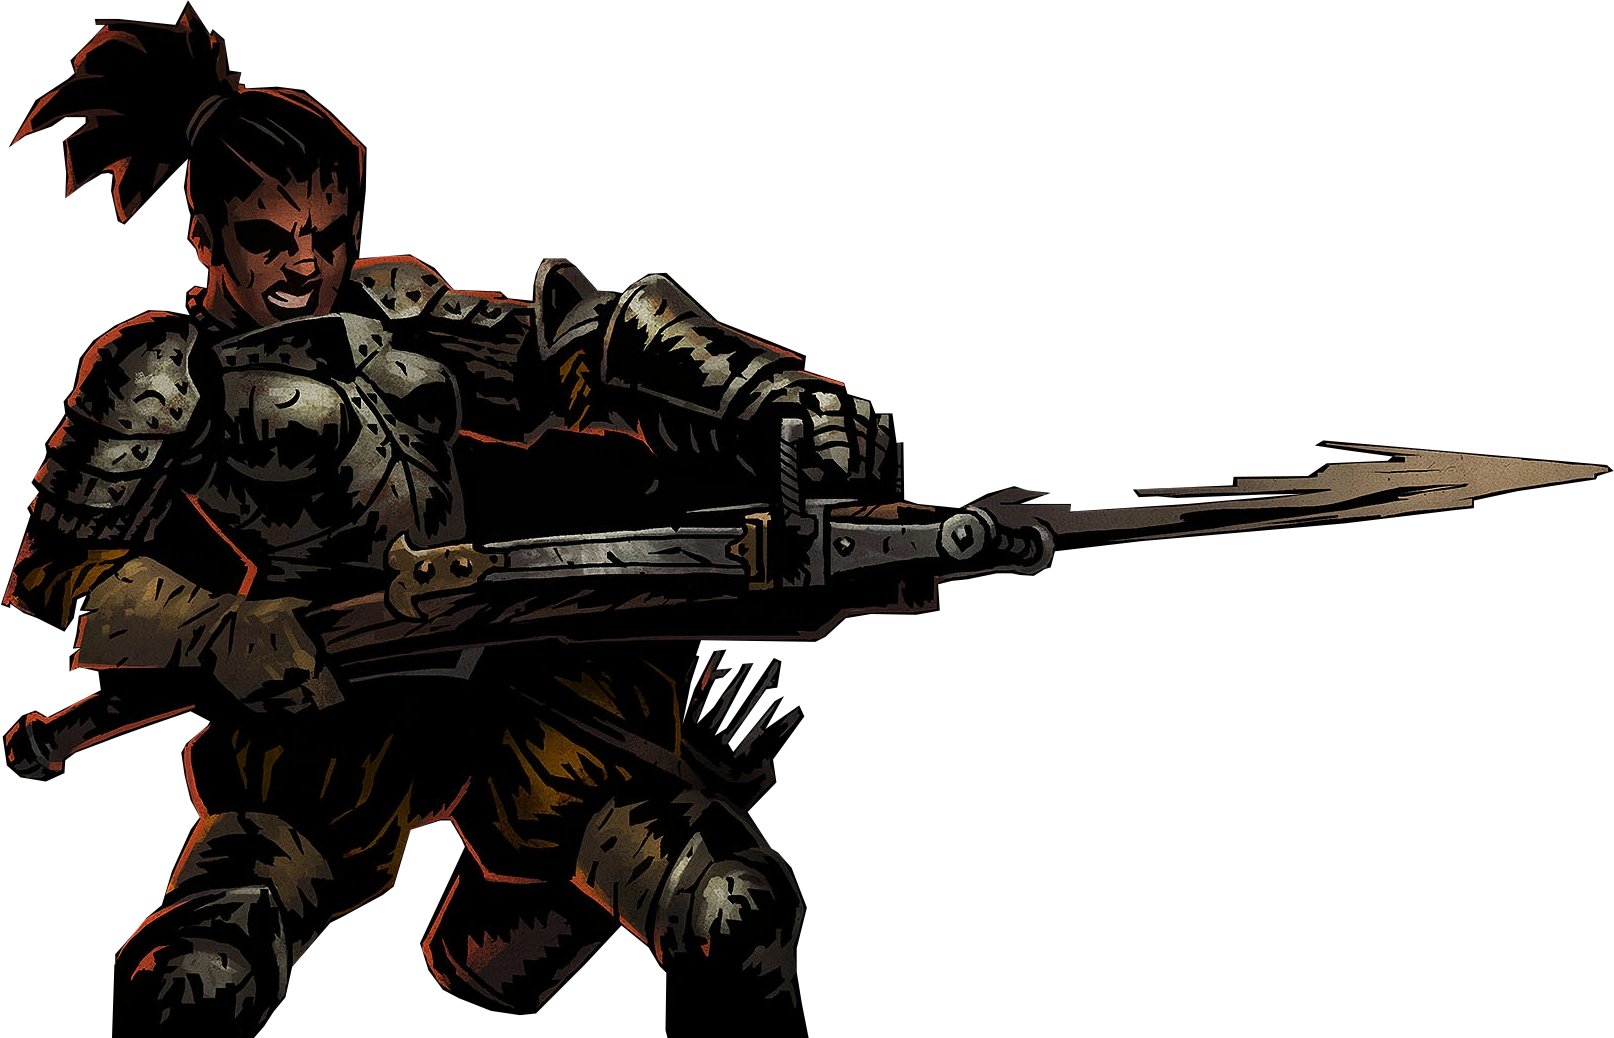
Hellion
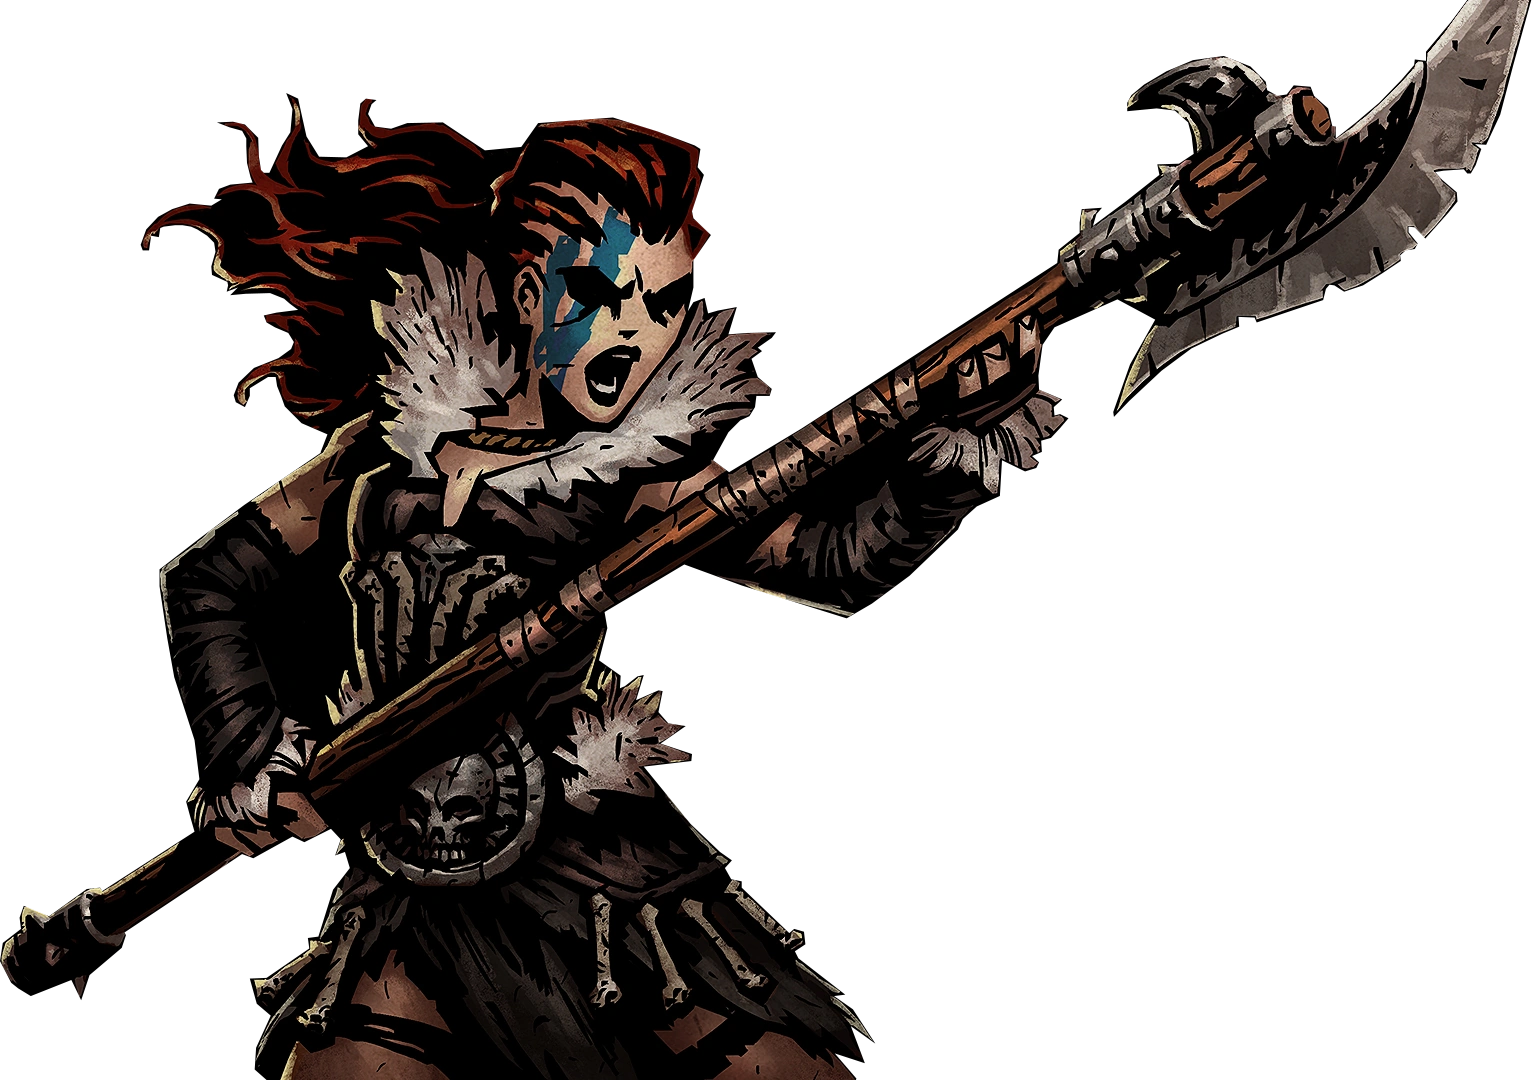
The fearsome Hellion brings a mighty halberd into battle, reaching out to spill the blood of enemies in any position.

| “ | Barbaric rage and unrelenting savagery make for a powerful ally. | „ |
| ~ The Narrator on recruiting the Hellion |
One with a unique set of abilities, Hellion is a somewhat tanky dps class that is relatively unaffected by formation shuffle and always up for delivering serious damage regardless of where she is positioned within the rank. Head-on offense with Wicked Hack, AoE with Breakthrough, stun 2 enemies with BARBARIC YAWP!!, and even pick out the annoying support hostile at the furthest back slot with her Iron Swan. The Hellion's drawback is that many of her strongest moves will cause exhaustion - debuffing her damage and dodge. To counter her exhaustion, she can buff herself back up with Adrenaline Rush. The Hellion is a versatile front rank hero who can attack anything with massive damage, and crowd control enemies with massive stuns. Her versatility is only matched by her ferocity.
Highwayman
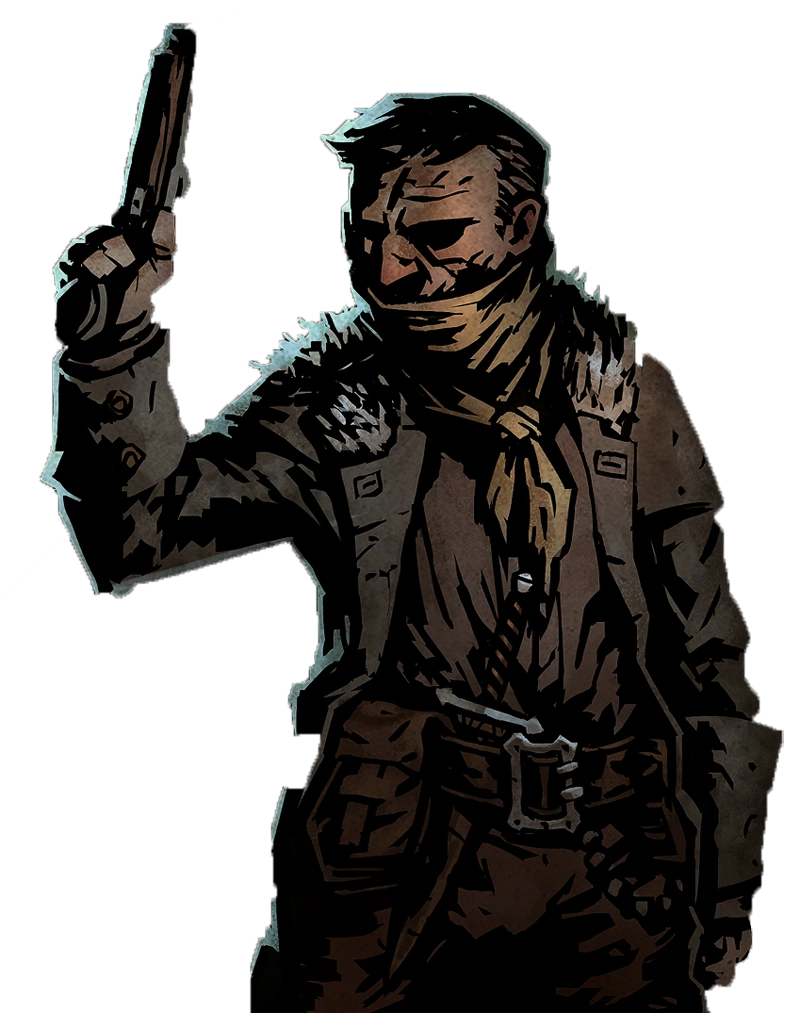
Armed with a gun and a sharp knife, the agile Highwayman can dispose of any foe.

| “ | Elusive, evasive, persistent. Fitting traits for a rogue. | „ |
| ~ The Narrator on recruiting the Highwayman |
The Highwayman is an offensive class than can dish out damage from any position. Wherever the foe might force him to move or however many there are, he can cause them misery, and often in exactly the flavor you happen to need.
From the back, he can pick off foes with his Pistol Shot, and move forward with Duelist's Advance. In the middle, he perform a Wicked Slice on an enemy, use Open Vein to bleed them out, or damage multiple enemies with Grapeshot Blast, finishing off weakened enemies and softening up others. At the front, he can use a Point Blank Shot to deal a huge amount of burst damage, while pushing him and the enemy back. To add to this, the Highwayman can use Tracking Shot to deal minor damage while buffing his offensive stats for the next several turns.
The price he pays for this flexibility is simply not being as hard hitting or as tank-y as other, more specialized damage dealing characters. He also lacks a stunning skill, which can sometimes be more important than a damage skill. What he offers is the fact that he can be dropped into almost any team, that could be facing almost any enemy, and you know you will be seeing a return from him.
At the beginning of the game, you start with a highwayman named Dismas.
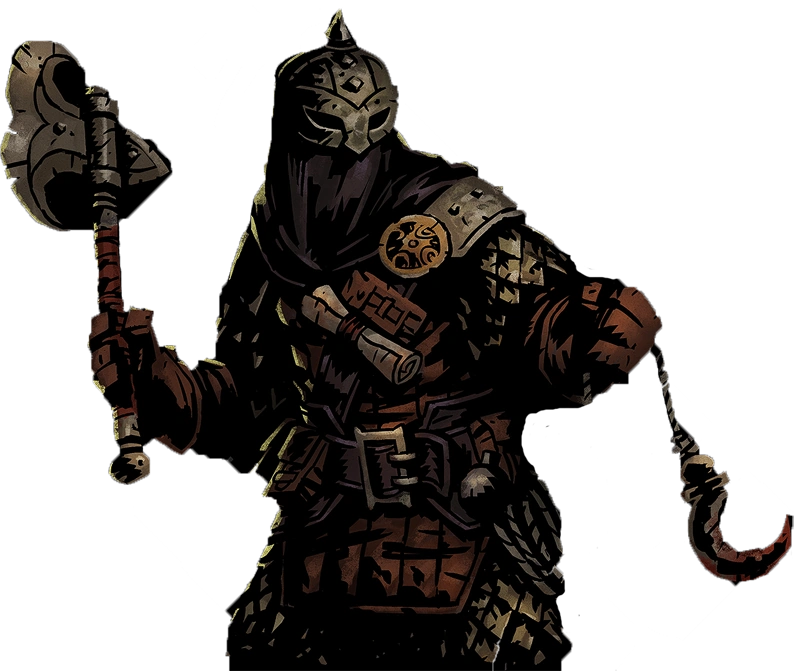
Hound Master
The Hound Master is accompanied by his loyal hound, capable of inflicting grievous wounds on enemies, and reassuring friends.

| “ | A lawman and his faithful beast. A bond forged by battle and bloodshed. | „ |
| ~ The Narrator on recruiting the Hound Master |
Added during the Corpse & Hound update, the Hound Master brings forth a variety of skills that can be used to support allies and wound enemies. His two main attacks, Hound's Rush and Hound's Harry, both inflict bleed. This means that the Hound Master is far more effective in the Weald and the Warrens - the two areas where enemies are the most susceptible to bleed. If you bring your Hound Master to the Ruins he will be somewhat less effective, but only against the Undead common to that area. Additonally, many Eldritch in the Cove are resistant to bleeds. However, he can still be a force to be reckoned with in both of those zones. Lastly, his Main Attack - Hound's Rush will deal additional damage to Beasts - this damage modifier increases as the skill level itself does, making him particularly suited to the Warrens, or against Beast bosses.
The Hound Master also has a variety of support abilities. Target Whistle is a unique marking attack that lowers the enemy PROT - the only ability in the game to do so - making it invaluable against certain high PROT enemies. Cry Havoc allows you to relieve some stress from your party, while Guard Dog protects teammates while giving yourself a better chance to dodge. Lick Wounds makes a quick self heal in a pinch, and Blackjack stuns enemies so they can't attack your allies.
The Hound Master has another special treat up his sleeve: the Dog Treat. Twice per dungeon run, he can use a free dog treat to give himself an ENORMOUS self-buff for several rounds of a fight. This makes the Hound Master ideal for bosses, especially bosses and random miniboss encounters, particularly those that can bleed or are considered beasts.
Jester
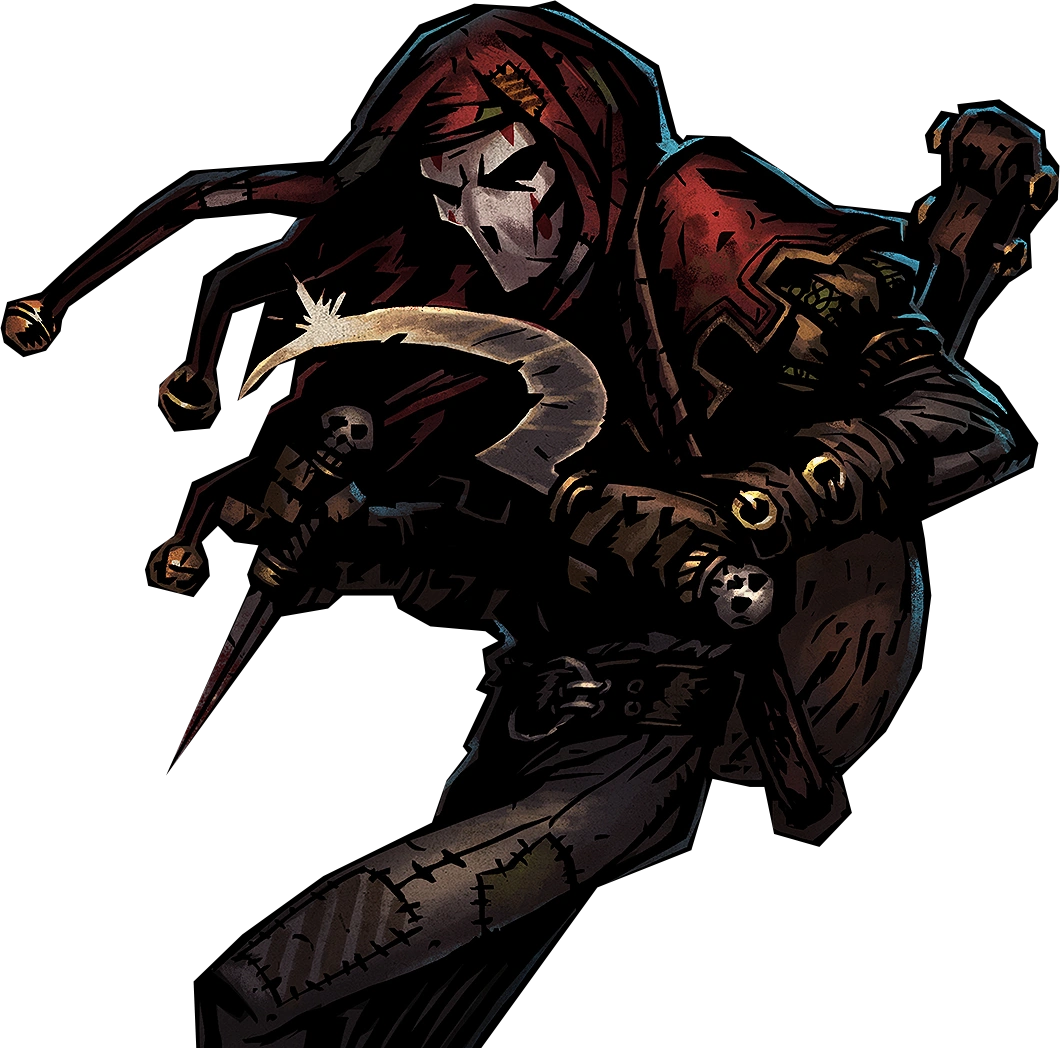
Nobody jumps around the battlefield quite like the Jester, alternating the notes of his lute with the blood symphony of his dirk and sickle.

| “ | He will be laughing still... at the end. | „ |
| ~ The Narrator on recruiting the Jester |
The Jester is a mix of support abilities and area of effect damage bleed abilities. He is somewhat inflexible, and has a huge range of strict positional requirements for his abilities. Under certain situations, however, he can be both a devastating damage dealer and a powerful support character.
The Jester possesses many different skills that change his position, so he should not be combined with classes that don't like to move around, especially the Leper. He can use Dirk Stab to move him forward while dealing a decent amount of damage or Solo to bring himself to the front while debuffing the enemy's accuracy and speeding himself up. Once the Jester is in the front, he can use Finale to deal extremely heavy damage with a high crit chance to a single target and retreat to the back, at the cost of heavily debuffing himself.
If specialized for damage, he can be placed in the middle of the party for some devastating bleed attacks. Harvest hits both the second and third enemy positions and makes them bleed. Slice Off is similar to Harvest, only it deals more damage and bleed damage at the cost of only hitting a single target.
The Jester's has two unique support abilities that he performs by playing a tune on his lute. Battle Ballad is an incredibly powerful party-wide buff that increases the whole party's accuracy, speed, and critical chance. Meanwhile, Inspiring Tune is an extremely powerful and unique stress heal, with a base reduction of 10 stress. Frequent use of Inspiring Tune means that your whole party can skip their weekly trips to the Abbey or the Tavern. Unfortunately, he can only use these two buffs while hanging back.
Leper
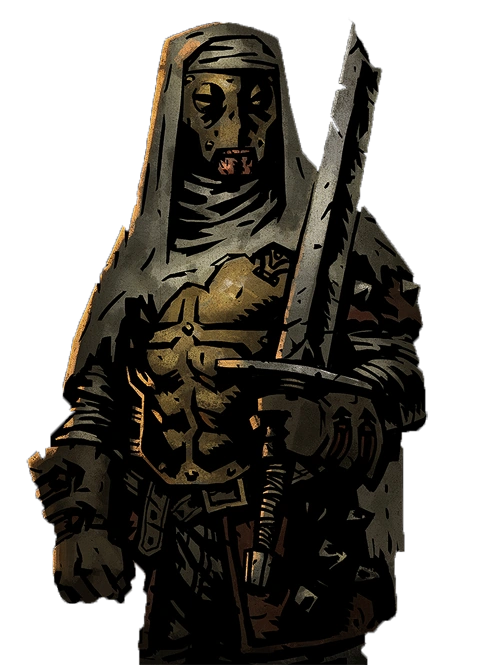
Afflicted by a mortal disease, the Leper dedicates what life he has left to the service of faith and to purging the world from abominations.

| “ | This man understands that existence and adversity are one and the same. | „ |
| ~ The Narrator on recruiting the Leper |
An incredibly heavy damage taker and giver, the Leper is an initially awkward but potentially game-winning character. The Leper is capable of delivering a brutal amount of damage while withstanding whatever is thrown at him, but is held back by his low accuracy and is only effective on and against the front two ranks. He has both the highest base damage and the highest base health of any hero.
The Leper can Chop one enemy or Hew two enemies to wound and kill whatever's in front on him, or he can Intimidate them to reduce their damage and accuracy. He can also use Purge to knock back an enemy all the way to the back while removing any corpses on the battlefield.
The Leper also possesses self-buffs to increase his key strengths. Withstand gives him Protection and reduces stress, while Solemnity heals himself and grants him status effect resistances. Revenge grants the Leper a large damage, crit, and accuracy boost, at the cost of lowering his defenses.
He operates much better when equipped with the right trinkets and supported by classes such as the Man-at-Arms, who can boost his accuracy. His needs to be on the front line and inability to hit the enemy's back line means he benefits greatly from the presence of classes such as the Grave Robber, the Occultist, and the Bounty Hunter, who can variously move backwards, drag vulnerable troops to the front and mark them for him to dispatch with extreme prejudice. Dropped into any party, the Leper is a frustrating and clumsy ally; properly supported in the end game, he can pulverize any foe.
Man-at-Arms
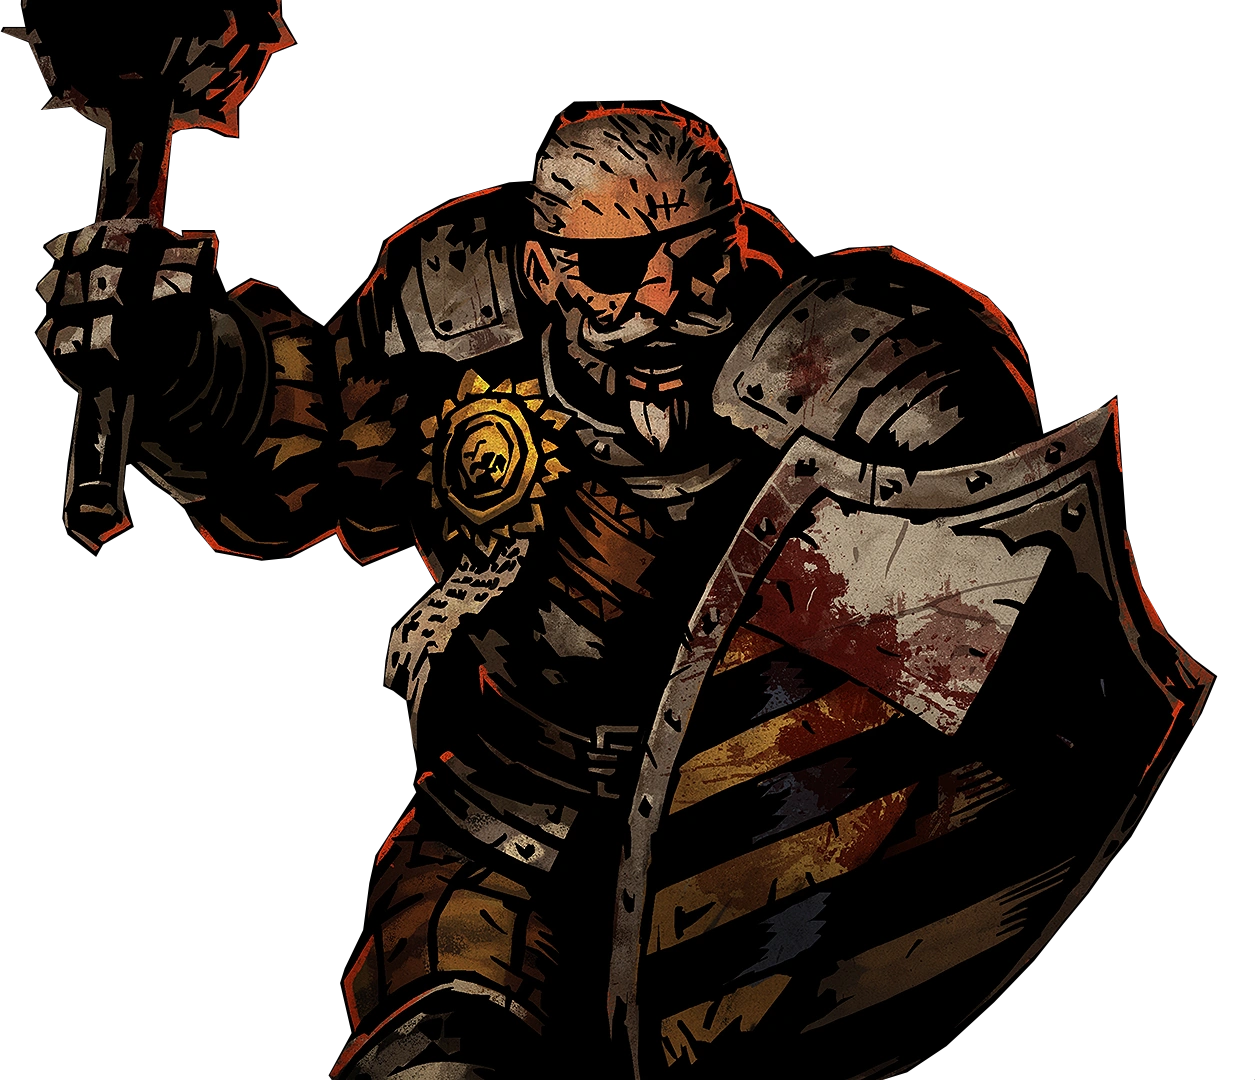
A battle-hardened Veteran, the Man-at-Arms is a valuable asset to any combat squad.

| “ | The raw strength of youth may be spent, but his eyes hold the secrets of a hundred campaigns. | „ |
| ~ The Narrator on recruiting the Man-at-Arms |
A new Hero Class introduced in the Fiends & Frenzy update, along with the Arbalest, the Man-at-Arms is a front-line defensive class with a focus on survivability. He is comparable to the Crusader in terms of role, but trades offense for extra supportive abilities and increased attack range. He has the ability to protect a teammate with Defender, redirecting an attack targeted at a vulnerable ally towards him. He can buff an ally with either Command to give them bonus accuracy and damage vs. undead, or Bolster them to boost their dodge and speed. Additionally, he can Bellow to reduce the enemy team's dodge and speed, giving your team the upper hand in turn order, and knock back and stun an enemy while moving himself forward with Rampart. The Man-at-Arms is also flexible in terms of position and can perform well in all but the back row.
Unlike the Crusader, Man-at-Arms is rather unimpressive on the offense, but is still capable of dealing great damage thanks to Retribution. Retribution Marks himself and activate Riposte, countering any attacks attempted at him with a powerful blow. Riposte is especially effective against an enemy with an area-of-effect attack, as he will counter those attacks too. Back-row enemies that love to abuse area-of-effect attacks such as Fusiliers are easy picking against a prepared Man-at-Arms.
In the Camp, the Man-at-Arms has some of the most powerful buffs in the game. He can provide huge damage, accuracy, and crit buffs to himself and his teammates, or increase their dodge chances.
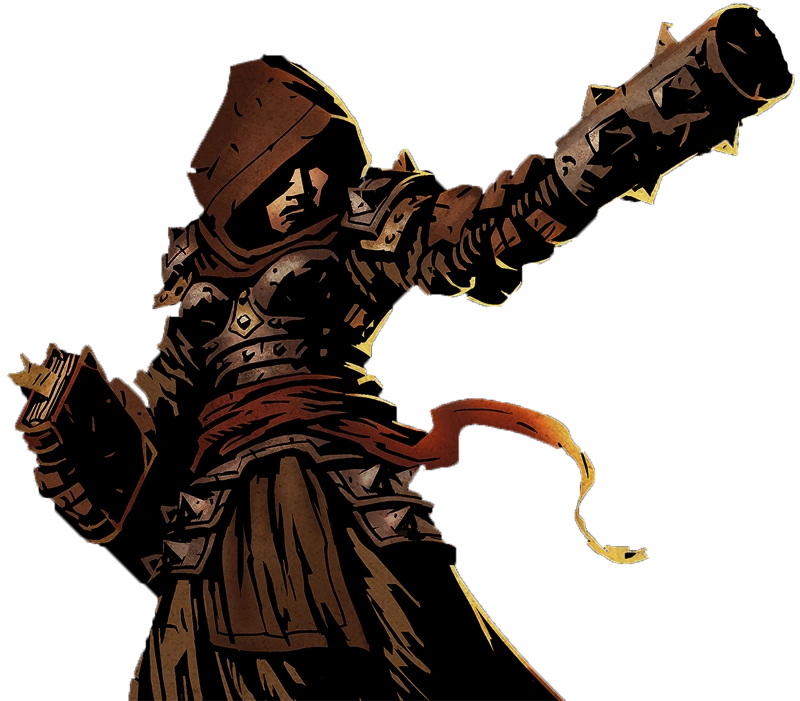
Occultist
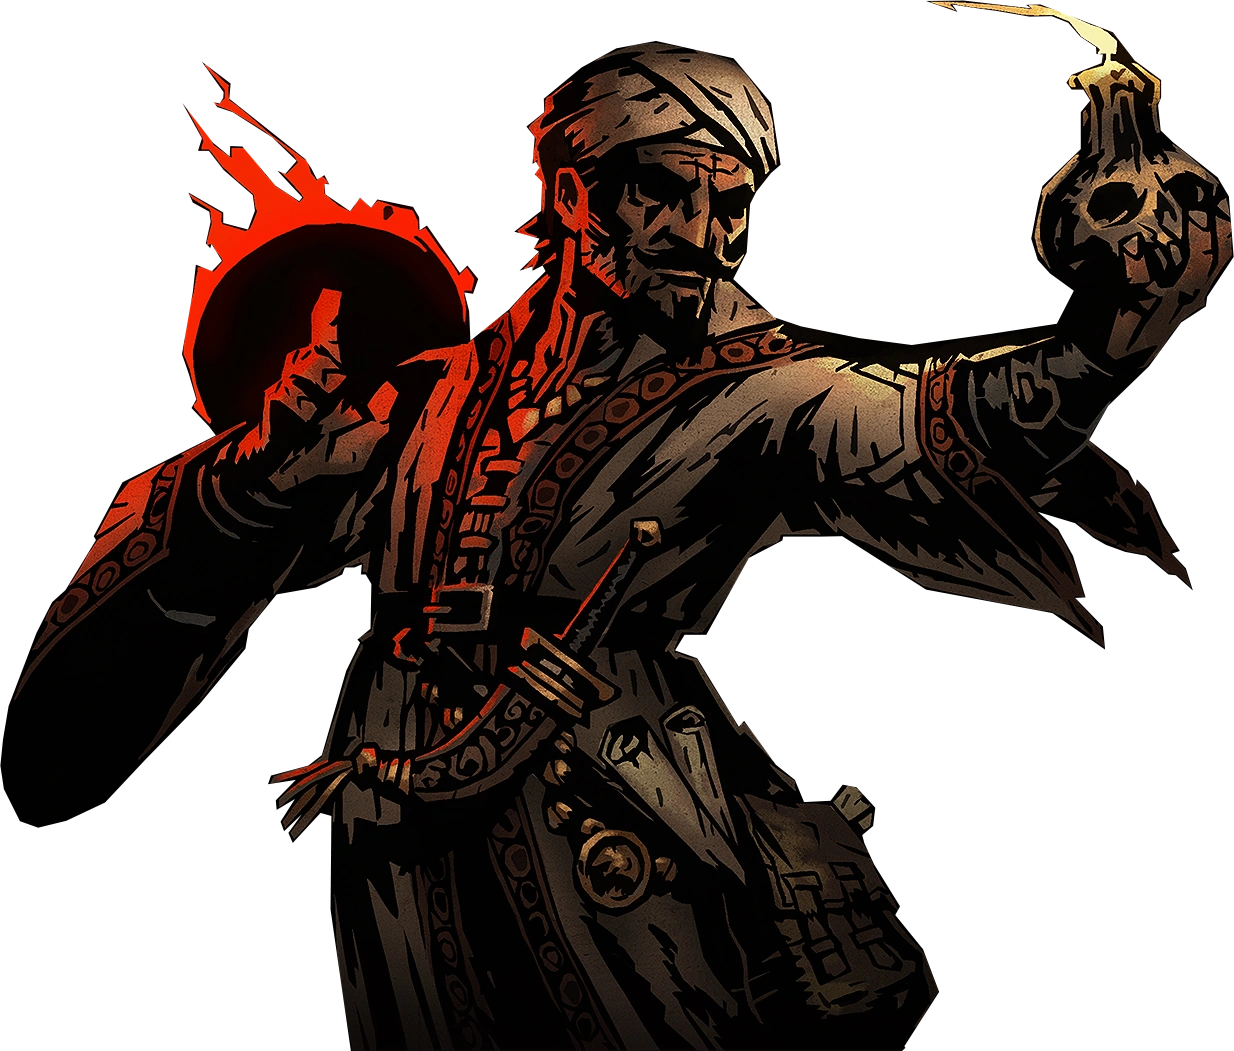
The Occultist is the living proof that the dark arts can be used to expunge darkness itself.

| “ | To fight the abyss, one must know it... | „ |
| ~ The Narrator on recruiting the Occultist |
The Occultist is a support class who specializes in using powerful debuff spells on the enemy while healing allies. He has low health, deals low damage, and occasionally his powers may backfire, but when his Eldritch curses work, they work well. With his Vulnerability Hex and Weakening Curse, he softens up enemies for your heavy hitters to take down; the fact that the Hex marks the target makes him an excellent ally of the Bounty Hunter, Arbalist, and Hound Master. What's more, his Weakening Curse can quickly nullify even the hardest-hitting enemy. A few stacks of Weakening Curse will entirely nullify the attacks of any enemy, making it deal 0 damage!
With Daemon's Pull and Abyssal Artillery he can hurt back line units, the former wrenching individuals to the front where your warriors can reach them while clearing corpses. Near the front he can use Hands From Below, a spell that sacrifices light in order to hit two enemies with accurate stun. Finally, he has his Wyrd Reconstruction, which is capable of either massively healing an ally or healing little or even no health while bleeding them, a skill truly capable of winning a fight or getting an ally killed. In practice, however, Wyrd Reconstruction is reliable enough to be the party's primary source of healing.
Worth noting is that although the Occultist has a low attack and most of his attacks have damage penalties on top, they do all have a high critical chance. Given any kind of critical boost through trinkets or effects the Occultist has a good chance of inflicting heavy damage and increasing morale, particularly with his one physical attack Sacrificial Stab, which has the significant critical chance base of 10%. His bonus damage to Eldritch can also be very effective in The Cove.
In camp, he fully lives up to his reputation of offering extremely powerful help to himself or his allies, at a significant penalty. He can heal everyone in the party at the cost of torchlight; he can hugely reduce his own stress at the cost of everybody else's; he can increase his own stress to boost an ally's damage by 20%; and he can commune with the void to heal himself and boost his speed.
All in all, the Occultist is a highly specialized character that all too often will fail a party not set up to get the most out of him. Supporting the right characters and using his dark powers carefully, however, he is an extremely powerful ally.
Plague Doctor
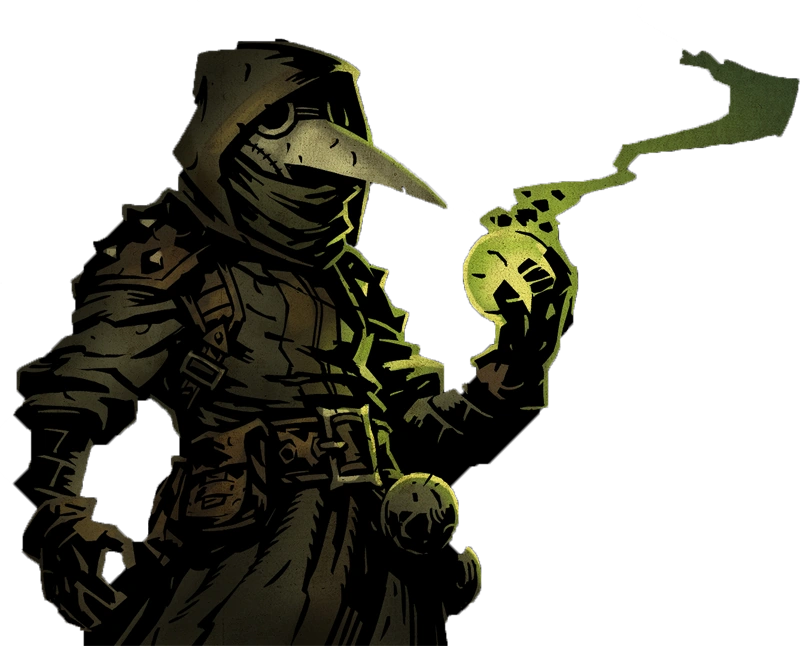
In the hands of a Plague Doctor, medicines and concoctions are not only a tool against maladies, but also fearsome weapons against any foe.

| “ | What better laboratory than the blood-soaked battlefield? | „ |
| ~ The Narrator on recruiting the Plague Doctor |
The Plague Doctor is a powerful support class specialized in blight damage and dealing with the enemy's own damage over time effects. From the rear, she can blight enemies with Noxious Blast or Plague Grenade, stun the enemy back line with Blinding Gas, and and cure herself or allies of blight and bleed with Battlefield Medicine. Closer to the front, she may use Incision to deal melee damage and bleed enemies. From any position, she may increase the damage of an ally using Emboldening Vapors, or shuffle the position of an enemy and clear corpses using Disorienting Blast.
The Plague Doctor is useful when stunning strong back line enemies, building more time for your team to wreck the enemy front. She is also quite handy preventing your heroes from sustaining too much damage from bleed or blight, and is especially useful for nullifying the dreaded Uca Savage's Arterial Pinch. In fact, the Plague Doctor is an extremely good choice for the Cove, due to both Battlefield Medicine and her plethora of blight skills, which cut straight through the armored horrors found there. She is not so effective in the Weald and the Warrens, where enemies are more blight-resistant.
True to medieval doctors, the Plague Doctor may use leeches during camping to heal and cure allies of poison and disease. With her Experimental Vapours, she may heal a great amount of life from an ally, with a small chance of failure. She is also capable of curing an ally of disease without the use of a Medical Ward. The Cure flat-out cures a disease from an ally, Leeches heal and remove poison with a chance of curing a disease, or she can Self-Medicate to do the same for herself, and more.
The Plague Doctor will always be one of the first two heroes available in the Stage Coach, along with the Vestal.
Vestal
A pious woman, the Vestal is determined to bring faith on the battlefield as a weapon against corruption.

| “ | A sister of battle. Pious and unrelenting. | „ |
| ~ The Narrator on recruiting the Vestal |
Darkest Dungeon's most effective healing class, the Vestal is a versatile and initially crucial support character. Attacks such as Hand of Light and Mace Bash means she is not helpless if dragged to the front, but her specialty is hanging back and aiding her team with heals and her blinding Illumination and Dazzling Light abilities. Early on, these heals are absolutely essential to keep your combat classes up and running.
Although her utility may seem to fall off in the more difficult dungeons, she nevertheless is the most effective healer available. This makes her exceptionally useful for difficult boss fights such as the Shambler. She's also excellent in long dungeons, where she can serve as a consistent source of healing and light generation. She is a nice addition to a party adventuring in the Cove as well, as she can help combat the high damage of the Pelagic Groupers.
The Vestal will always be one of the first two heroes available in the Stage Coach, along with the Plague Doctor.
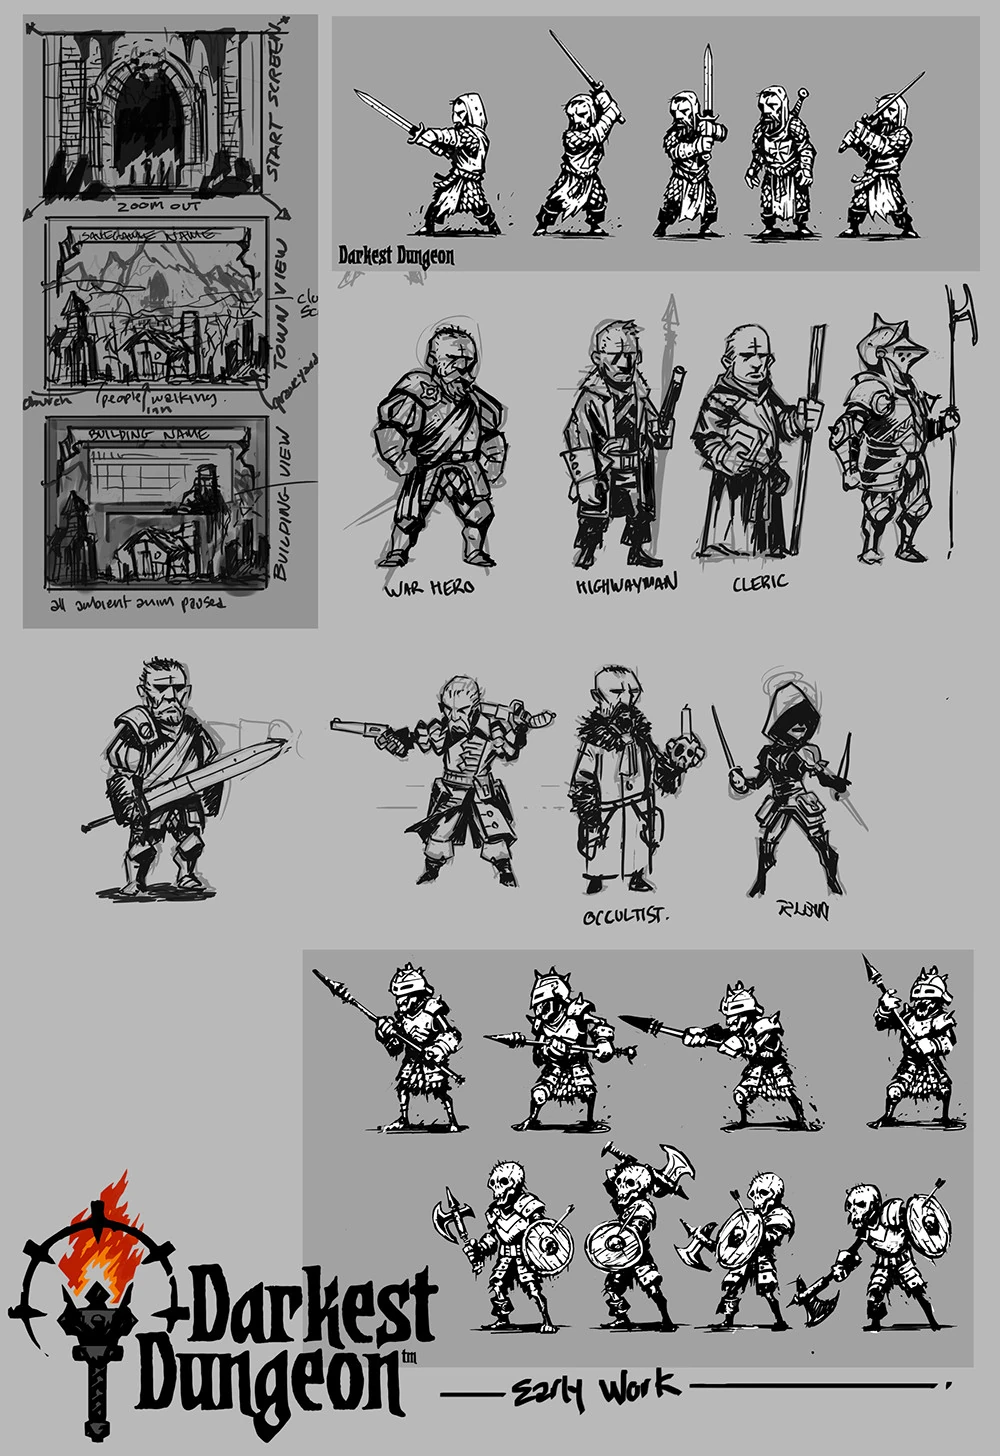
Gallery

Early concept art of various heroes.