| Shambler | ||||
|---|---|---|---|---|
| ||||
| Enemy Type | Eldritch | |||
| Size | Large (2) | |||
| Actions per round | ||||
| Stats | ||||
| Variation | Shambler | Grotesque Shambler |
Abhorrent Shambler | |
| HP | 77 | 116 | 158 | |
| HP (Stygian/Bloodmoon) | 93 | 140 | 190 | |
| Dodge | 0 | 8.75 | 22.5 | |
| Protection | 33 | 33 | 33 | |
| Speed | 0 | 1 | 2 | |
| None | None | None | ||
| Resistances | ||||
| 100% | 120% | 140% | ||
| 40% | 60% | 80% | ||
| 40% | 60% | 80% | ||
| 40% | 60% | 80% | ||
| 50% | 70% | 90% | ||
| Shambler Tentacle | ||||
|---|---|---|---|---|
| ||||
| Enemy Type | Eldritch | |||
| Size | Small (1) | |||
| Actions per round | ||||
| Stats | ||||
| Variation | Shambler Sycophant |
Shambler Spore |
Shambler Spawn | |
| HP | 8 | 12 | 16 | |
| HP (Stygian/Bloodmoon) | 10 | 15 | 20 | |
| Dodge | 17.5 | 26.25 | 40 | |
| Protection | 0 | 0 | 0 | |
| Speed | 10 | 11 | 12 | |
| None | None | None | ||
| Resistances | ||||
| 50% | 70% | 90% | ||
| 40% | 60% | 80% | ||
| 40% | 60% | 80% | ||
| 40% | 60% | 80% | ||
| 40% | 60% | 80% | ||
| “ | Behold the infinite malignity of the stars! | „ |
| ~ The Ancestor |
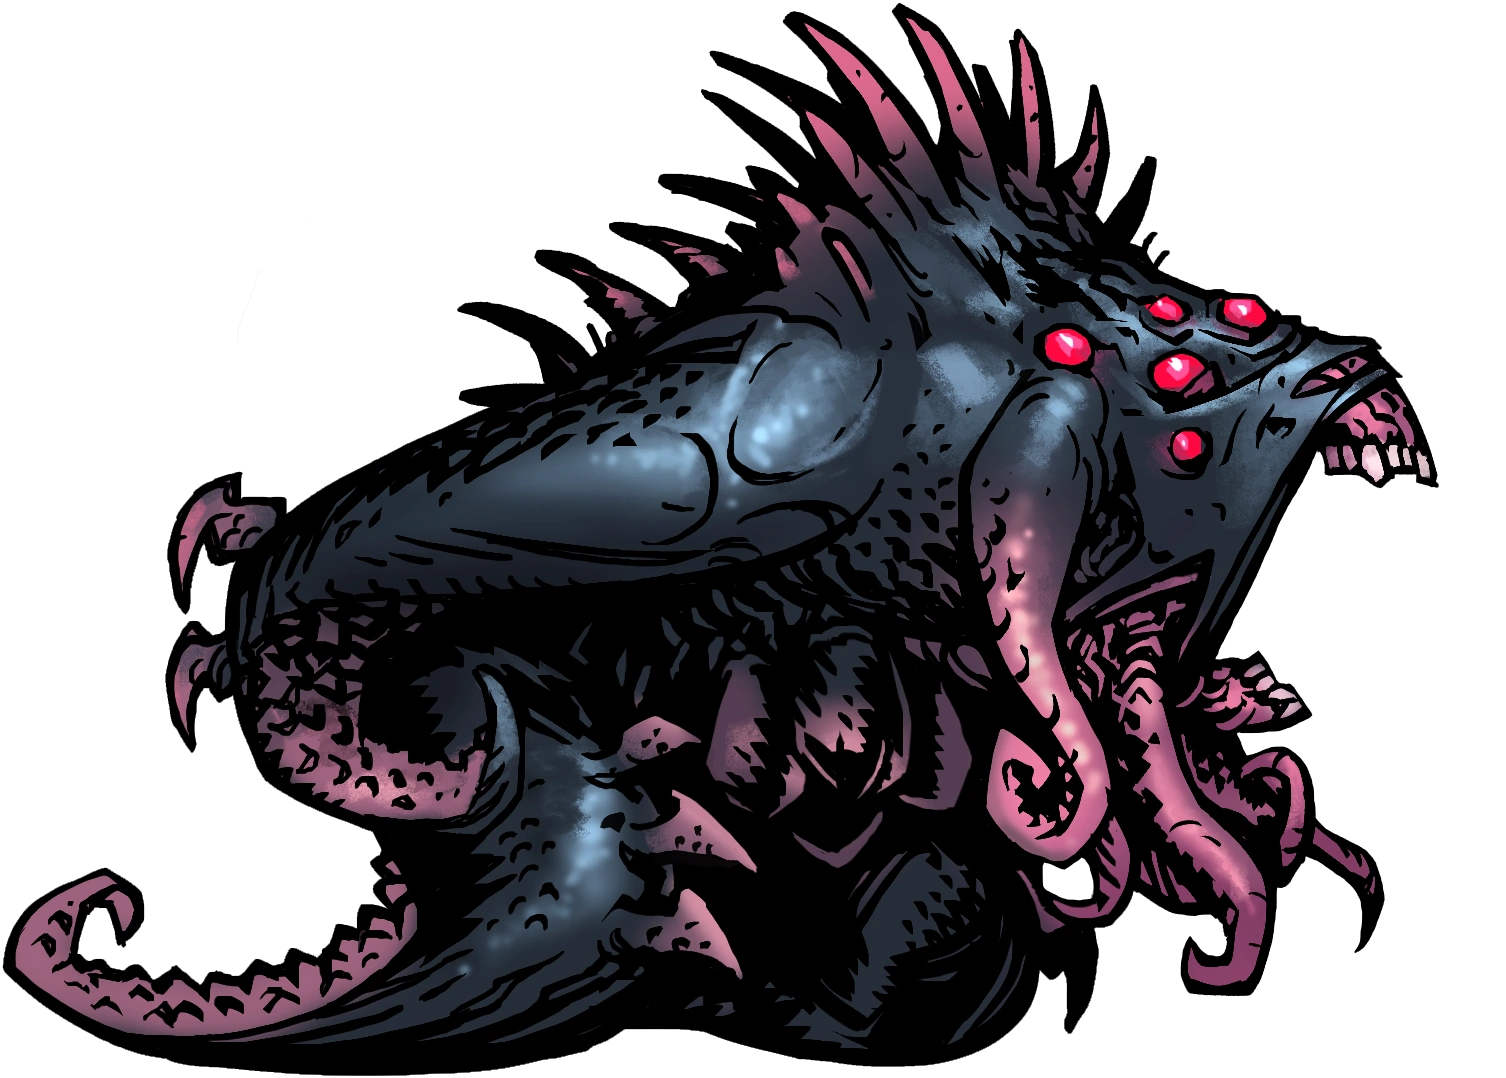
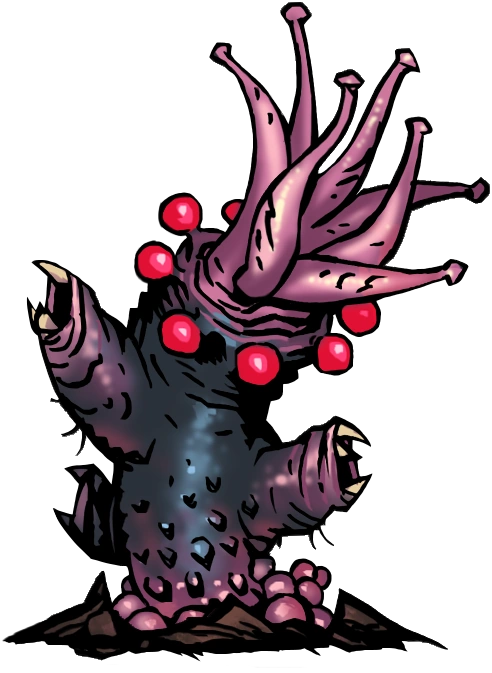
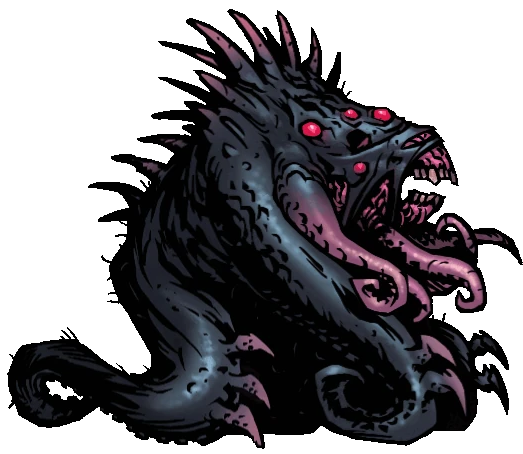
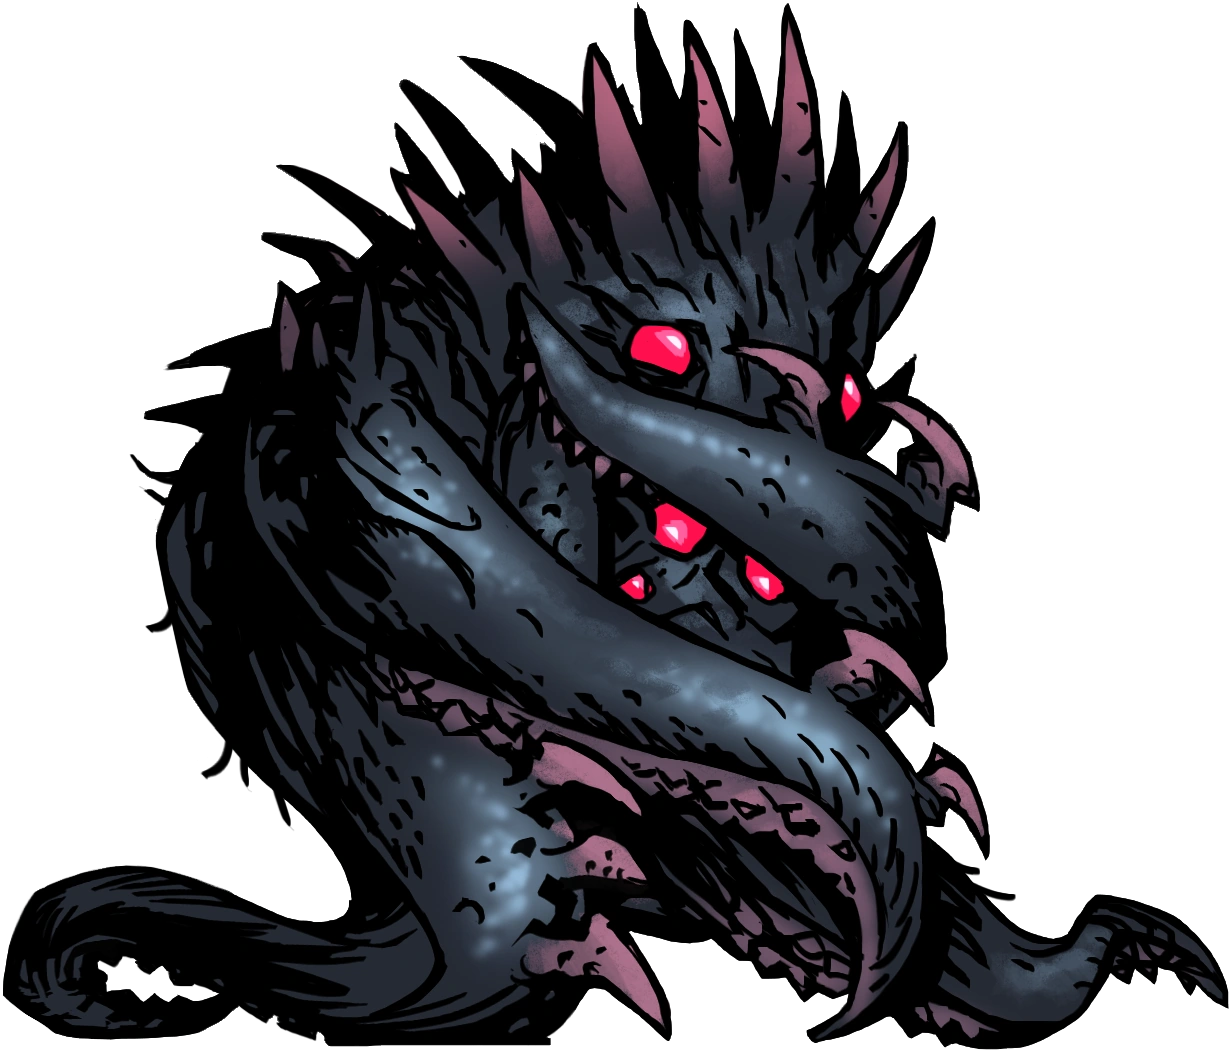
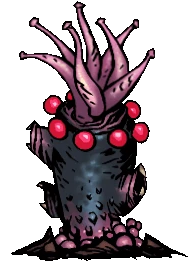
A predatory nightmare summoned from the darkest recesses of the unknown, the Shambler is an Eldritch miniboss that lurks in blackest pitch, dropping Ancestral trinkets when killed. When traveling with your torchlight at 0, the Shambler may appear, replacing any hallway fight (1% chance on Apprentice, 8% on Veteran, 12% Champion), or when a Torch is used on a Shambler's Altar (which will also set the light to 0). Every turn, it will attempt to spawn two Shambler Tentacles, fairly weak enemies that give themselves an enormous buff with every attack, causing it to grow stronger and stronger. Even if a Tentacle is killed, the Shambler will just create a new one, replacing ones that were killed.
Behavior[ | ]
The Shambler fight will always be at 0 torchlight, with all the buffs and debuffs associated, and the light cannot be increased with torches or skills while the Shambler is still alive. The party will always be surprised when the battle starts, disrupting party formation. If summoned but then ran away from, the Shambler will appear again as the next encounter. Don't summon it unless the party is prepared to kill it.
Due to a very low speed, it will most likely act last, using either Obdurous Advancement or Undulating Withdrawal and summoning 2 Shambler Tentacles. Unlike the Shambler itself, the Tentacles have a very high speed; they are very likely to take actions before the party, applying an extremely strong buff to themselves. If one or both of the Tentacles are killed, the Shambler may attempt to re-summon them the next time it acts. If at least one is left alive, the Shambler has a chance to use Stentorious Lament, which will shuffle your party's formation again in addition to causing stress.
Strategy[ | ]
The Shambler is easily more dangerous than most bosses, meaning it's usually better to avoid fighting it. If you decide to spawn it from an altar, you should probably wait until you've finished the quest, as you'll likely be in no condition to continue afterwards. In the likely scenario where you have to flee from the Shambler, you can, at least, turn in the finished quest and return to the Hamlet immediately without worry of it chasing down the party.
The Shambler is equally vulnerable to bleeds and blights, but at only 1 action per round, they will not progress very quickly. They might still be ideal to use though since this enemy has 33% PROT and a significant Dodge stat. Fortunately though, it has a slow speed, so your party is almost guaranteed to go first for setup.
The first notable feature of the fight with the Shambler is that it's always in complete darkness. This raises everyone's crit rate, but also increases the Stress that your party will be experiencing. When preparing for such a fight, equip Trinkets that benefit in low-light situations.
The next notable feature is constant shuffles. Your party always starts the fight ambushed, causing a scramble and forcing you to spend your first turn getting everyone back in position. Bring party members with movement skills so that you can reposition them while also attacking the Shambler. It's key to manually shuffle your party into a shuffled position before the fight to get a higher chance of not ruining your positions.
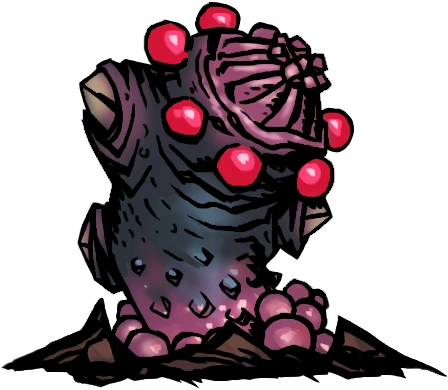
The third and most dangerous feature of the fight is the Shambler Tentacles it spawns. It always summons enough for two to be on the battlefield at a time. The tentacles start out relatively easy to pick off, but their single attack skill grants them a stacking PROT, DMG, and CRIT bonus that will make them incredibly tough threats. The Tentacles don't disappear if the Shambler is dead and can become the cause of a party wipe, so it's important to wipe them out (or stun them) as soon as possible. Area-of-effect attacks are effective here in keeping the Tentacles in check while also affecting the Shambler - too much attention on the Tentacles means that the Shambler gets more free turns to cause havoc on the party.
The Shambler does have weaknesses, though. Because its attacks always hit the entire party at once, it's highly vulnerable to Riposte. Maintaining Riposte on your party (usually with a Highwayman or Man-at-Arms) lets you pile on incremental damage over time while you're clearing out the Tentacles. And if a Tentacle does manage to get away with stacking up to 75% PROT, bear in mind that Bleeds and Blights will still eat through its health in a few turns.
[Torchless Considerations]
Being that Shambler encounters can be forced on you (1% at pitch-black) you aren't afforded the luxury of having dedicated teams to counter it. In this case and especially if your damage potential is low or synergy is bad, a better option is to ignore the Tentacles outright and focus all damage on the Shambler. Teams with no particular synergy for the encounter will struggle to commit enough damage on the tentacles to where it makes a difference. In such cases you might be able to kill some tentacles but never get damage on the Shambler- this is essentially a ticket to inevitable failure, as even unbuffed, the tentacles aren't exactly easy to kill.
Attacking/focusing the Shambler is a trade off in that you will still have to contend with buffed Tentacles at some point- on the other hand, killing the Shambler quickly results in a less protracted fight, essentially fighting only two buffed Tentacles instead of a potentially very high number of weaker unbuffed Tentacles. The caveat is whether or not you have enough backline damage to justify this method.
Team Selection[ | ]
Preferred Heroes[ | ]
- Abomination - Can clear out both Tentacles before they can act with Rake due to his high damage and Speed. His self-stress barely matters, since he makes the fight end so much quicker with the other 3 heroes being able to solely focus on Shambler.
- Crusader - Holy Lance can break him out of the back lines. Zealous Accusation can clean up leftover Tentacles and Stunning Blow can keep them in check. He can also get people off of Deaths Door in a pinch using either of his heals and deal good damage with Smite.
- Man-at-Arms - Rampart can be used to reposition in case of a bad shuffle and Retribution can deal damage with Riposte.
- Highwayman - Duelist's Advance is the skill to use here, as it enables Riposte and repositions the Highwayman. Open Vein can also clear out Tentacles fairly quickly.
- Houndmaster - Cry Havoc can keep the whole party's stress low. Hound's Harry is also great for spreading minor Bleeds across the Shambler and its Tentacles. He can Mark the Shambler and apply a huge -Prot debuff to allow himself and others to deal massive damage.
- Occultist - Damage bonus against Eldritch can tear into the Shambler and its Tentacles. Weakening Curse can reduce their PROT. Getting a Stun on Shambler at any time can flip the fight in your favor, so using Hands from the Abyss can be a high-risk, high-reward move.
- Grave Robber - Lunge and Shadow Fade can arrange your party against the Shambler's shuffle. Pick to the Face can severely damage a Tentacle through its PROT buffs.
- Shieldbreaker - Perfectly at home with movement. Impale can tag the Shambler and its Tentacles with Blight all at once and Pierce will bypass any PROT the Tentacles might have stacked. You can also prepare for the fight with her Armor Piercing camp buff.
Reasonable Choices[ | ]
- Antiquarian - Since the nature of the fight with the Shambler tends to be long, Invigorating Vapours will allow your party to dodge attacks with ease, whereas having Get Down! will allow you to very quickly place the Antiquarian in the backlines again, while also providing a formidable boost to her Dodge and Speed, allowing you to quickly rebuff the party with Invigorating Vapours once more.
- Arbalest/Musketeer - Can be out of position, but can get to the back with a single action. Mark is extremely effective, since it can deal huge amounts of quick burst damage. The Mark will also last fairly long due to shambler only having 1 action.
- Bounty Hunter - Can be out of position when shuffled to Rank 4, but a preshuffle can fix this issue very reliably. His Mark can cut away Shambler's PROT and allow the team and himself to deal huge amounts of burst damage.
- Jester - Battle Ballad is a huge offensive boost, but Jester doesn't provide much in addition to that. His only option to move back is Finale, which can often make the fight a lot worse due to the debuffs it applies.
- Plague Doctor - Since a lot of damage comes from Blight and Bleed, Battlefield Medicine can remove them and keep the party together. However, she can't heal while in the front, and has little in the way of repositioning.
- Hellion - She can use Breakthrough to recover, but that's usually a worse idea than simply walking forward due to the debuff. If it Bleeds can be used from Rank 1-3, so she can usually still contribute to the fight, even if she isn't in the front ranks.
- Flagellant - Can easily recover from shuffles in a single step to the front and his bleeds can bypass PROT stacks across enemies. Good emergency heals and Stress relief, too. His Regeneration from Reclaim can also prevent Deaths from the DoT Shambler applies frequently.
Discouraged Heroes[ | ]
These heroes usually have limited position function and can be crippled by shuffles.
- Leper - Powerless if forced to the back, and has to trudge forward one square at a time.
- Vestal - Loses access to healing skills if forced forward.
Ancestral Trinkets[ | ]
The main reason for hunting down this monstrous creature is because it carries 5 unique Ancestral-rarity trinkets. Every time the Shambler is slain it will drop 1 of the 5 trinkets below. Since all ancestor trinkets are unique, once you have all 5 of these, it will start dropping gems instead. The trinkets are dropped regardless of the Shambler's difficulty level, meaning there is almost no reason to go hunting for a Champion-level Shambler.
| Ancestor's Map | Ancestor's Bottle | Ancestor's Candle | Ancestor's Tentacle Idol | Ancestor's Scroll |
|
|
|

|

|
|
|
|
|
|
Abilities[ | ]
Since the Shambler fight starts at 0 torchlight and cannot be illuminated during the battle, enemy abilities are buffed +25% DMG, +5% CRIT, +12.5 ACC). The tables below show the unbuffed numbers.
Shambler[ | ]
| Apprentice Level | |||||||||
|---|---|---|---|---|---|---|---|---|---|
| Skill Name | Range | Rank | Target | Accuracy | Crit Chance |
Damage | Effect (Target) |
Effect (Self) |
Notes |
| Obdurous Advancement | Melee | 1,2,3,4 | 1+2+3+4 | 82.5% | 2% | 1 | |||
| Undulating Withdrawal | Ranged | 1,2,3,4 | 1+2+3+4 | 82.5% | 2% | 1 | |||
| Stentorious Lament | Ranged | 1,2,3,4 | 1+2+3+4 | 82.5% | 2% | 1 | |||
Shambler Tentacle[ | ]
| Apprentice Level | |||||||||
|---|---|---|---|---|---|---|---|---|---|
| Skill Name | Range | Rank | Target | Accuracy | Crit Chance |
Damage | Effect (Target) |
Effect (Self) |
Notes |
| Clapperclaw | Melee | 1,2,3,4 | 1,2,3,4 | 82.5% | 2% | 2-4 | +50% DMG, +3 SPD, +25% PROT |
||
Shambler[ | ]
| Veteran Level | |||||||||
|---|---|---|---|---|---|---|---|---|---|
| Skill Name | Range | Rank | Target | Accuracy | Crit Chance |
Damage | Effect (Target) |
Effect (Self) |
Notes |
| Obdurous Advancement | Melee | 1,2,3,4 | 1+2+3+4 | 88.75% | 6% | 1-2 | |||
| Undulating Withdrawal | Ranged | 1,2,3,4 | 1+2+3+4 | 88.75% | 6% | 1-2 | |||
| Stentorious Lament | Ranged | 1,2,3,4 | 1+2+3+4 | 92.5% | 6% | 1-2 | |||
Shambler Tentacle[ | ]
| Veteran Level | |||||||||
|---|---|---|---|---|---|---|---|---|---|
| Skill Name | Range | Rank | Target | Accuracy | Crit Chance |
Damage | Effect (Target) |
Effect (Self) |
Notes |
| Clapperclaw | Melee | 1,2,3,4 | 1,2,3,4 | 88.75% | 6% | 3-5 | +50% DMG, +3 SPD, +25% PROT |
||
Shambler[ | ]
| Champion Level | |||||||||
|---|---|---|---|---|---|---|---|---|---|
| Skill Name | Range | Rank | Target | Accuracy | Crit Chance |
Damage | Effect (Target) |
Effect (Self) |
Notes |
| Obdurous Advancement | Melee | 1,2,3,4 | 1+2+3+4 | 102.5% | 9% | 1-3 | |||
| Undulating Withdrawal | Ranged | 1,2,3,4 | 1+2+3+4 | 102.5% | 9% | 1-3 | |||
| Stentorious Lament | Ranged | 1,2,3,4 | 1+2+3+4 | 100% | 9% | 1-3 | |||
Shambler Tentacle[ | ]
| Champion Level | |||||||||
|---|---|---|---|---|---|---|---|---|---|
| Skill Name | Range | Rank | Target | Accuracy | Crit Chance |
Damage | Effect (Target) |
Effect (Self) |
Notes |
| Clapperclaw | Melee | 1,2,3,4 | 1,2,3,4 | 102.5% | 9% | 4-7 | +50% DMG, +3 SPD, +25% PROT |
||
* Summoning will occur whether the ability lands or not.
Related Enemies[ | ]
Wandering Bosses[ | ]
Gallery[ | ]

Shambler's combat animation
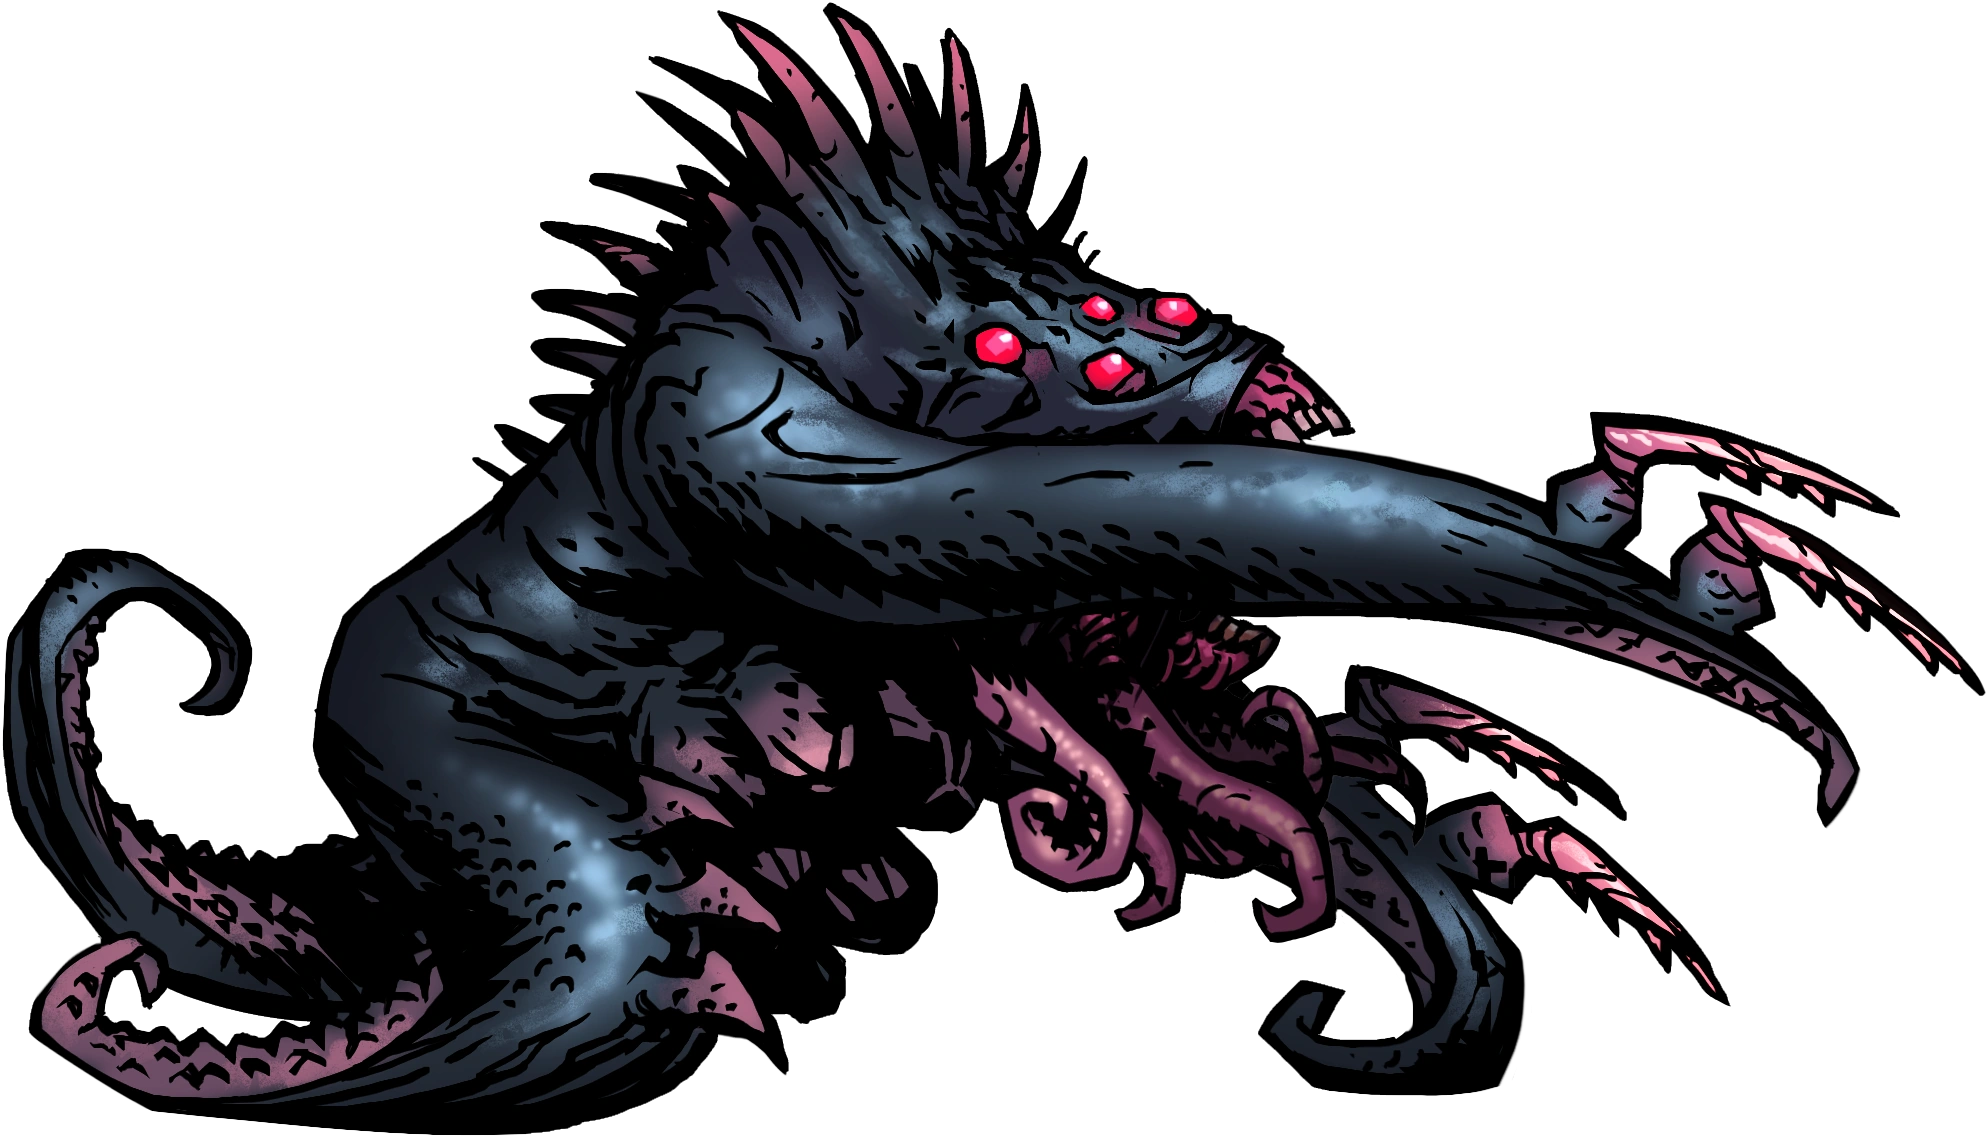
The Shambler using Obdurous Advancement
The Shambler using Undulating Withdrawal
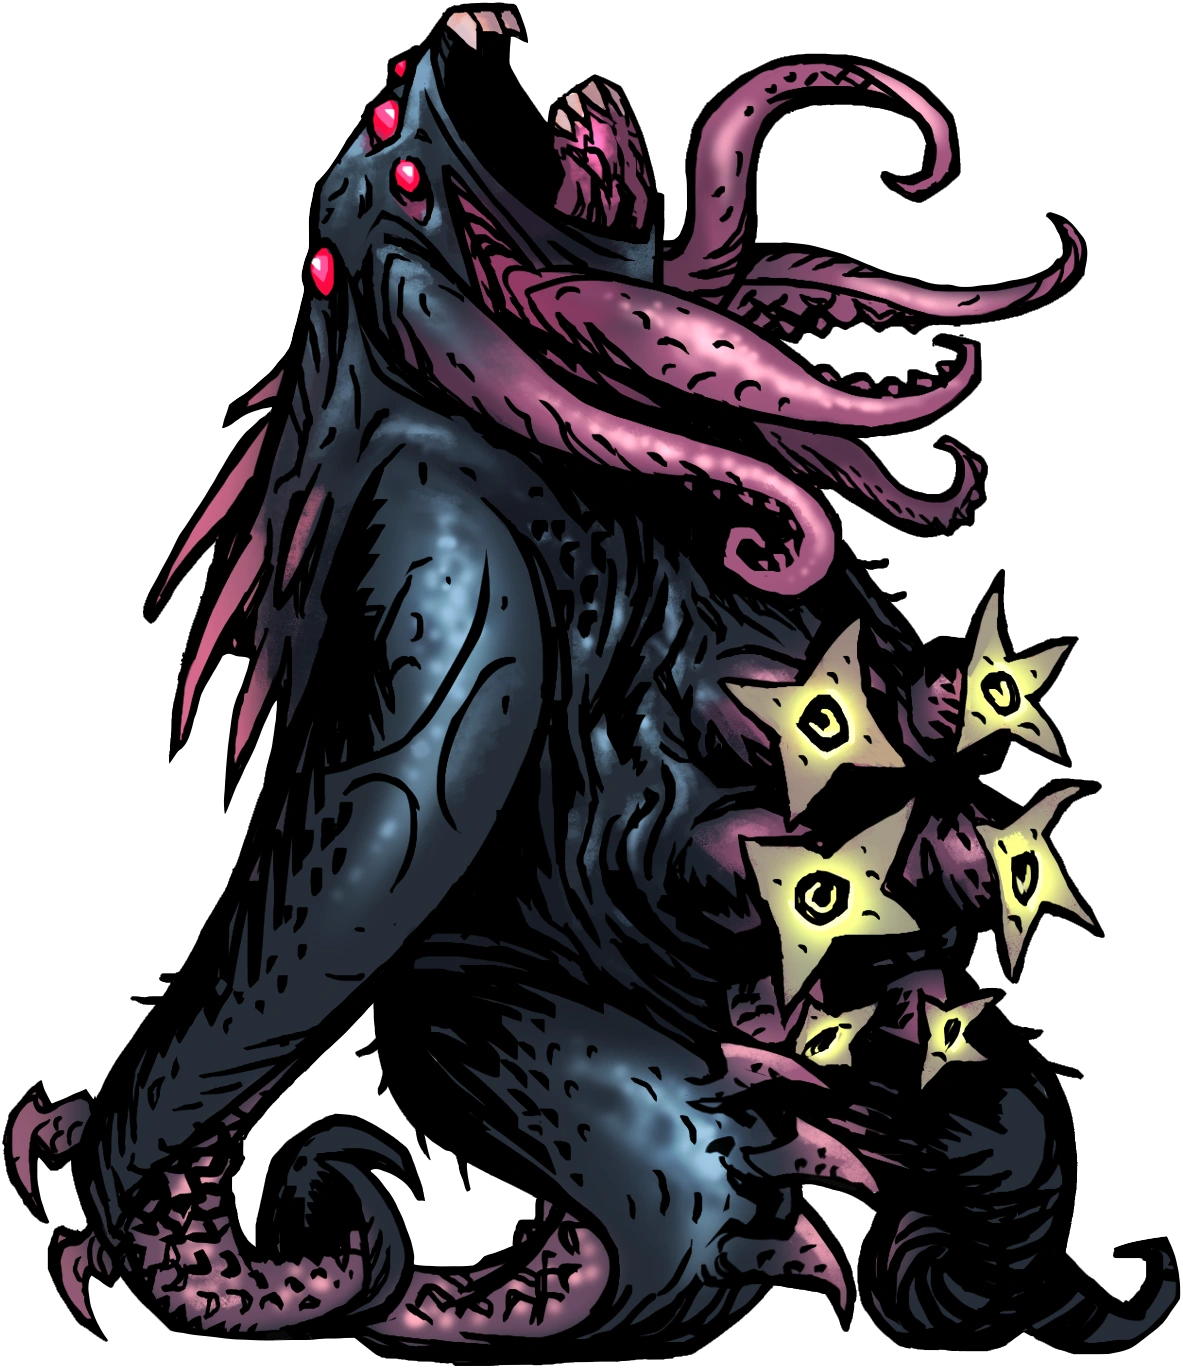
The Shambler using Stentorious Lament
The Shambler defending
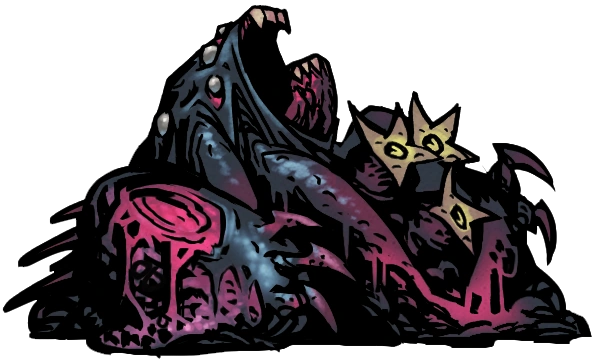
The Shambler's corpse
Shambler Tentacle's combat animation
A Shambler Tentacle attacking
A Shambler Tentacle defending
Trivia[ | ]
- In the early access and the original release the Shambler left a normal Corpse after it was killed instead of a large one, despite it taking up 2 Ranks during a fight.
- As evidenced by its corpse, the Shambler has purple blood.
- The Shuffling Horror, the boss from the first Darkest Dungeon quest, "We Are the Flame," is a stronger, corrupted version of the Shambler. This version does not summon tentacles, but instead has another unit guarding it.
- The Shambler features in two Journals that can be found in the game. The first, "Journal of Darius, Highwayman", ends with Darius' party being ambushed and slaughtered by a Shambler. The other one, "The Blackest of Fates", documents the fate of a party whose occultist, "thrice damned Mizir", activated a Shambler Altar and unleashed a Shambler upon everyone.
- As of the Inhuman Bondage update, the Shambler will physically drag the party into another dimension. The area resembles a violet galaxy and functions the same as Pitch Black.
- The name "Shambler" likely comes from the "Dimensional Shambler", one of HP Lovecraft's creations. The Dimensional Shambler is a creature that comes from another dimension and attacks its prey by using a form of hypnosis to make the victim believe they've been dragged into another plane of existence. However the appearance of the Shambler does not match the description given of the Dimensional Shamblers, as they are mostly humanoid. Rather the Shambler's appearance closely resembles the description given of the Shoggoth, said to be "vaster than any subway train— a shapeless congeries of protoplasmic bubbles, faintly self-luminous, and with myriads of temporary eyes forming and un-forming.[1]"
- Another reference to Lovecraft is when the narrator calls it a "Star-Spawned horror." In Lovecraft's work the Star Spawn are another name for the Cthulhi, which are spawn of the Great Old One Cthulhu, one of the central beings of Lovecraft's mythos.
- The word "Obdurous" in "Obdurous Advancement" does not exist, the actual word is "Obdurate", meaning "stubbornly persistent in wrongdoing".
See Also[ | ]
- ↑ H. P. Lovecraft, At The Mountains of Madness