m (→Strategies) |
(Does not state another effect of the 'Return to the Stars' ability.) Tag: Visual edit |
||
| (9 intermediate revisions by 5 users not shown) | |||
| Line 34: | Line 34: | ||
==Behavior== |
==Behavior== |
||
| − | The Thing from the Stars has 2 actions per round, and an automatic action at the start of each round (but not when the battle starts) that triggers ''Return to the Stars'', a skill that hits all party members with Stress damage. This attack also spawns a [[Crystalline Aberration]] |
+ | The Thing from the Stars has 2 actions per round, and an automatic action at the start of each round (but not when the battle starts) that triggers ''Return to the Stars'', a skill that hits all party members with Stress damage. This attack also spawns a [[Crystalline Aberration]], deals a small amount of damage to the Thing, and causes the target to lose their turn. This attack does not trigger bleed/blight damage on the Thing, but all other attacks do. If only one party member is present, they may be stun-locked permanently. |
After using ''Return to the Stars'' at the start of the second round, the Thing receives a permanent buff for '''+80% PROT, +6 SPD, +40% DMG, and +13% CRIT when below 45% HP'''. |
After using ''Return to the Stars'' at the start of the second round, the Thing receives a permanent buff for '''+80% PROT, +6 SPD, +40% DMG, and +13% CRIT when below 45% HP'''. |
||
| Line 45: | Line 45: | ||
'''All''' of the Thing's attacks inflict significant [[stress]] damage, and with multiple actions per round, you are in far greater danger from [[Affliction|Afflictions]] and accumulated stress than HP loss in this fight, especially in the first phase before its DMG buff is applied. In addition to causing massive stress, the Thing will regularly deliver powerful debuffs, stuns, and blight. ''Weakening Shard'' reduces all relevant resistances and ''Transfixing Shard'' reduces DMG and SPD. |
'''All''' of the Thing's attacks inflict significant [[stress]] damage, and with multiple actions per round, you are in far greater danger from [[Affliction|Afflictions]] and accumulated stress than HP loss in this fight, especially in the first phase before its DMG buff is applied. In addition to causing massive stress, the Thing will regularly deliver powerful debuffs, stuns, and blight. ''Weakening Shard'' reduces all relevant resistances and ''Transfixing Shard'' reduces DMG and SPD. |
||
| − | The Thing has high accuracy on many of its attacks, with ''Return to the Stars'' being effectively undodgeable. Dodge-based strategies, such as utilizing an [[Antiquarian|Antiquarian's]] ''Invigorating Vapours'', or the [[Houndmaster|Houndmaster's]] ''Guard Dog'' are likely to be ineffective. Similarly, ''Phase Gnaw'', while it does much less damage than ''Vorpal Strike'' is actually armor piercing, rendering any PROT buffs from skills like the [[Leper|Leper's]] ''Withstand'' useless. |
+ | The Thing has high accuracy on many of its attacks, with ''Return to the Stars'' being effectively undodgeable. Dodge-based strategies, such as utilizing an [[Antiquarian|Antiquarian's]] ''Invigorating Vapours'', or the [[Houndmaster|Houndmaster's]] ''Guard Dog'' are likely to be ineffective. Similarly, ''Phase Gnaw'', while it does much less damage than ''Vorpal Strike'', is actually armor piercing, rendering any PROT buffs from skills like the [[Leper|Leper's]] ''Withstand'' useless. |
For the first phase, focus primarily on mitigating and preparing for high [[stress]], and bringing the Thing down to its 45% HP threshold. Its damage in this phase isn't much to be worried about aside from the possibility of a [[Critical Hit|crit]] from ''Vorpal Strike''. |
For the first phase, focus primarily on mitigating and preparing for high [[stress]], and bringing the Thing down to its 45% HP threshold. Its damage in this phase isn't much to be worried about aside from the possibility of a [[Critical Hit|crit]] from ''Vorpal Strike''. |
||
| Line 78: | Line 78: | ||
|- |
|- |
||
|style="background-color:#171010;width:230px;" align="left"| |
|style="background-color:#171010;width:230px;" align="left"| |
||
| + | * {{BuffEffect|stat|crit|val=4|cond=hpa|cval=41}} |
||
| − | * +4% CRIT if HP above 41% |
||
| + | * {{BuffEffect|stat|crit|val=8|cond=hpb|cval=40}} |
||
| − | * +8% CRIT if HP below 40% |
||
|style="background-color:#171010;width:230px;" align="left"| |
|style="background-color:#171010;width:230px;" align="left"| |
||
| + | * {{BuffEffect|skill|stun|val=10|cond=hpa|cval=40}} |
||
| − | * +10% <span style="color:#c99c45">Stun</span> Skill Chance if HP above 40% |
||
| + | * {{BuffEffect|skill|stun|val=40|cond=hpb|cval=41}} |
||
| − | * +40% <span style="color:#c99c45">Stun</span> Skill Chance if HP below 41% |
||
|style="background-color:#171010;width:230px;" align="left"| |
|style="background-color:#171010;width:230px;" align="left"| |
||
| + | * {{BuffEffect|rec|stress|val=-15|cond=hpa|cval=41}} |
||
| − | *-15% <b>Stress</b> if HP above 40% |
||
| + | * {{BuffEffect|rec|stress|val=-50|cond=hpb|cval=40}} |
||
| − | *-50% <b>Stress</b> if HP below 41% |
||
|style="background-color:#171010;width:230px;" align="left"| |
|style="background-color:#171010;width:230px;" align="left"| |
||
| + | * {{BuffEffect|skill|blight|val=35|cond=vs|cval=Thing}} |
||
| − | * +35% <span style="color:#bdc241">Blight</span> Skill Chance vs Thing |
||
| + | * {{BuffEffect|skill|bleed|val=35|cond=vs|cval=Thing}} |
||
| − | * +35% <span style="color:#c41c1c">Bleed</span> Skill Chance vs Thing |
||
| − | * |
+ | * {{BuffEffect|stat|crit|val=12|cond=vs|cval=Thing}} |
|} |
|} |
||
===Prismatic Quirks=== |
===Prismatic Quirks=== |
||
| − | Heroes who survive the battle with the Thing from the Stars may receive one of several new [[quirk|quirks]] after the mission is over. These quirks are '''unique'''; they can only be on one hero in your whole roster. Only one hero will receive a quirk on a given mission, and gaining more requires defeating the Thing once again. They are automatically locked, and the [[Sanitarium]] will ''only'' offer the option to remove them. Removing Prismatic quirks allows them to be obtained again the next time the Thing is defeated. |
+ | Heroes who survive the battle with the Thing from the Stars may receive one of several new [[quirk|quirks]] after the mission is over. These quirks are '''unique'''; they can only be on one hero in your whole roster. Only one hero will receive a quirk on a given mission, and gaining more requires defeating the Thing once again. They are automatically locked, and the [[Sanitarium]] will ''only'' offer the option to remove them. Removing Prismatic quirks allows them to be obtained again the next time the Thing is defeated. Facing the Thing as a boss on the Farmstead can also reward a member of your party with one of the quirks. |
The following list is of the quirks in the order they can be obtained, and their effects: |
The following list is of the quirks in the order they can be obtained, and their effects: |
||
| Line 109: | Line 109: | ||
|attack1crit=0 |
|attack1crit=0 |
||
|attack1damage=0 |
|attack1damage=0 |
||
| − | |attack1effect={{EnemyEffect|stress|p=60|val=7}} |
+ | |attack1effect={{EnemyEffect|summon|val=1 [[Crystalline Aberration]]}}<br/>{{EnemyEffect|stress|p=60|val=7}} |
| − | |attack1self= |
+ | |attack1self={{EnemyEffect|dmg|val=5}}<br/>{{EnemyEffect|cure}} |
|attack2name=Phase Gnaw |
|attack2name=Phase Gnaw |
||
|attack2type=Melee |
|attack2type=Melee |
||
| Line 117: | Line 117: | ||
|attack2acc=92.5 |
|attack2acc=92.5 |
||
|attack2crit=2 |
|attack2crit=2 |
||
| − | |attack2damage=3-5 |
+ | |attack2damage=3-5<br><sup>Armor Piercing</sup> |
|attack2effect={{EnemyEffect|stress|val=14}}<br/>{{EnemyEffect|blight|p=110|val=5}}<br/>{{EnemyEffect|disease|p=20|val=Sky Taint}} |
|attack2effect={{EnemyEffect|stress|val=14}}<br/>{{EnemyEffect|blight|p=110|val=5}}<br/>{{EnemyEffect|disease|p=20|val=Sky Taint}} |
||
| − | |attack2self= |
+ | |attack2self= |
|attack3name=Vorpal Strike |
|attack3name=Vorpal Strike |
||
|attack3type=Melee |
|attack3type=Melee |
||
| Line 145: | Line 145: | ||
|attack5crit=6 |
|attack5crit=6 |
||
|attack5damage=1 |
|attack5damage=1 |
||
| − | |attack5effect={{EnemyEffect|stress|val=11}}<br/>{{EnemyEffect|debuff|p=115|val=-20% Stun, Blight, Bleed, Debuff Resist|dur=4}} |
+ | |attack5effect={{EnemyEffect|stress|val=11}}<br/>{{EnemyEffect|debuff|p=115|val=-20% <span style="color:#c99c45">Stun</span>, <span style="color:#bdc241">Blight</span>, <span style="color:#c41c1c">Bleed</span>, <span style="color:#c3630f">Debuff</span> Resist|dur=4}} |
|attack5self= |
|attack5self= |
||
|attack6name=Transfixing Shard |
|attack6name=Transfixing Shard |
||
| Line 154: | Line 154: | ||
|attack6crit=6 |
|attack6crit=6 |
||
|attack6damage=1 |
|attack6damage=1 |
||
| − | |attack6effect={{EnemyEffect|stress|val=11}}<br/>{{EnemyEffect|debuff|p=115|val=-4 |
+ | |attack6effect={{EnemyEffect|stress|val=11}}<br/>{{EnemyEffect|debuff|p=115|val={{BuffEffect|stat|spd|val=-4}}, {{BuffEffect|stat|dmg|val=-25}}|dur=4}} |
|attack6self= |
|attack6self= |
||
}} |
}} |
||
| Line 168: | Line 168: | ||
|attack1crit=0 |
|attack1crit=0 |
||
|attack1damage=0 |
|attack1damage=0 |
||
| − | |attack1effect={{EnemyEffect|stress|p=60|val=7}} |
+ | |attack1effect={{EnemyEffect|summon|val=1 [[Crystalline Aberration]]}}<br/>{{EnemyEffect|stress|p=60|val=7}} |
| − | |attack1self= |
+ | |attack1self={{EnemyEffect|dmg|val=7}}<br/>{{EnemyEffect|cure}} |
|attack2name=Phase Gnaw |
|attack2name=Phase Gnaw |
||
|attack2type=Melee |
|attack2type=Melee |
||
| Line 176: | Line 176: | ||
|attack2acc=98.75 |
|attack2acc=98.75 |
||
|attack2crit=6 |
|attack2crit=6 |
||
| − | |attack2damage=5-6 |
+ | |attack2damage=5-6<br><sup>Armor Piercing</sup> |
|attack2effect={{EnemyEffect|stress|val=14}}<br/>{{EnemyEffect|blight|p=130|val=6}}<br/>{{EnemyEffect|disease|p=22|val=Sky Taint}} |
|attack2effect={{EnemyEffect|stress|val=14}}<br/>{{EnemyEffect|blight|p=130|val=6}}<br/>{{EnemyEffect|disease|p=22|val=Sky Taint}} |
||
| − | |attack2self= |
+ | |attack2self= |
|attack3name=Vorpal Strike |
|attack3name=Vorpal Strike |
||
|attack3type=Melee |
|attack3type=Melee |
||
| Line 204: | Line 204: | ||
|attack5crit=12 |
|attack5crit=12 |
||
|attack5damage=2 |
|attack5damage=2 |
||
| − | |attack5effect={{EnemyEffect|stress|val=11}}<br/>{{EnemyEffect|debuff|p=135|val=-20% Stun, Blight, Bleed, Debuff Resist|dur=4}} |
+ | |attack5effect={{EnemyEffect|stress|val=11}}<br/>{{EnemyEffect|debuff|p=135|val=-20% <span style="color:#c99c45">Stun</span>, <span style="color:#bdc241">Blight</span>, <span style="color:#c41c1c">Bleed</span>, <span style="color:#c3630f">Debuff</span> Resist|dur=4}} |
|attack5self= |
|attack5self= |
||
|attack6name=Transfixing Shard |
|attack6name=Transfixing Shard |
||
| Line 213: | Line 213: | ||
|attack6crit=12 |
|attack6crit=12 |
||
|attack6damage=2 |
|attack6damage=2 |
||
| − | |attack6effect={{EnemyEffect|stress|val=11}}<br/>{{EnemyEffect|debuff|p=135|val=-5 |
+ | |attack6effect={{EnemyEffect|stress|val=11}}<br/>{{EnemyEffect|debuff|p=135|val={{BuffEffect|stat|spd|val=-5}}, {{BuffEffect|stat|dmg|val=-25}}|dur=4}} |
|attack6self= |
|attack6self= |
||
}} |
}} |
||
| Line 227: | Line 227: | ||
|attack1crit=0 |
|attack1crit=0 |
||
|attack1damage=0 |
|attack1damage=0 |
||
| − | |attack1effect={{EnemyEffect|stress|p=60|val=7}} |
+ | |attack1effect={{EnemyEffect|summon|val=1 [[Crystalline Aberration]]}}<br/>{{EnemyEffect|stress|p=60|val=7}} |
| − | |attack1self= |
+ | |attack1self={{EnemyEffect|dmg|val=9}}<br/>{{EnemyEffect|cure}} |
|attack2name=Phase Gnaw |
|attack2name=Phase Gnaw |
||
|attack2type=Melee |
|attack2type=Melee |
||
| Line 235: | Line 235: | ||
|attack2acc=110 |
|attack2acc=110 |
||
|attack2crit=9 |
|attack2crit=9 |
||
| − | |attack2damage=6-8 |
+ | |attack2damage=6-8<br><sup>Armor Piercing</sup> |
|attack2effect={{EnemyEffect|stress|val=14}}<br/>{{EnemyEffect|blight|p=150|val=7}}<br/>{{EnemyEffect|disease|p=25|val=Sky Taint}} |
|attack2effect={{EnemyEffect|stress|val=14}}<br/>{{EnemyEffect|blight|p=150|val=7}}<br/>{{EnemyEffect|disease|p=25|val=Sky Taint}} |
||
| − | |attack2self= |
+ | |attack2self= |
|attack3name=Vorpal Strike |
|attack3name=Vorpal Strike |
||
|attack3type=Melee |
|attack3type=Melee |
||
| Line 263: | Line 263: | ||
|attack5crit=14 |
|attack5crit=14 |
||
|attack5damage=2 |
|attack5damage=2 |
||
| − | |attack5effect={{EnemyEffect|stress|val=11}}<br/>{{EnemyEffect|debuff|p=155|val=-20% Stun, Blight, Bleed, Debuff Resist|dur=4}} |
+ | |attack5effect={{EnemyEffect|stress|val=11}}<br/>{{EnemyEffect|debuff|p=155|val=-20% <span style="color:#c99c45">Stun</span>, <span style="color:#bdc241">Blight</span>, <span style="color:#c41c1c">Bleed</span>, <span style="color:#c3630f">Debuff</span> Resist|dur=4}} |
|attack5self= |
|attack5self= |
||
|attack6name=Transfixing Shard |
|attack6name=Transfixing Shard |
||
| Line 272: | Line 272: | ||
|attack6crit=14 |
|attack6crit=14 |
||
|attack6damage=2 |
|attack6damage=2 |
||
| − | |attack6effect={{EnemyEffect|stress|val=11}}<br/>{{EnemyEffect|debuff|p=155|val=-6 |
+ | |attack6effect={{EnemyEffect|stress|val=11}}<br/>{{EnemyEffect|debuff|p=155|val={{BuffEffect|stat|spd|val=-6}}, {{BuffEffect|stat|dmg|val=-25}}|dur=4}} |
|attack6self= |
|attack6self= |
||
}} |
}} |
||
| Line 278: | Line 278: | ||
== Gallery == |
== Gallery == |
||
<gallery> |
<gallery> |
||
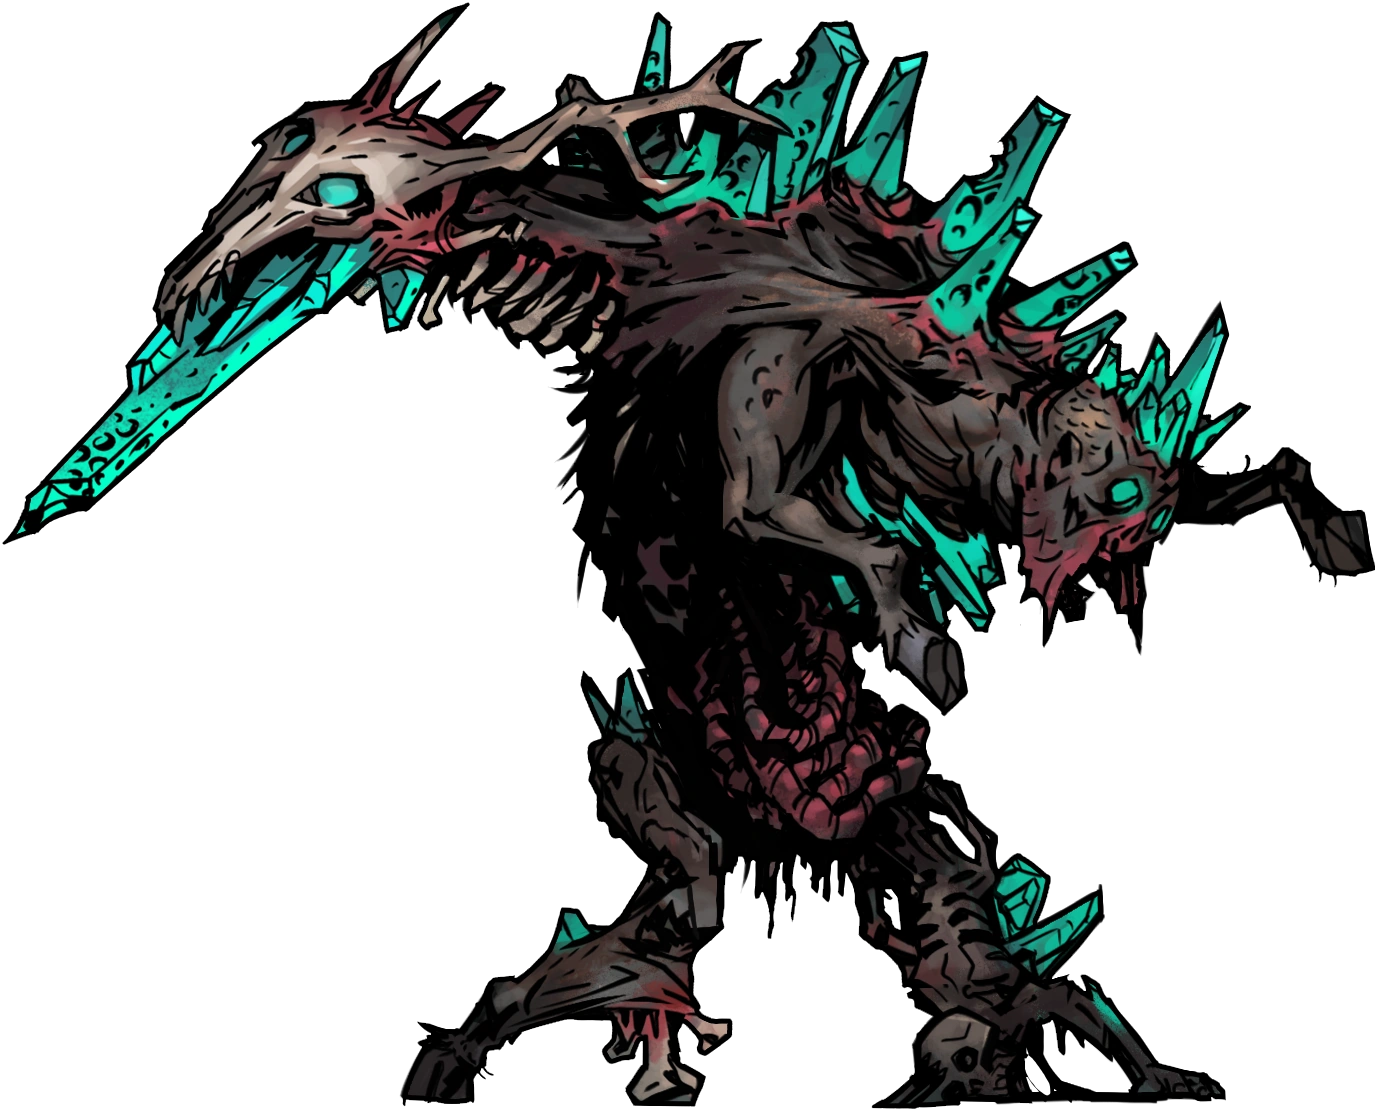
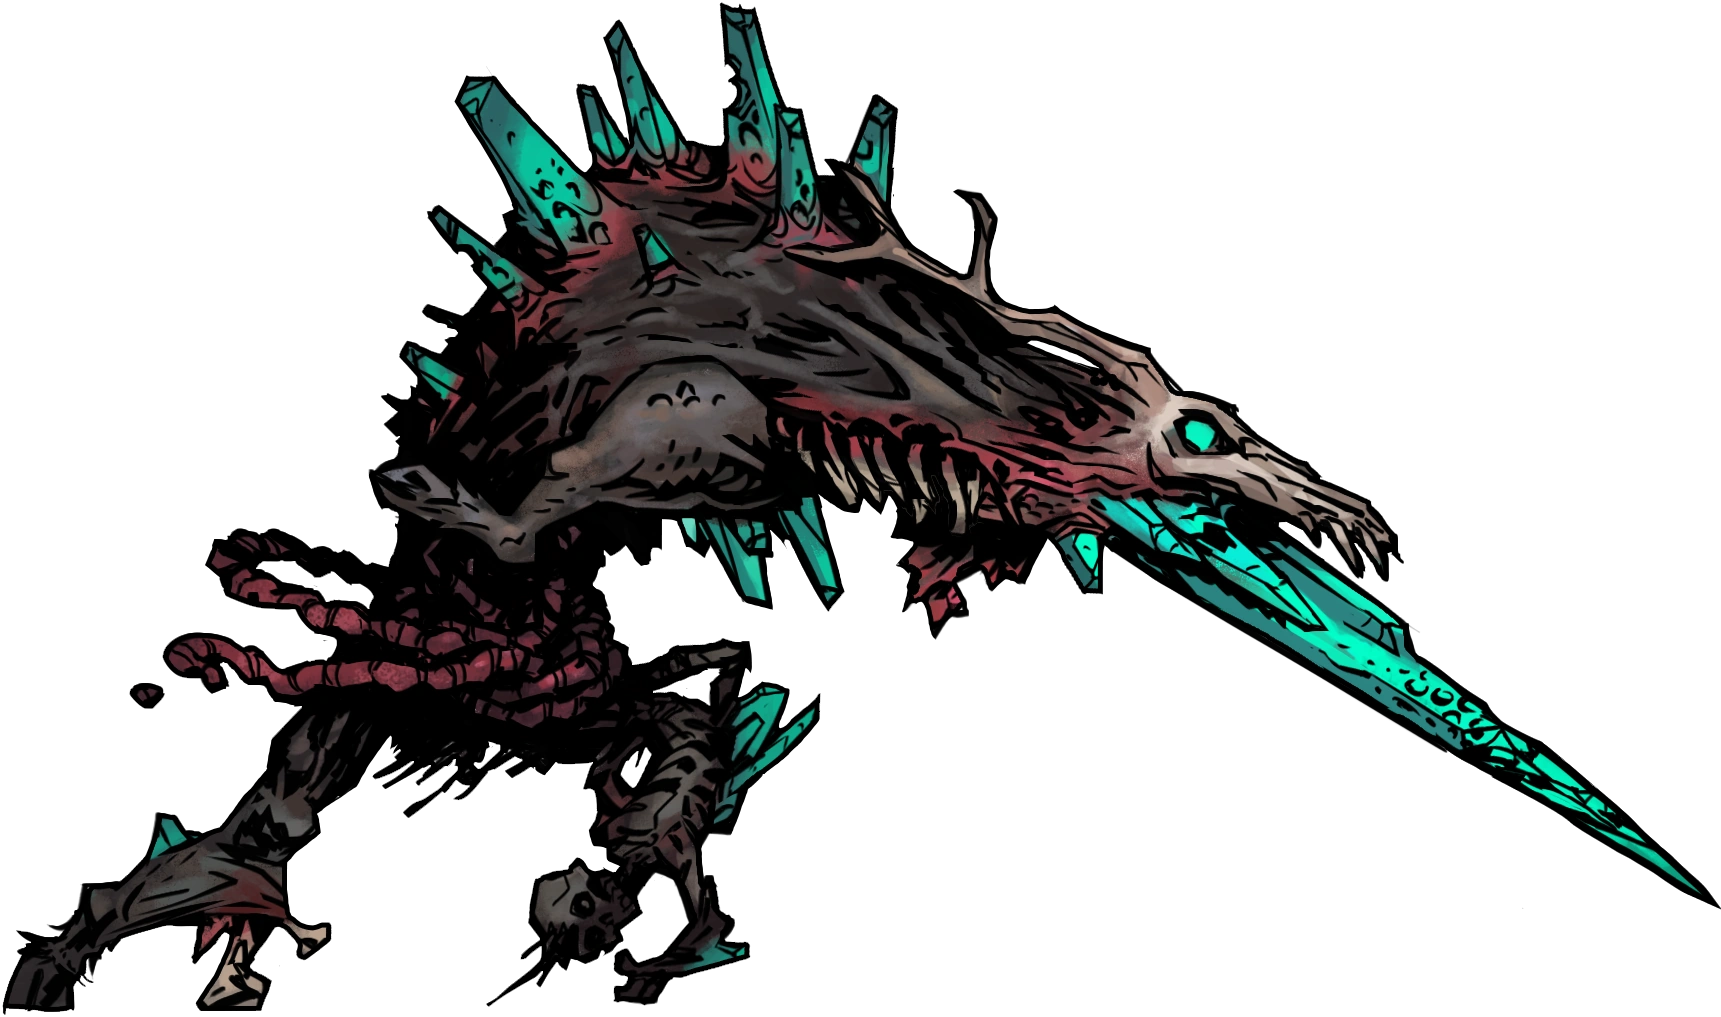
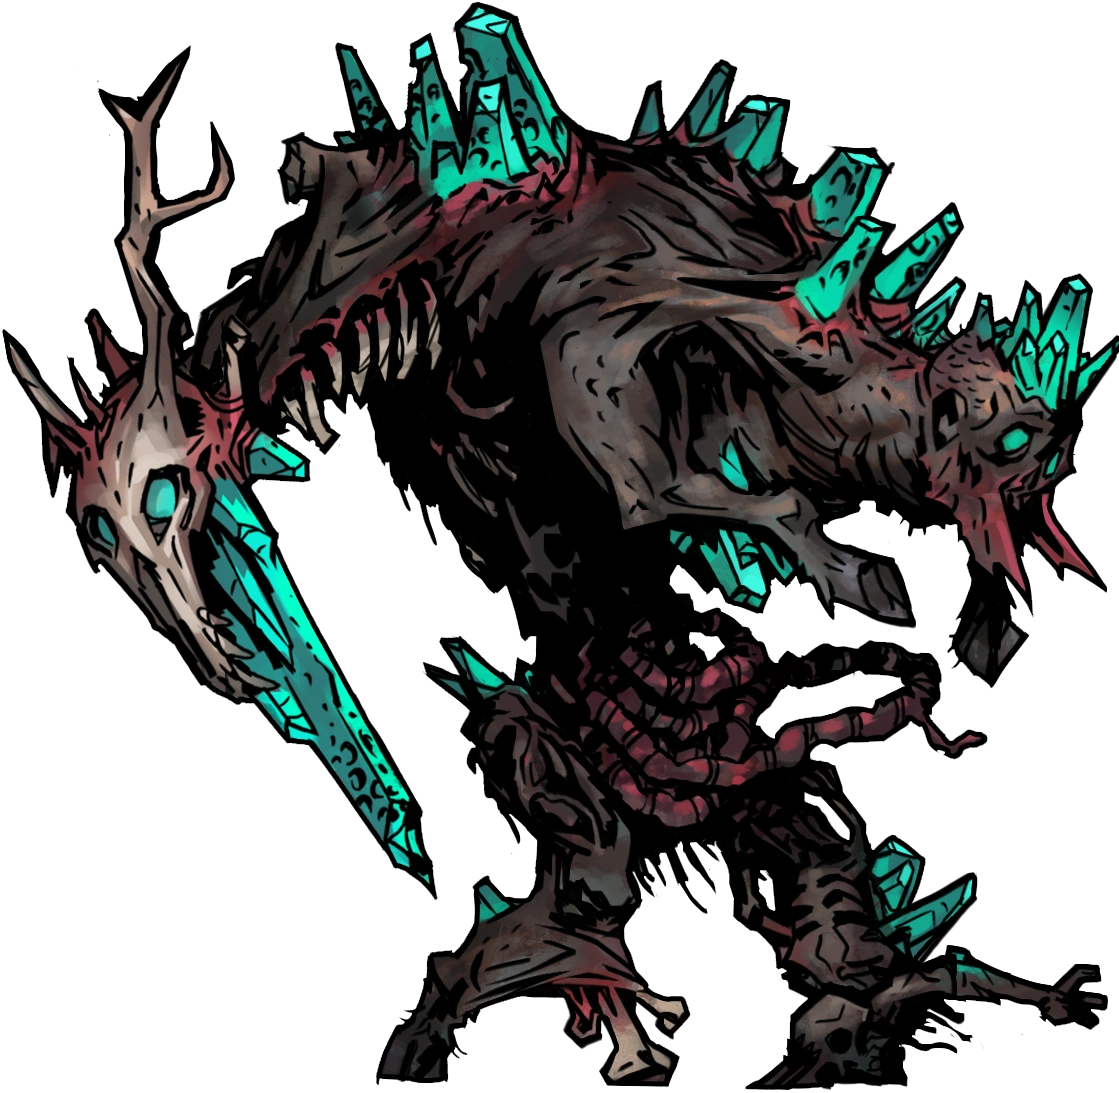
| − | File:The Thing.png| The Thing |
+ | File:The Thing.png| The Thing from the Stars using ''Return to the Stars'' |
| − | File:Thing Bite.png| The Thing |
+ | File:Thing Bite.png| The Thing from the Stars using ''Phase Gnaw'' |
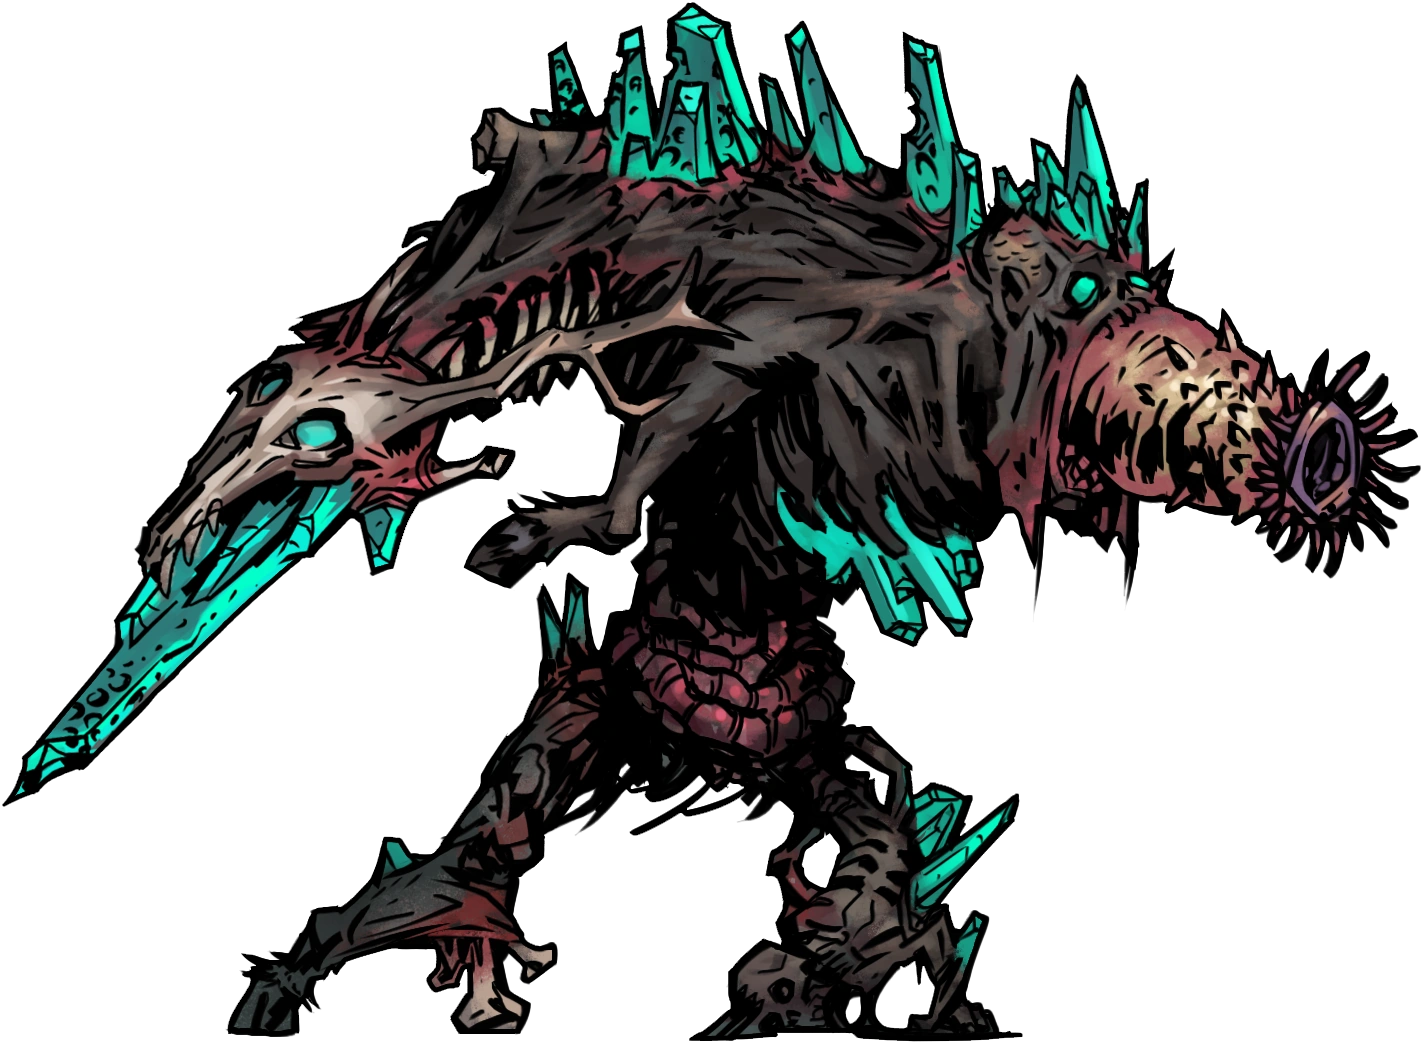
| − | File:Thing Emit.png| The Thing |
+ | File:Thing Emit.png| The Thing from the Stars using ''Paralysing<!--I know it's mispelled. That's the attck's name--> Shard'', ''Transfixing Shard'', and ''Weakening Shard'' |
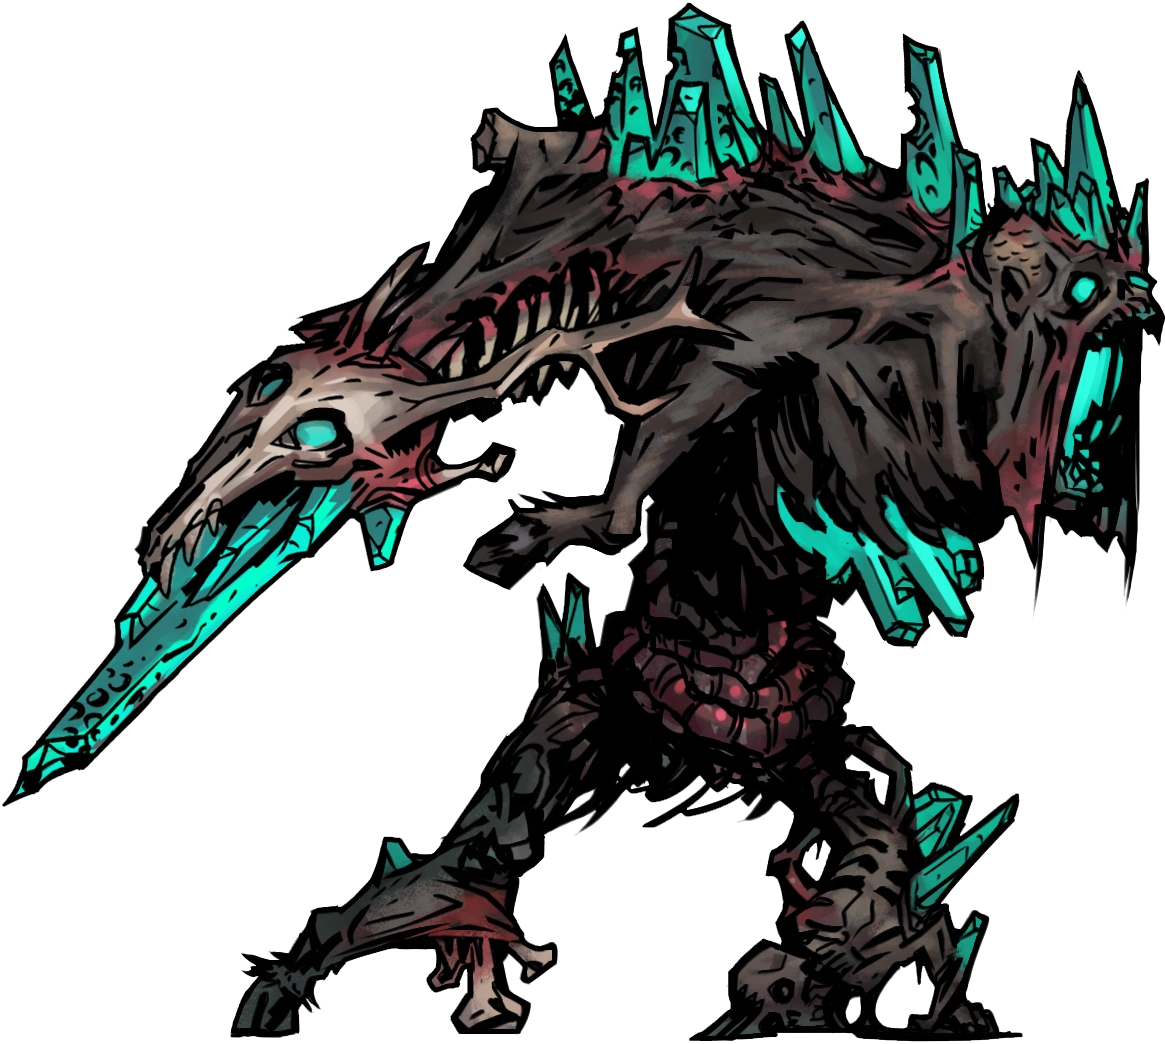
| − | File:Thing Stab.png| The Thing |
+ | File:Thing Stab.png| The Thing from the Stars using ''Vorpal Strike'' |
| − | File:Thing Defend.png| The Thing |
+ | File:Thing Defend.png| The Thing from the Stars defending |
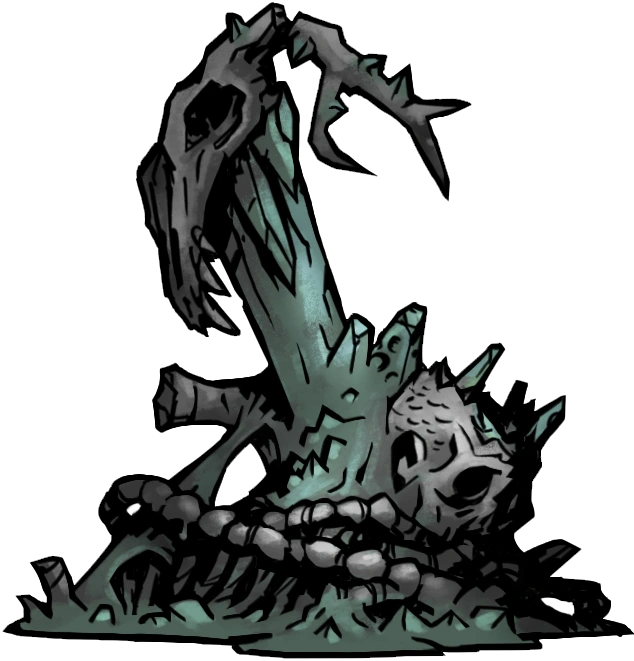
| − | File:Thing Dead.png| The Thing |
+ | File:Thing Dead.png| The Thing from the Stars' corpse |
</gallery> |
</gallery> |
||
== Trivia == |
== Trivia == |
||
| ⚫ | |||
| − | * You can easily spot the Thing on the map with [[Scouting]] if you see two battles in a row in a hallway. |
||
| − | * The Thing from the Stars is likely greatly inspired by John Carpenter's "The Thing" (1982) in that the Thing comes from outer space and it also assimilates biological aspects and traits from any lifeforms it encounters. |
||
| ⚫ | |||
{{BossesNav}} |
{{BossesNav}} |
||
Revision as of 17:10, 12 July 2020
| Thing from the Stars | ||||
|---|---|---|---|---|
| ||||
| Enemy Type | Eldritch | |||
| Size | Large (2) | |||
| Actions per round | ||||
| Stats | ||||
| Variation | Thing from the Stars |
Thing from the Stars |
Thing from the Stars | |
| HP | 106 | 148 | 191 | |
| HP (Stygian/Bloodmoon) | 128 | 178 | 230 | |
| Dodge | 5 | 13.75 | 25 | |
| Protection | 0 | 0 | 0 | |
| Speed | 2 | 3 | 4 | |
| None | None | None | ||
| Resistances | ||||
| 85% | 105% | 125% | ||
| 40% | 60% | 80% | ||
| 33% | 53% | 73% | ||
| 40% | 60% | 80% | ||
| 25% | 45% | 65% | ||
| “ | A shard of alien malignity! | „ |
| ~ The Ancestor |
The Thing from the Stars is a large Eldritch miniboss from The Color of Madness DLC that can be found in whatever region it is patrolling for the week (this is visible on the map when embarking). It has a 50% chance to spawn in any of that region's dungeons (including bosses), and will appear as a fight in any hallway. It is a very powerful enemy, capable of inflicting massive stress damage, blight, and diseases all within a few rounds. As the Thing is attacked, its combat ability increases, granting incredible resistance to direct damage and even more offensive power.
Behavior
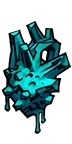
The Thing from the Stars has 2 actions per round, and an automatic action at the start of each round (but not when the battle starts) that triggers Return to the Stars, a skill that hits all party members with Stress damage. This attack also spawns a Crystalline Aberration, deals a small amount of damage to the Thing, and causes the target to lose their turn. This attack does not trigger bleed/blight damage on the Thing, but all other attacks do. If only one party member is present, they may be stun-locked permanently.
After using Return to the Stars at the start of the second round, the Thing receives a permanent buff for +80% PROT, +6 SPD, +40% DMG, and +13% CRIT when below 45% HP.
It can open the battle with any move, but Paralysing Shard, Weakening Shard, and Transfixing Shard all have a 1-turn cooldown, meaning it will never use them twice in one round.
The Thing has an unforgiving set of targeting biases, prioritizing heroes with the lowest stun resistance with Paralysing Shard and stressed heroes with Phase Gnaw.
Strategies
All of the Thing's attacks inflict significant stress damage, and with multiple actions per round, you are in far greater danger from Afflictions and accumulated stress than HP loss in this fight, especially in the first phase before its DMG buff is applied. In addition to causing massive stress, the Thing will regularly deliver powerful debuffs, stuns, and blight. Weakening Shard reduces all relevant resistances and Transfixing Shard reduces DMG and SPD.
The Thing has high accuracy on many of its attacks, with Return to the Stars being effectively undodgeable. Dodge-based strategies, such as utilizing an Antiquarian's Invigorating Vapours, or the Houndmaster's Guard Dog are likely to be ineffective. Similarly, Phase Gnaw, while it does much less damage than Vorpal Strike, is actually armor piercing, rendering any PROT buffs from skills like the Leper's Withstand useless.
For the first phase, focus primarily on mitigating and preparing for high stress, and bringing the Thing down to its 45% HP threshold. Its damage in this phase isn't much to be worried about aside from the possibility of a crit from Vorpal Strike.
Arguably the biggest problem of a battle with the Thing is the possibility of contracting Sky Taint, a disease that grants +20% Stress and -20% Blight and Bleed Resist that can be obtained from the attack Phase Gnaw. If a hero gets Sky Taint early, it will dramatically lower their defensive ability as they build up even greater levels of stress and deal with a large vulnerability to the powerful blight from Phase Gnaw.
For the Thing's second phase, both blight and bleed damage are highly effective, due to its low resistances—you'll usually trigger all your damage within 1-2 rounds at most, though ensure you have enough chance to bypass resistances on higher levels. Note, however, that the Thing uses Return to the Stars at the start of each round, which will clear all damage over time effects. In order to get the most out of bleeds and blights the characters will have to have enough speed (and luck) to act before both of the Thing's turns; no damage will be applied from the damage-over-time effects if they are applied after the Thing's second action, as Return to the Stars does not trigger them.
Outside of blight/bleed damage, the Grave Robber's Pick to the Face or the Shieldbreaker's Pierce![]() will both completely ignore the Thing's 80% PROT, allowing those heroes to deal full damage. Consider bringing them along if the Thing is patrolling a particular region.
will both completely ignore the Thing's 80% PROT, allowing those heroes to deal full damage. Consider bringing them along if the Thing is patrolling a particular region.
The Thing will summon a Crystalline Aberration every turn with Return to the Stars, so you'll need to deal with it in good time to prevent it from exploding—it has very low HP and no dodge, so using a dedicated hero, preferably with AoE damage, is recommended to keep it destroyed. Aberrations have no resistance to blight, but you only get one turn to kill them, so ensure you can stack enough damage to finish them if using a blight-based strategy; the Plague Doctor's Noxious Blast, the highest-damage blight in the game, is the best option, as it will kill the Aberration even on Champion level.
It is worth mentioning that upon creation of the Crystalline Aberration, the Thing will take a small amount of damage and have a chance at causing party-wide stress. It is possible to stall out the fight until the Thing kills itself by using Return to the Stars, but be wary, as stalling for too long may result in multiple heroes receiving Sky Taint and massive stress for your party.
Debuffs, particularly PROT debuffs, are not very effective, as they wear off too quickly for prolonged damage-dealing using them.
It is also worth noting that if the Thing is stunned after using all of its actions for the turn, it will not use Return to the Stars at the beginning of the next round, allowing bleed and blight to stay for another round. However, as the Thing has high base Stun Resist, this is difficult to do multiple times in a row.
Loot
After defeating the Thing from the Stars, you will receive 15, 20, or 25 Comet Shards alongside a randomized amount of gold. There is additionally a chance the Thing will drop one of its unique Trinkets. The exact chance is 1/7 (~14%) on Veteran missions, and 1/5 (20%) on Champion. There is an equal chance the Thing will drop a Memory on death instead, which is otherwise only obtainable by defeating The Sleeper. Neither will drop on Apprentice missions, but you will still get shards.
| Thing's Mesmerizing Eye | Crystalline Fang | Phase Shifting Hide | Prismatic Heart Crystal |

|

|

|
|
|
|
|
|
Prismatic Quirks
Heroes who survive the battle with the Thing from the Stars may receive one of several new quirks after the mission is over. These quirks are unique; they can only be on one hero in your whole roster. Only one hero will receive a quirk on a given mission, and gaining more requires defeating the Thing once again. They are automatically locked, and the Sanitarium will only offer the option to remove them. Removing Prismatic quirks allows them to be obtained again the next time the Thing is defeated. Facing the Thing as a boss on the Farmstead can also reward a member of your party with one of the quirks.
The following list is of the quirks in the order they can be obtained, and their effects:
| Prismatic Isolation | +25% Debuff Resist |
| Prismatic Stability | +25% Move Resist |
| Prismatic Solidity | +25% Stun Resist |
| Prismatic Coagulation | +25% Bleed Resist |
| Prismatic Purity | +25% Blight Resist |
| Prismatic Calm | -30% Stress |
| Prismatic Force | +15% DMG |
| Prismatic Speed | +3 SPD |
| Prismatic Precision | +4% CRIT |
| Prismatic Eye | +8 ACC |
| Husk Slayer | +10 ACC and +5% CRIT vs Husk |
| Scythemaster | +15% DMG vs Husk |
Abilities
| Apprentice Level | |||||||||
|---|---|---|---|---|---|---|---|---|---|
| Skill Name | Range | Rank | Target | Accuracy | Crit Chance |
Damage | Effect (Target) |
Effect (Self) |
Notes |
| Return to the Stars | Ranged | 1,2,3,4 | 1+2+3+4 | 202.5% | 0% | 0 | |||
| Phase Gnaw | Melee | 1,2,3,4 | 1,2 | 92.5% | 2% | 3-5 Armor Piercing |
|||
| Vorpal Strike | Melee | 1,2,3,4 | 1,2,3,4 | 97.5% | 10% | 6-9 | |||
| Paralysing Shard | Ranged | 1,2,3,4 | 1,2,3,4 | 97.5% | 6% | 1 | |||
| Weakening Shard | Ranged | 1,2,3,4 | 1,2,3,4 | 102.5% | 6% | 1 | |||
| Transfixing Shard | Ranged | 1,2,3,4 | 1,2,3,4 | 97.5% | 6% | 1 | |||
| Veteran Level | |||||||||
|---|---|---|---|---|---|---|---|---|---|
| Skill Name | Range | Rank | Target | Accuracy | Crit Chance |
Damage | Effect (Target) |
Effect (Self) |
Notes |
| Return to the Stars | Ranged | 1,2,3,4 | 1+2+3+4 | 208.75% | 0% | 0 | |||
| Phase Gnaw | Melee | 1,2,3,4 | 1,2 | 98.75% | 6% | 5-6 Armor Piercing |
|||
| Vorpal Strike | Melee | 1,2,3,4 | 1,2,3,4 | 103.75% | 11% | 9-12 | |||
| Paralysing Shard | Ranged | 1,2,3,4 | 1,2,3,4 | 103.75% | 12% | 2 | |||
| Weakening Shard | Ranged | 1,2,3,4 | 1,2,3,4 | 108.75% | 12% | 2 | |||
| Transfixing Shard | Ranged | 1,2,3,4 | 1,2,3,4 | 103.75% | 12% | 2 | |||
| Champion Level | |||||||||
|---|---|---|---|---|---|---|---|---|---|
| Skill Name | Range | Rank | Target | Accuracy | Crit Chance |
Damage | Effect (Target) |
Effect (Self) |
Notes |
| Return to the Stars | Ranged | 1,2,3,4 | 1+2+3+4 | 220% | 0% | 0 | |||
| Phase Gnaw | Melee | 1,2,3,4 | 1,2 | 110% | 9% | 6-8 Armor Piercing |
|||
| Vorpal Strike | Melee | 1,2,3,4 | 1,2,3,4 | 115% | 12% | 11-16 | |||
| Paralysing Shard | Ranged | 1,2,3,4 | 1,2,3,4 | 115% | 14% | 2 | |||
| Weakening Shard | Ranged | 1,2,3,4 | 1,2,3,4 | 120% | 14% | 2 | |||
| Transfixing Shard | Ranged | 1,2,3,4 | 1,2,3,4 | 117.5% | 14% | 2 | |||
Gallery

The Thing from the Stars using Return to the Stars
The Thing from the Stars using Phase Gnaw
The Thing from the Stars using Paralysing Shard, Transfixing Shard, and Weakening Shard
The Thing from the Stars using Vorpal Strike
The Thing from the Stars defending
The Thing from the Stars' corpse
Trivia
- It may be a reference to H.P. Lovecraft's "The Colour Out of Space." It can be seen to have incorporated the body parts of at least two small humans and a large farm animal, the same as were found in the farmstead well at the end of Lovecraft's story.
| view | |||
|---|---|---|---|
| Regional | Necromancer | ||
| Roaming / Event | Shambler | ||
| Boss Minions | Cauldron | ||
| Courtyard |
Baron | ||
| Farmstead |
Miller | ||
| Darkest Dungeon |
| ||