| Crocodilian | ||||
|---|---|---|---|---|
| ||||
| Enemy Type | Bloodsucker | |||
| Size | Average | |||
| Actions per round | ||||
| Stats | ||||
| Variation | Crocodilian | Crocodilian | Crocodilian | |
| HP | 109 | 164 | 223 | |
| HP (Stygian/Bloodmoon) | 131 | 197 | 268 | |
| Dodge | 10 | 18.75 | 32.5 | |
| Protection | 10% | 10% | 10% | |
| Speed | 7 | 8 | 9 | |
| None | None | None | ||
| Resistances | ||||
| 50% | 70% | 95% | ||
| 80% | 100% | 125% | ||
| 50% | 70% | 95% | ||
| 75% | 95% | 120% | ||
| 35% | 55% | 80% | ||
| “ | A hideous mutation, unnatural and abhorrent.
|
„ |
| ~ The Ancestor. |
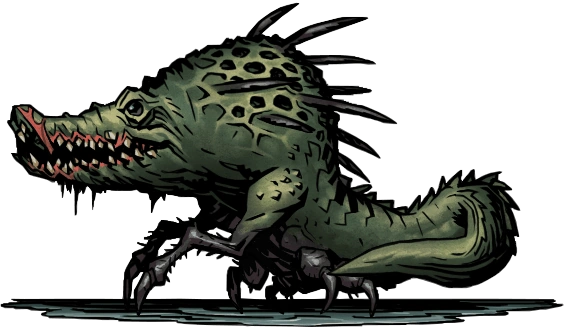
Many decades ago, the Courtyard was built on top of a drained swamp; now that the once great and splendid gardens, luxurious halls and mansions are overgrown and crumbling, the wilderness of the Moor has returned to reclaim what men have taken from nature. Bit by bit, buildings are slowly sinking into the growing swamp, and plants and animals once driven from their ancestral homes are recolonizing the overgrown gardens.
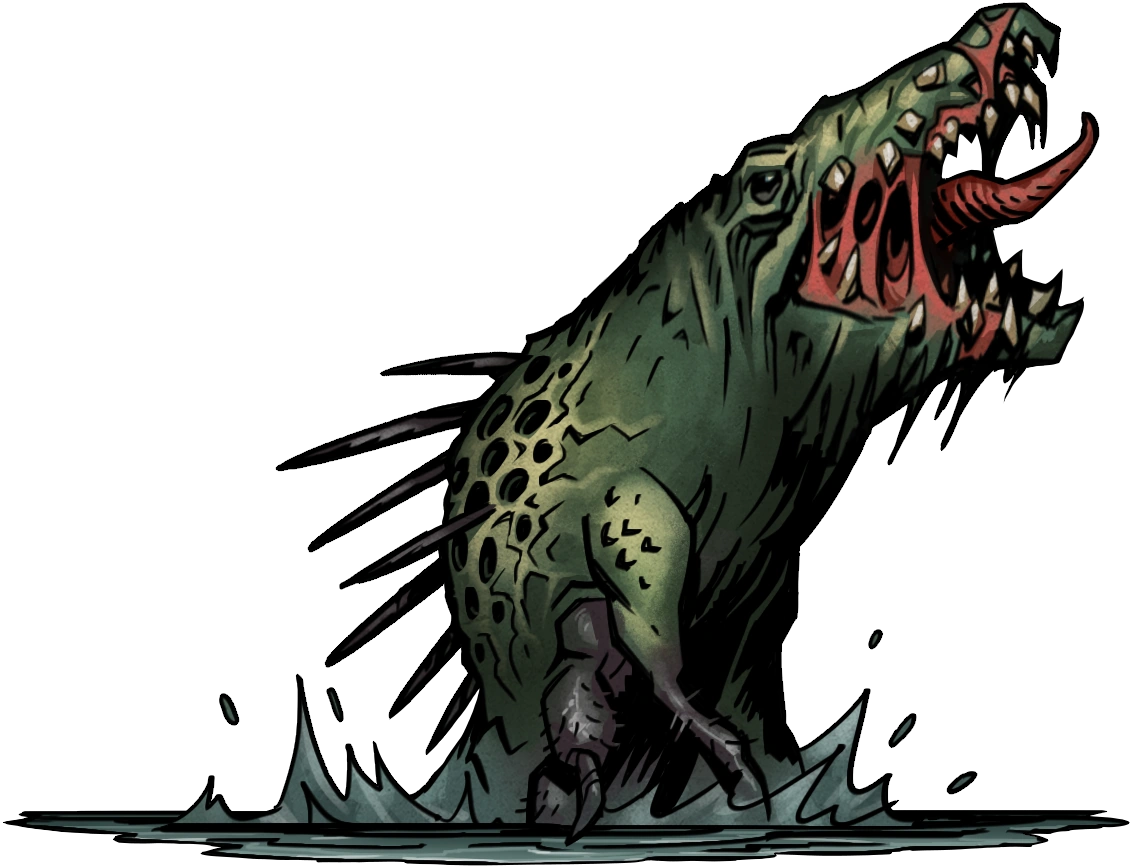
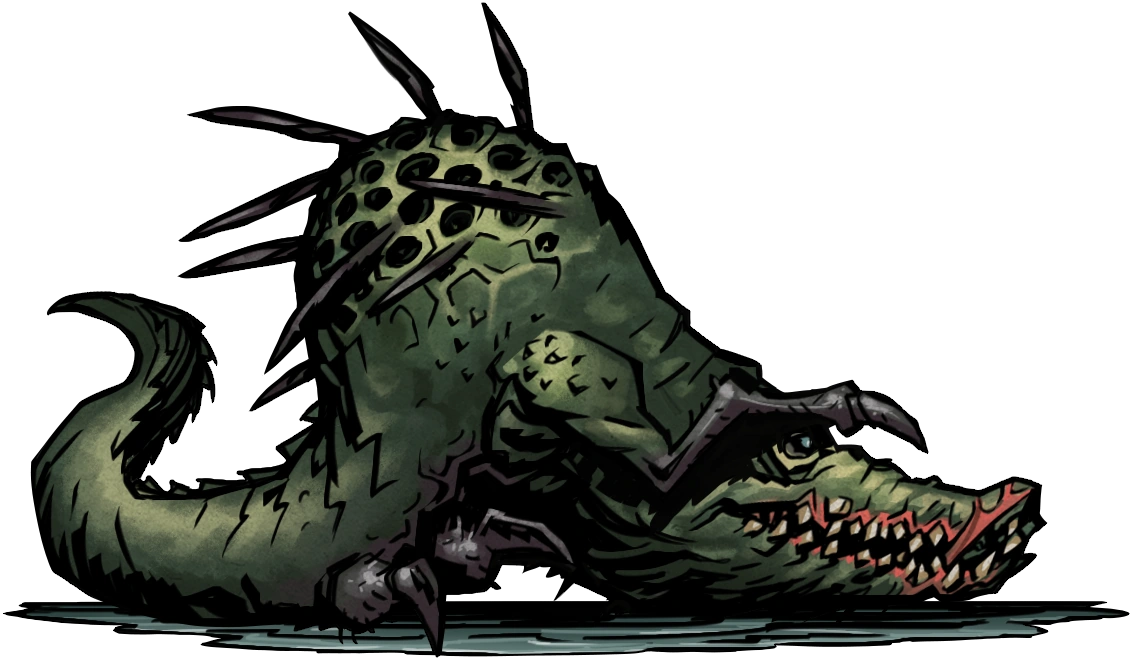
But even nature itself is not safe from the blood curse, and the Crocodilian is proof of this. The crocodile-mosquito hybrid is one of the few non-human victims of the Crimson Curse, and even though it is incapable of spreading the Curse itself, it is a very deadly foe that can become the cause of a party's demise if taken lightly.
Behavior
The Crocodilian is a miniboss appearing in several Courtyard missions. Despite the first mission being Apprentice Level, it's highly inadvisable to bring characters with low resolve levels; the mission plays host to your first encounter with this beast, and you won't see it coming until it's already engaged you in battle.
The Crocodilian will always use Swarming Corruption and Lurking Fear on its first turn; afterwards, it will use random skills. It is highly resistant to debuffs and Blight, but relatively vulnerable to Bleed, Stun and Move effects. When defeated, it will always drop one trinket from a Trinket Set.
Abilities
Teeth Rake deals medium-high damage and Bleed on a single hero, pulling them forward 2 ranks. It also has a high chance to inflict medium-high Stress damage. Swarming Corruption is the Crocodilian's main attack for spread damage, hitting the entire party at once. The damage is mild to moderate, but it comes with a high chance of Stress damage and an ACC debuff.
The Crocodilian has two moves to buff itself. Lurking Fear raises its damage and PROT while also moving it back one space (unless it's already at the back, in which case it moves forward). Submerge drastically increases its Dodge and heals it slightly, but it's also the warning for the beast's ultimate attack: Apex Predator. This deadly lunge deals devastatingly high damage on up to three heroes (two on Apprentice level), almost certainly bringing them to Death's Door; it also moves the Crocodilian to the very front of the enemy formation.
Strategy
The Crocodilian always begins in Rank 4, with a trio of VEGETATION-type enemies occupying the other three Ranks. It is unlikely for a hero to hit these plants due to their incredibly high DODGE stat, and even if a hit is successful, their vast HP pool and high protection prevent any foreseeable death of the plant; ignore them entirely while you focus on the Crocodilian.
With its very low Move Resist, managing the Crocodilian's Rank is not difficult if you have the right skills equipped; however, be prepared for it to move itself around with Lurking Fear. In general, you should try to keep the Crocodilian at the very front or back of the formation; it can only use Submerge (and thus, Apex Predator) from Ranks 2 and 3. Additionally, the Crocodilian is unable to use one of its other moves in the front or back of the formation; it loses Teeth Rake in Rank 4 and loses Swarming Corruption in Rank 1.
After using Submerge, the Crocodilian gains a high Dodge bonus. Instead of trying to hit it, it's better to prepare for the Apex Predator follow-up by recovering heroes from bleeding, increasing their dodge chance, buffing, protecting vulnerable party members or at least gaining riposte.
It is possible to quickly kill the Crocodilian with focus damage and stuns. Because the Crocodilian takes two actions per round, ripostes and attacks that inflict Bleed can help quickly defeat it. Note that bleed-stacking is less powerful if you can't prevent the Crocodilian from using Submerge, since that skill will remove any Bleed and Blight from it.
Team Selection
General Use
Highly recommended
- Vestal - Stun (50% chance but still worth trying), heal and a party heal (can save multiple heroes from death door) makes her a perfect pick for the fight.
Safe pick classes
These heroes can easily reposition themselves can hit the Crocodilian regardless of its position.
- Grave Robber
- Highwayman
- Jester
- Hellion - While her mobility is low, she has skills with no damage penalties that can strike ranks 1 and 4.
- Man-at-Arms - His defensive skills will still go a long way to aiding survivability.
- Shieldbreaker
- Bounty Hunter - Come Hither and Uppercut can move the Crocodilian forward or backward as necessary to keep it out of the central ranks.
- Flagellant
Specific choices
These classes can be used for a marking team (see below) or as extra supports, but they are mostly unsuitable for this fight.
- Hound Master
- Arbalest
- Occultist - Daemon's Pull can also drag the Crocodilian forward from rank 3.
- Plague Doctor - without blight, played as a support
Weak classes
Due to low range, poor damage output, and/or general immobility, these heroes are almost useless against the Crocodilian.
Marking Team
A Marking team is a risky choice against this boss; the Crocodilian will spend most of the battle in the back two Ranks, making abilities like the ones of the Bounty Hunter nearly useless. Although the Arbalest can inflict heavy damage to the back Ranks, she can't reach the Crocodilian if it is pulled to the first Rank; conversely, she is nearly useless when pulled forward by Teeth Rake. Additionally, the Crocodilian is fast and takes two actions per round, which will cause Marks to wear off more quickly than usual; in turn, this forces your heroes to reapply the Mark instead of dealing damage or using other support abilities.
If you do want to try this strategy, an effective party composition would include a Bounty Hunter, either a Vestal or an Occultist, and any two of a Grave Robber, Hound Master, and Highwayman.
Abilities
| Apprentice Level | |||||||||
|---|---|---|---|---|---|---|---|---|---|
| Skill Name | Range | Rank | Target | Accuracy | Crit Chance |
Damage | Effect (Target) |
Effect (Self) |
Notes |
| Swarming Corruption | Ranged | 2, 3, 4 | 1+2+3+4 | 82.5% | 0% | 1-6 | |||
| Teeth Rake | Melee | 1, 2, 3 | 2, 3, 4 | 92.5% | 6% | 4-8 | |||
| Submerge | Support | 2, 3 | None | ||||||
| Lurking Fear | Support | 1, 4 | None | ||||||
| Apex Predator* | Melee | 1, 2, 3, 4 | 1, 2, 3, 4, 35% +1 target | 99.5% | 12% | 11-13 | |||
| Veteran Level | |||||||||
|---|---|---|---|---|---|---|---|---|---|
| Skill Name | Range | Rank | Target | Accuracy | Crit Chance |
Damage | Effect (Target) |
Effect (Self) |
Notes |
| Swarming Corruption | Ranged | 2, 3, 4 | 1+2+3+4 | 88.75% | 0% | 2-7 | |||
| Teeth Rake | Melee | 1, 2, 3 | 2, 3, 4 | 98.75% | 11% | 5-11 | |||
| Submerge | Support | 2, 3 | None | ||||||
| Lurking Fear | Support | 1, 4 | None | ||||||
| Apex Predator* | Melee | 1, 2, 3, 4 | 1, 2, 3, 4, 40% +2 target | 105.75% | 16% | 14-17 | |||
| Champion Level | |||||||||
|---|---|---|---|---|---|---|---|---|---|
| Skill Name | Range | Rank | Target | Accuracy | Crit Chance |
Damage | Effect (Target) |
Effect (Self) |
Notes |
| Swarming Corruption | Ranged | 2, 3, 4 | 1+2+3+4 | 102.5% | 0% | 3-11 | |||
| Teeth Rake | Melee | 1, 2, 3 | 2, 3, 4 | 112.5% | 12% | 5-11 | |||
| Submerge | Support | 2, 3 | None | ||||||
| Lurking Fear | Support | 1, 4 | None | ||||||
| Apex Predator* | Melee | 1, 2, 3, 4 | 1, 2, 3, 4, 45% +2 target | 119.5% | 17% | 22-26 | |||
*Apex Predator will only be used after Submerge.
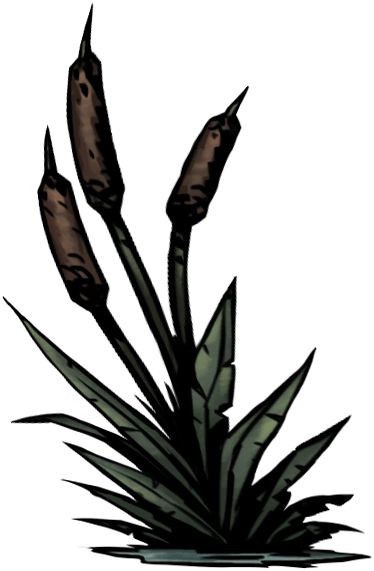
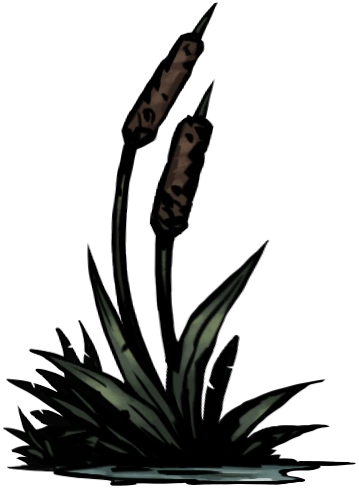
Vegetation
The Crocodilian is always accompanied by a trio of ordinary water plants that grow in the blood-soaked swamps of the Moor and the Courtyard. These plants are nigh-invulnerable but have no offensive presence, and serve only as barriers for the Crocodilian, preventing heroes from permanently manipulating the beast's position by clearing up spots in the formation.
|
| ||||||||||||||||||||||||||||||||||||||||||||||||||||||||||||||||||||||||||||||||||||||||||||||||||||||||||||||||||||||||||||||||||||||||||||||||||||||||||||||||||||||||||||||||||||||||||||||
Related Enemies
All Areas
The Courtyard
Bosses
Gallery

Crocodilian using Swarming Corruption
Crocodilian using Teeth Rake
Crocodilian using Apex Predator
Crocodilian using Lurking Fear or defending
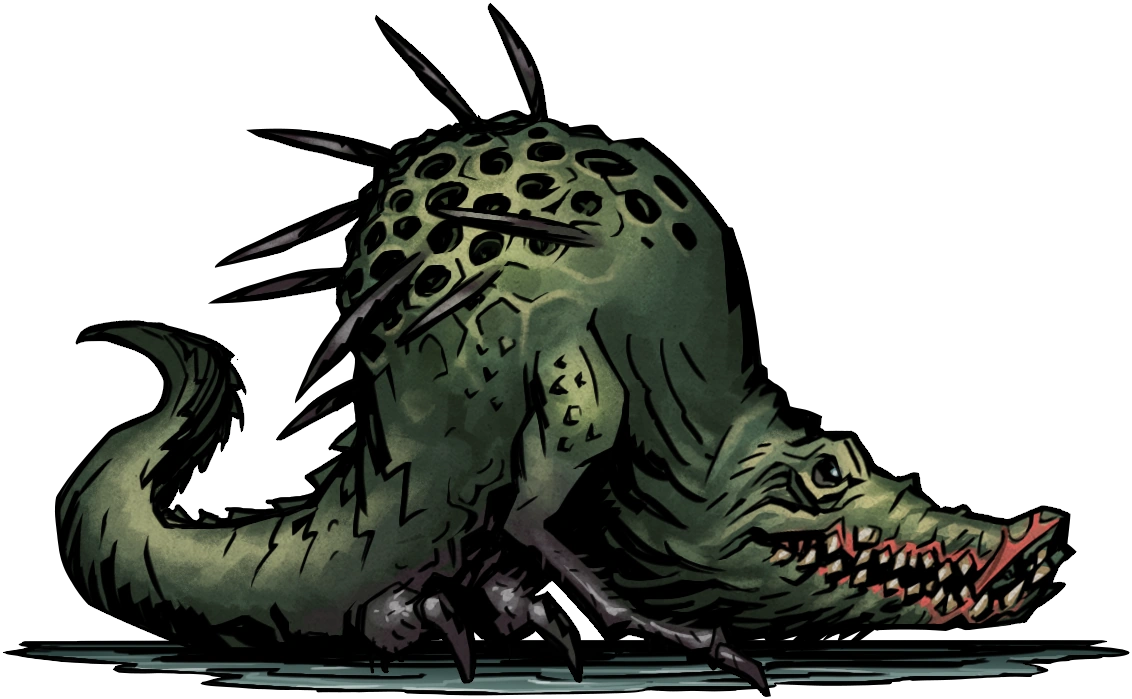
Crocodilian using Submerge or defending while submerged

Trivia
- One of the Crocodilian's attacks is named after an H.P. Lovecraft Story called "The Lurking Fear."
- If both the Crimson Court DLC and The Color of Madness DLCs are installed, the Crocodilian can be fought as part of the Endless Harvest mission. Interestingly, the Crimson Court doesn't even have to be enabled for it to appear.